
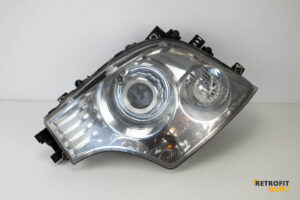
 Mercedes Actros MP4/MP5
 Audi A4/S4 B6
Xenon projector replacement – Mercedes Actros MP4/MP5

We have put together a guide to replacing the xenon projectors on the Mercedes-Benz Actros MP4 and MP5 with new bi-xenon projectors from our plug & play kit. The projector is changed from the back through the bulb opening, the lenses stay sealed and nothing on the headlight is cut or drilled.
Why bother? Over the years, heat from the bulb burns through the chrome on the reflector of the original projector. The bulb shines, but only part of the light gets out, so new bulbs alone usually don't help.
Projector replacement procedure
1. Preparation
- Check that the kit is complete and that your headlights are OEM xenon headlights.
- Read the whole guide first so you know what to expect.
- Have a Torx T20 screwdriver ready.
2. Removing the rear headlight cover
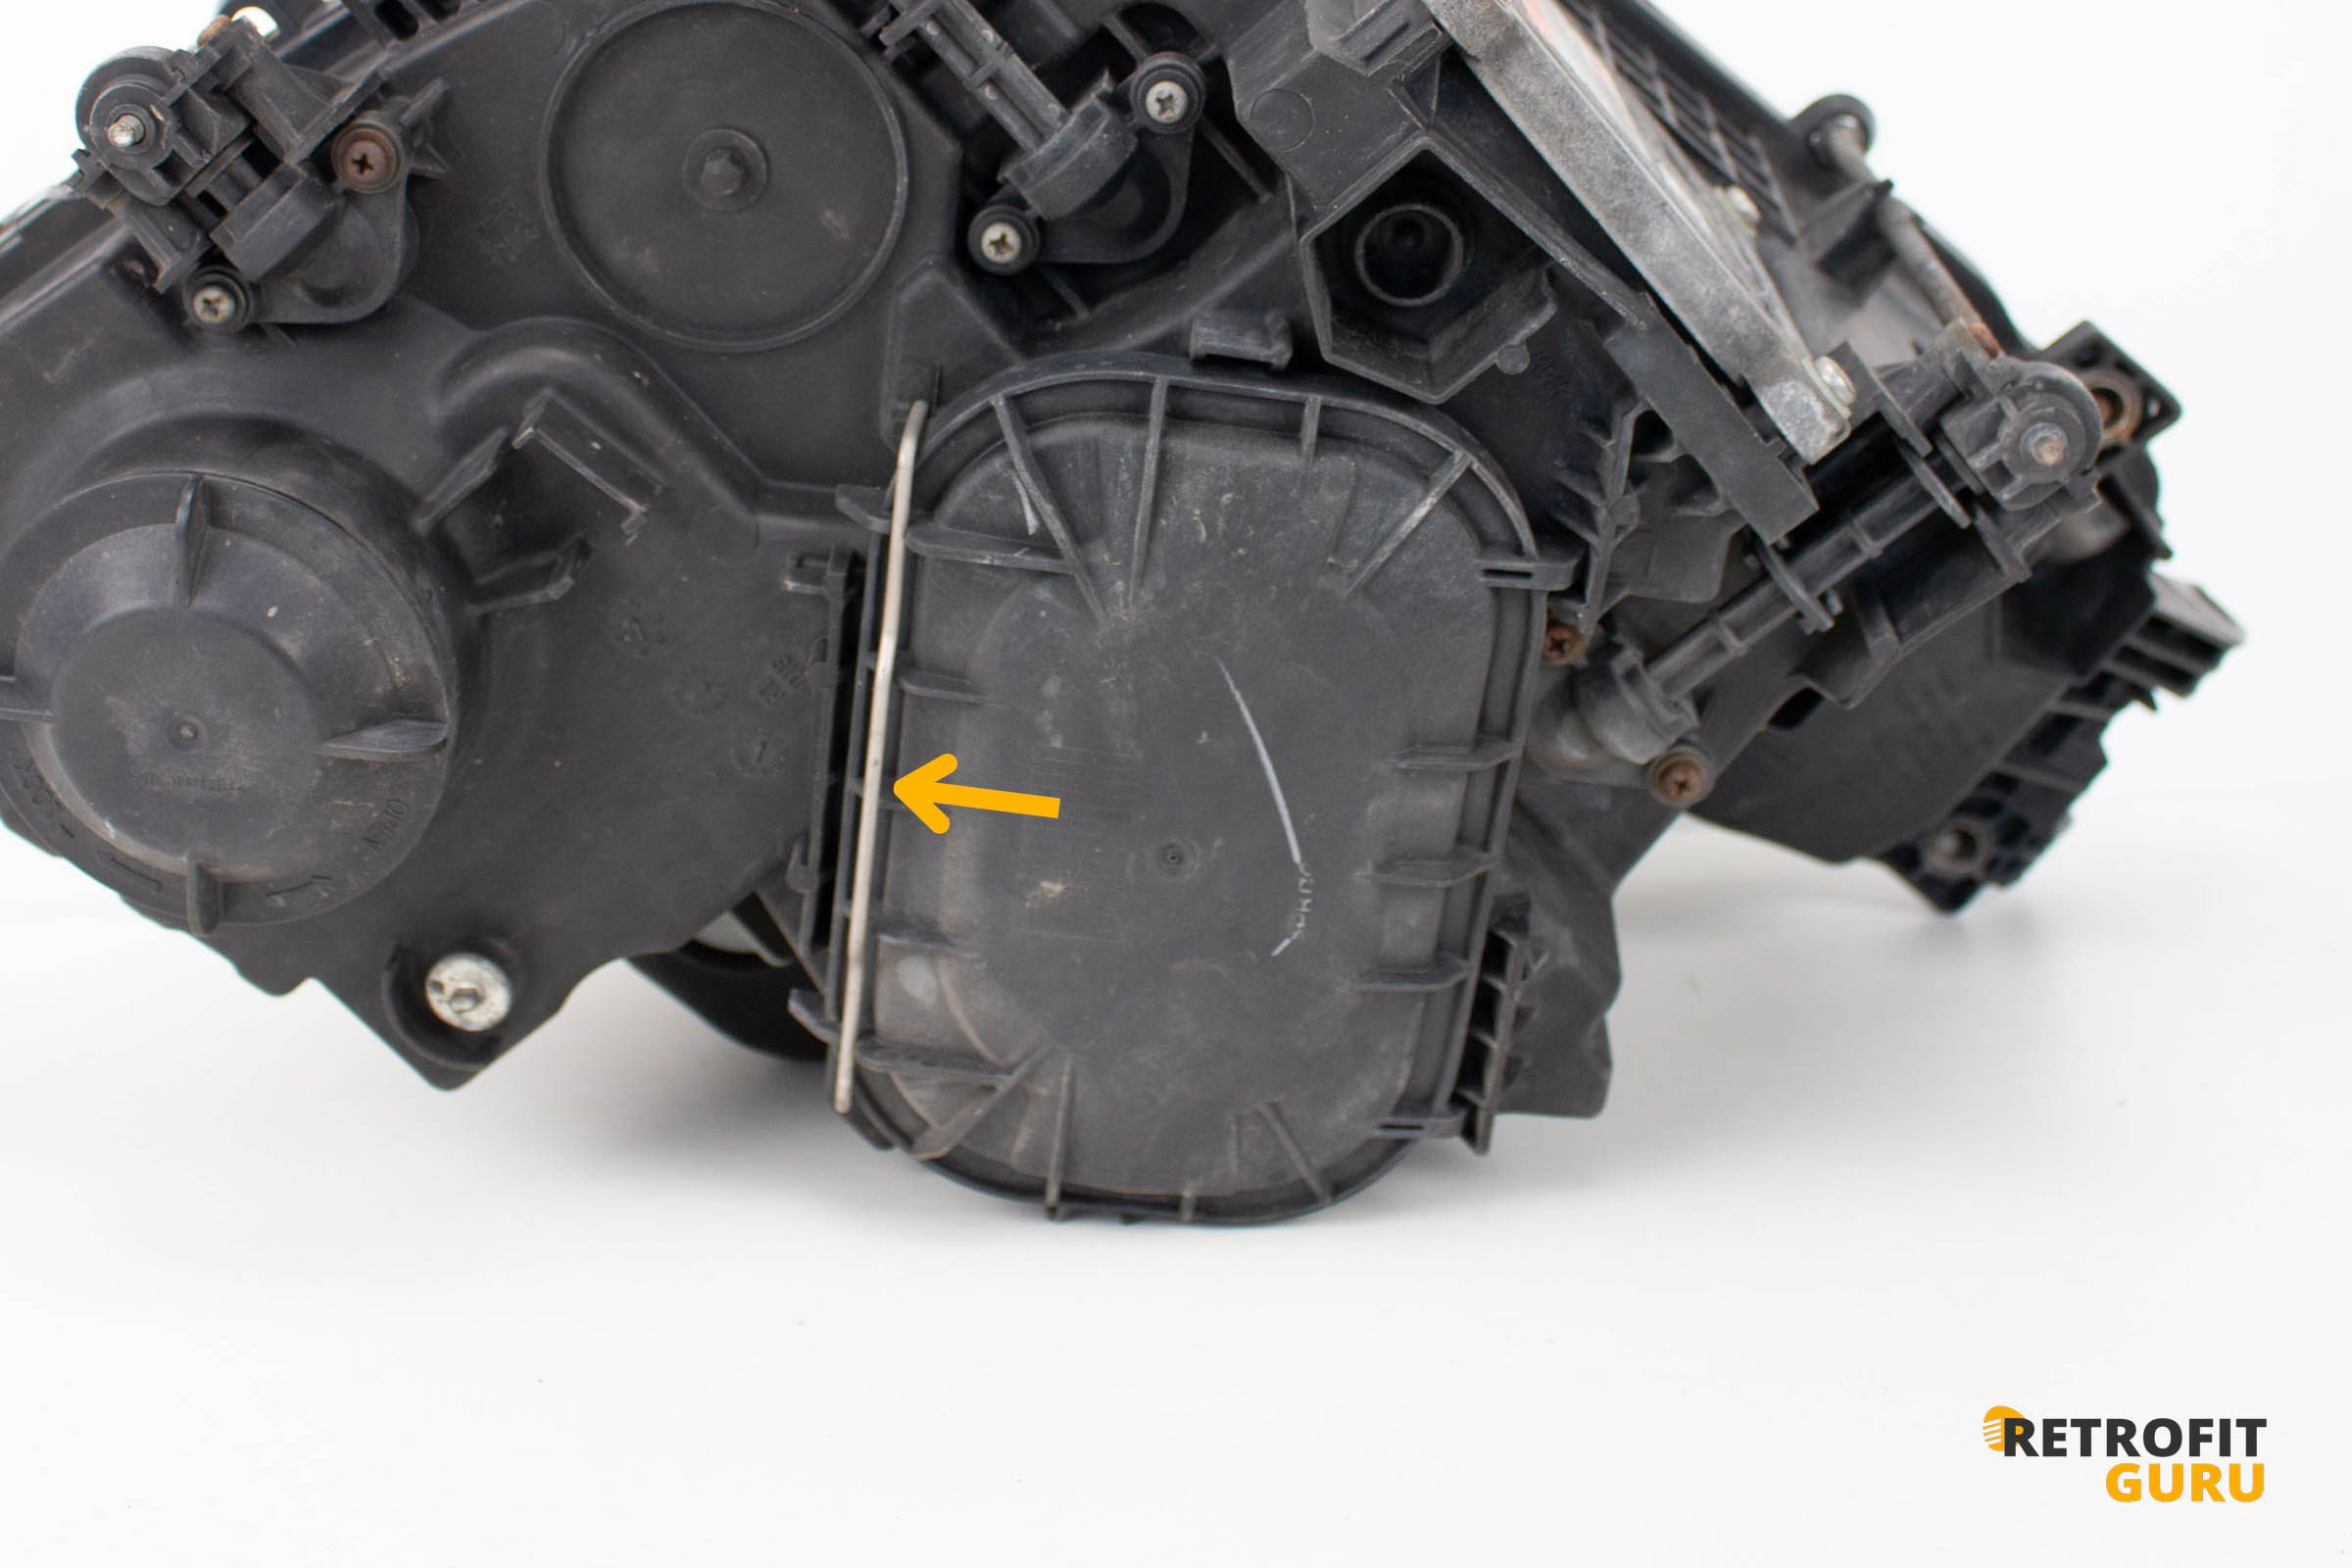
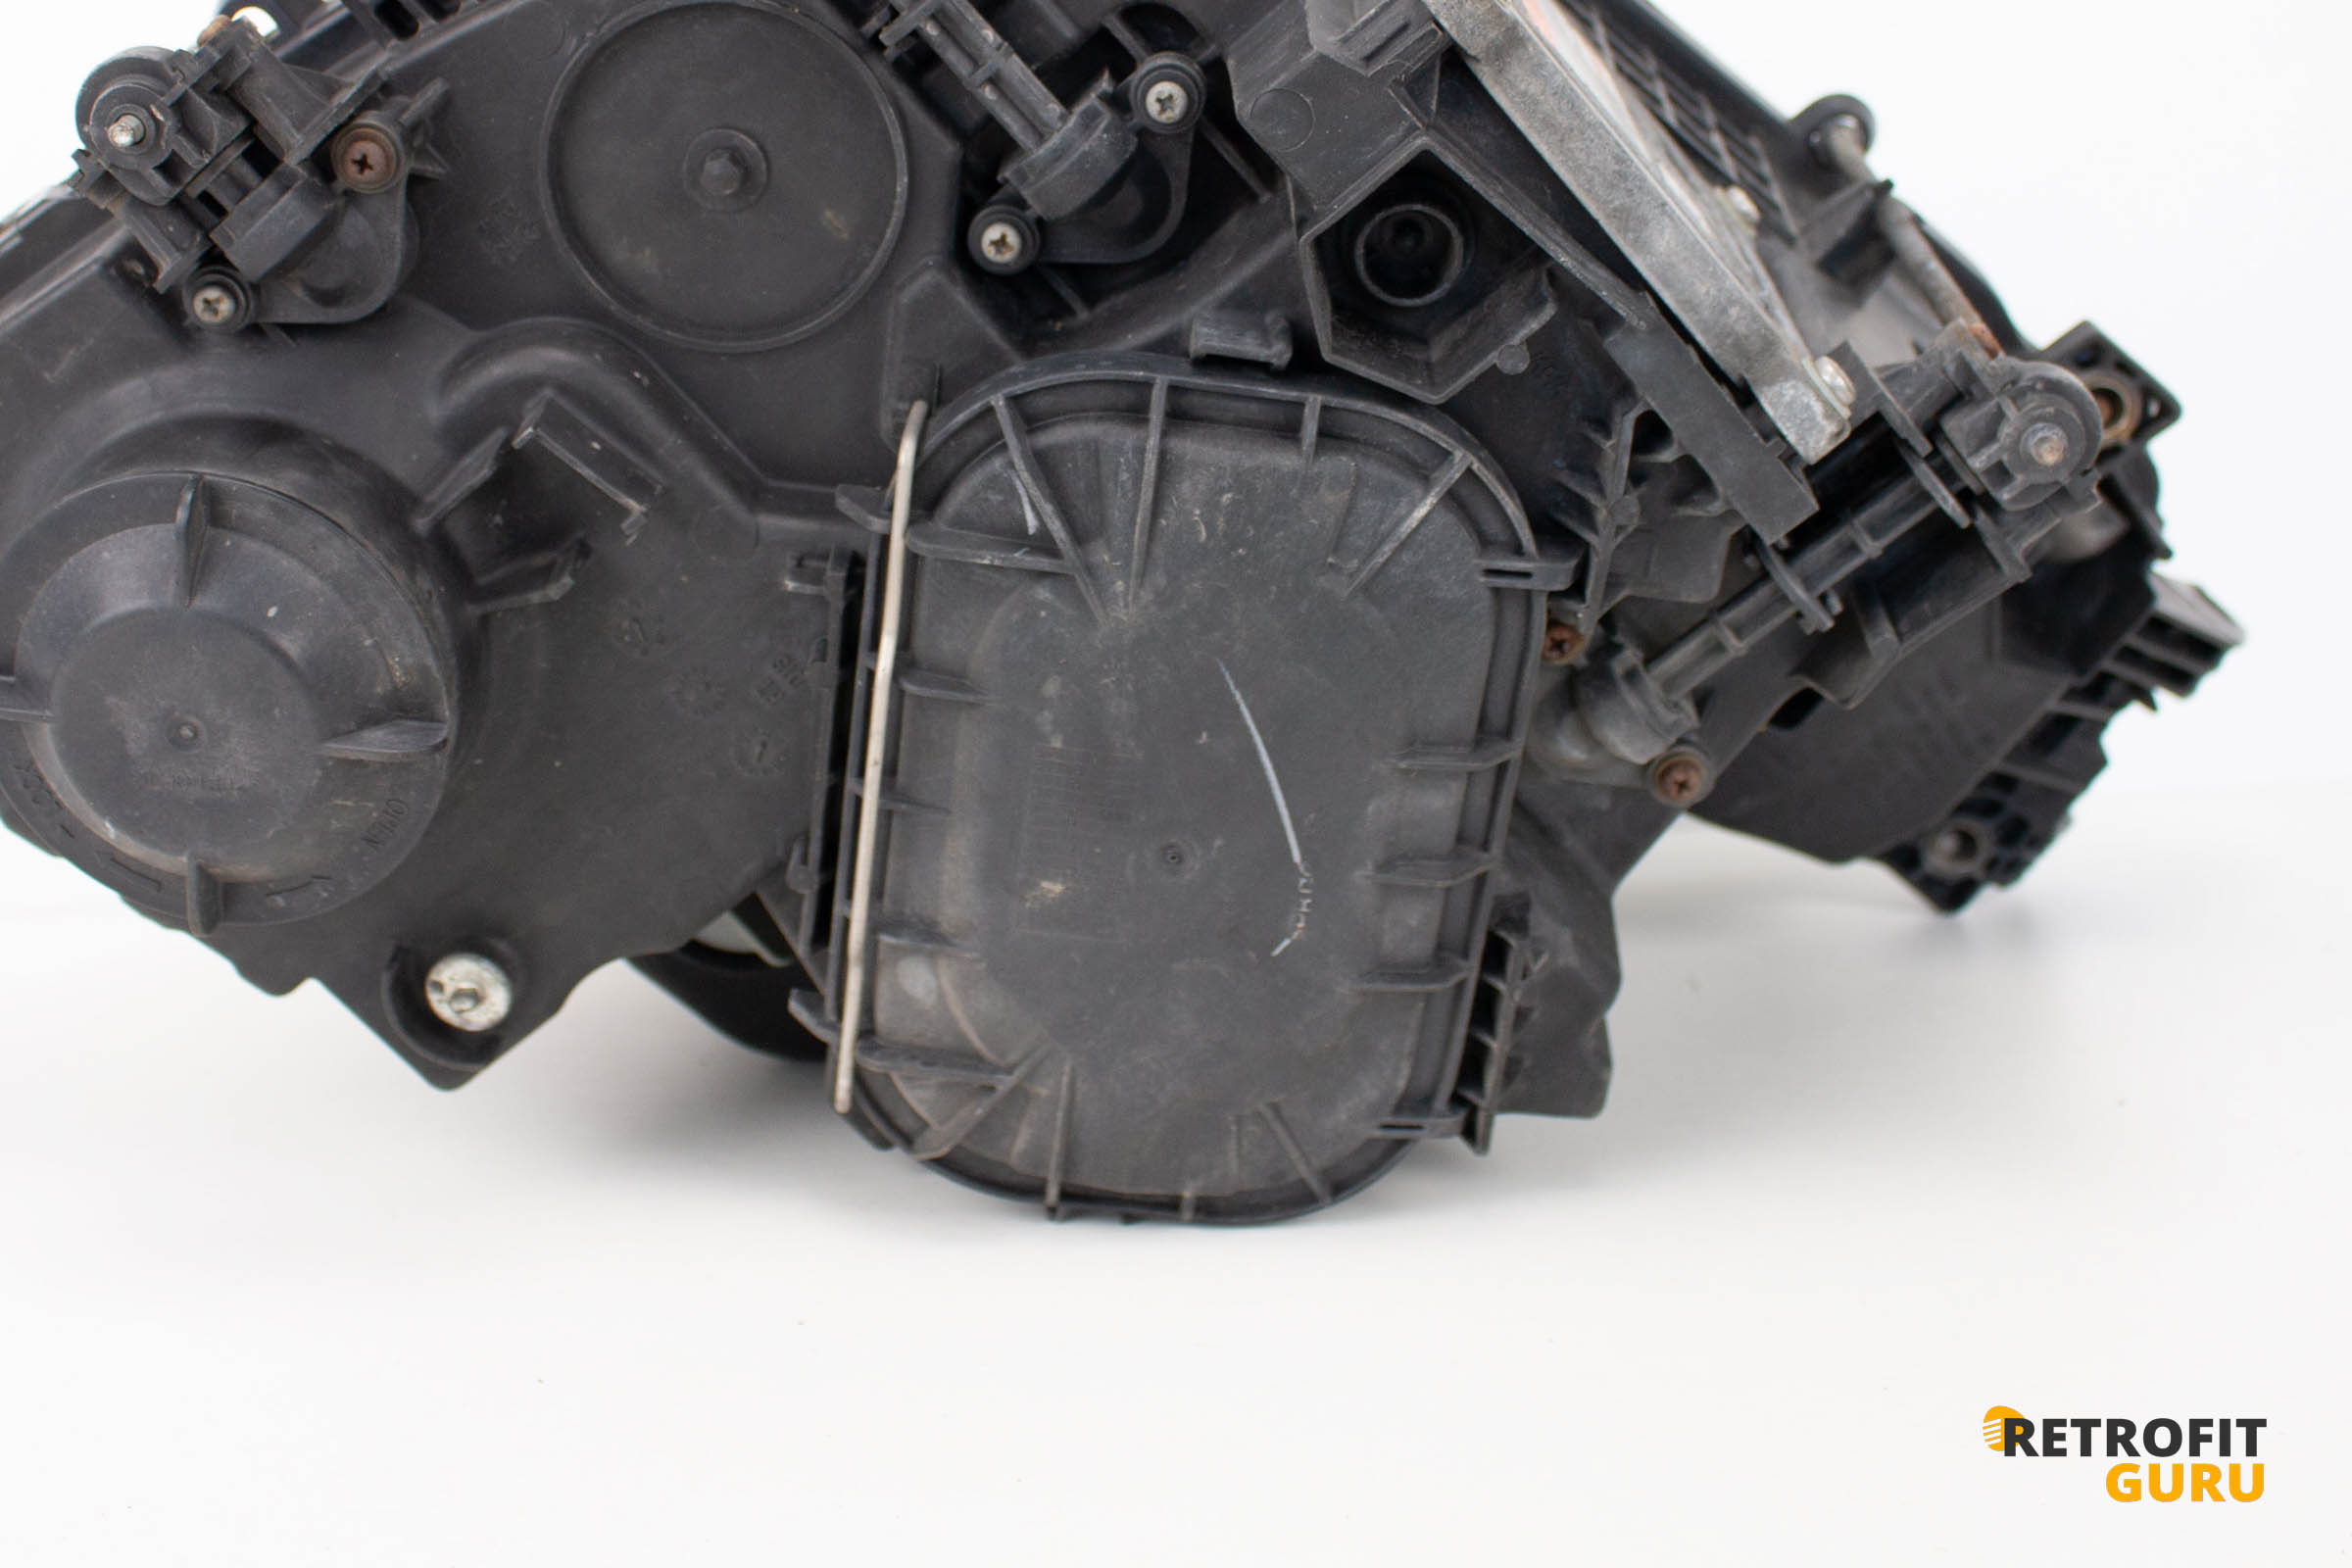
- Release the wire clip on the rear cover and slide the cover out of its holder.
3. Removing the bulb and projector
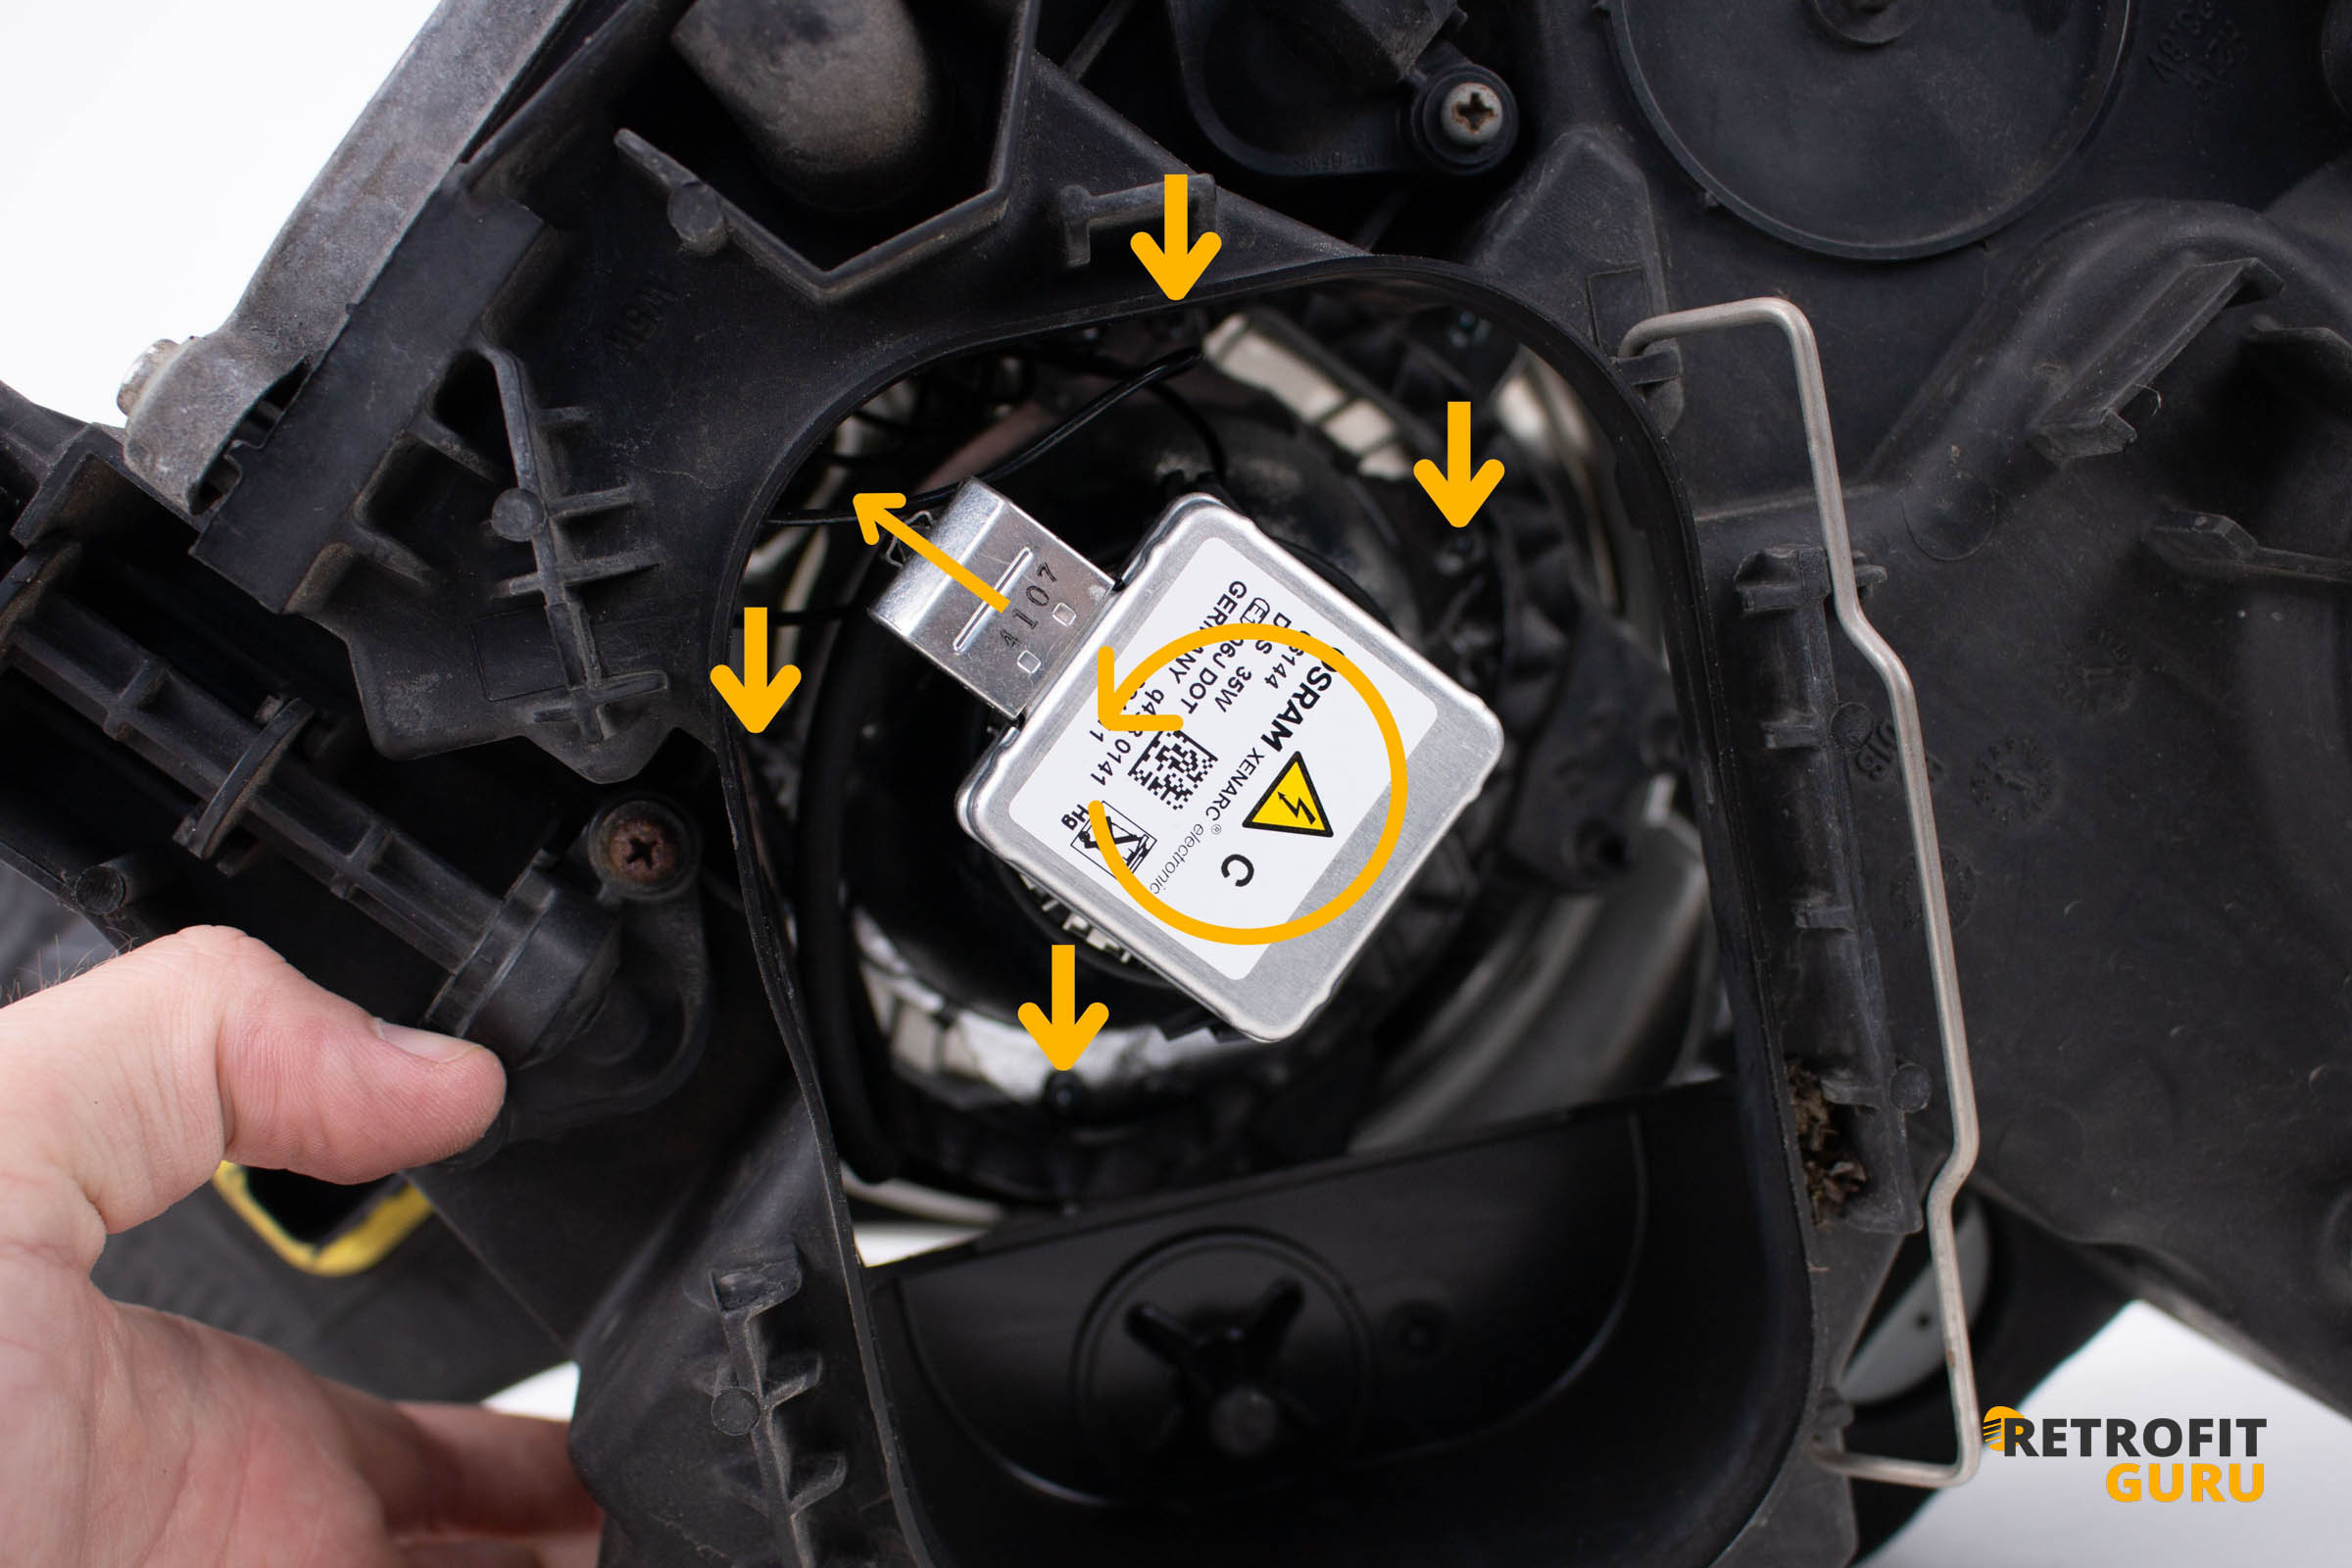
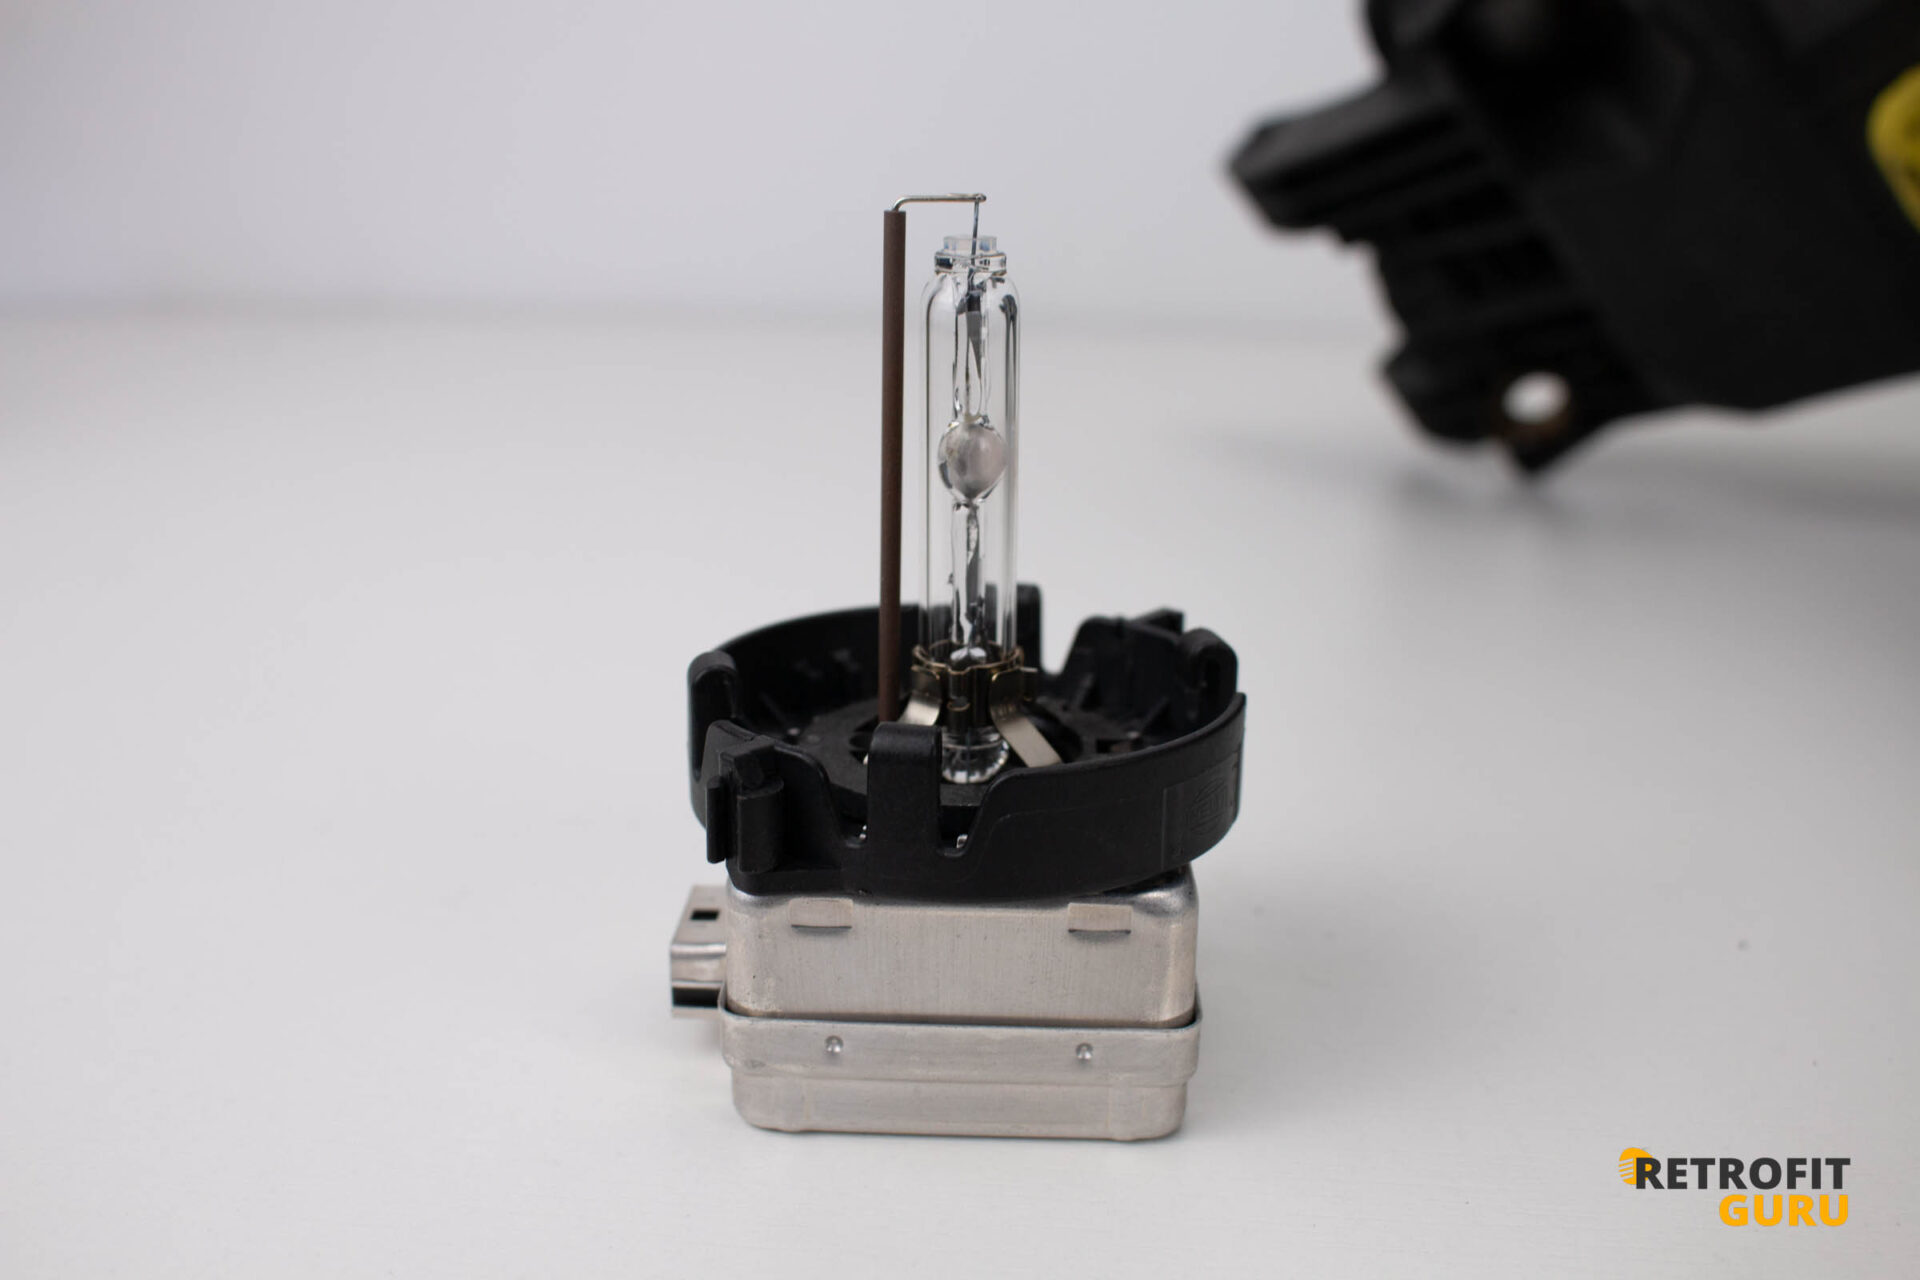
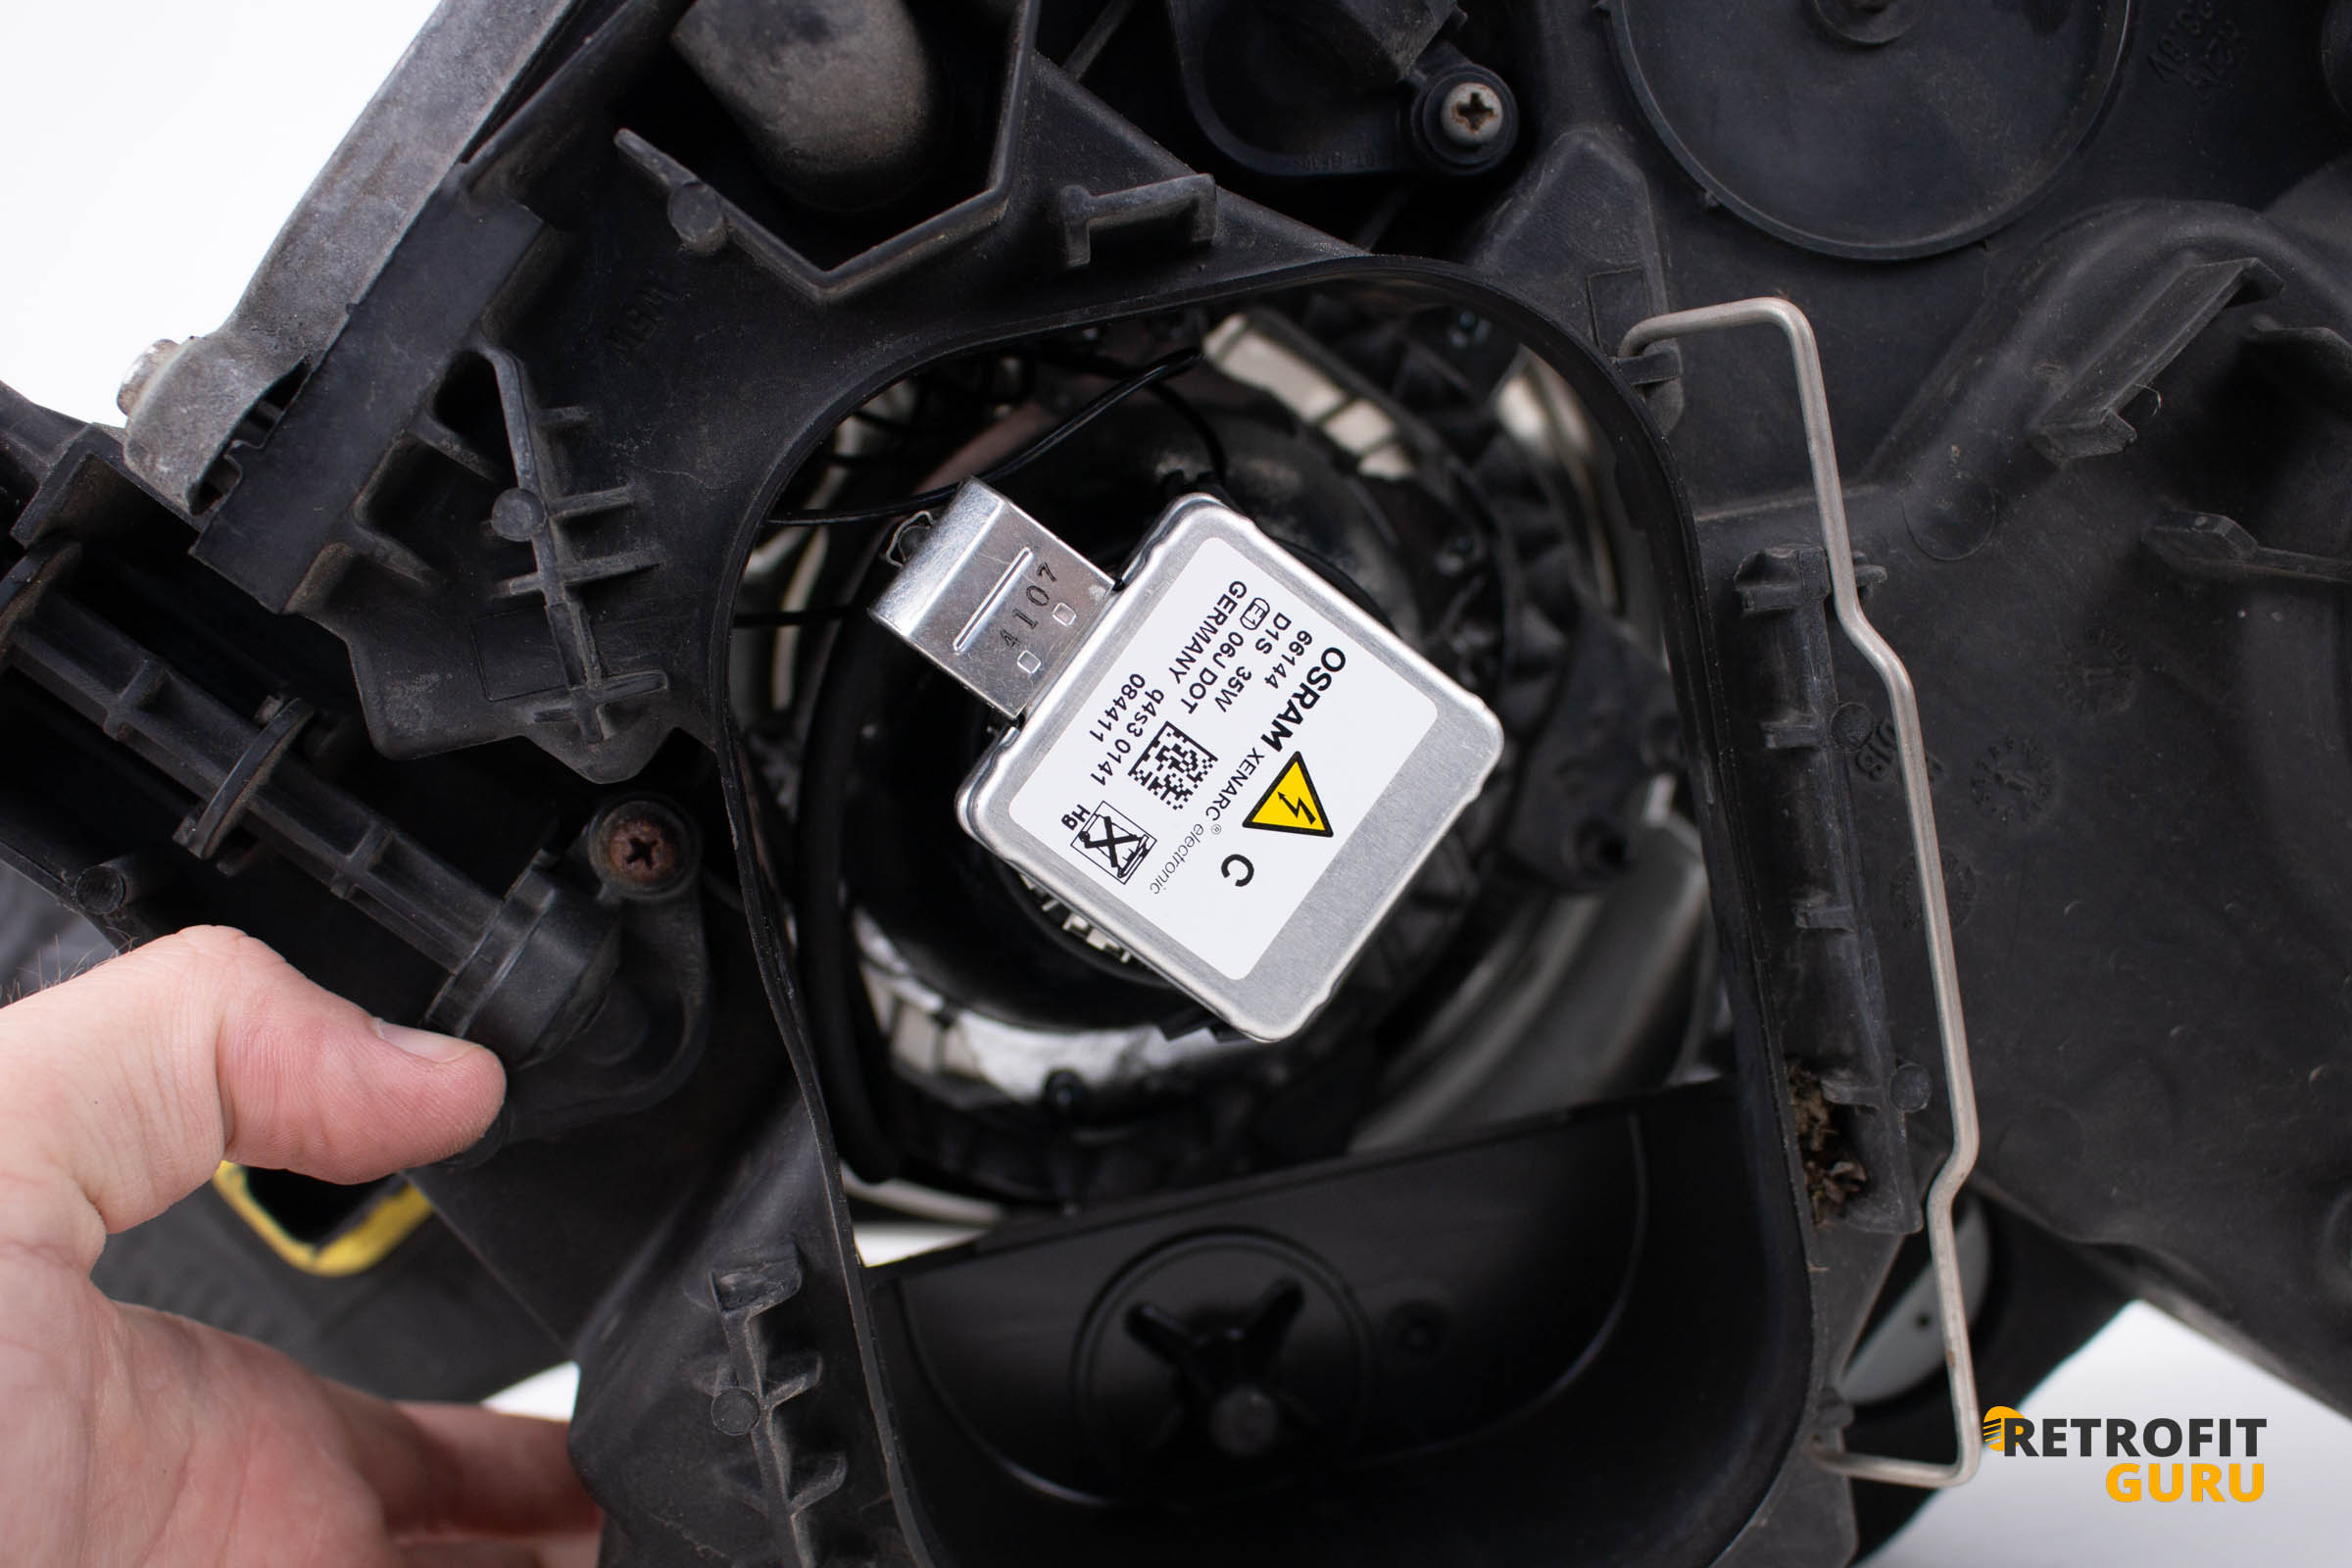
- Unplug the connector from the bulb and remove the bulb by turning it anticlockwise. Do not touch the bulb glass.
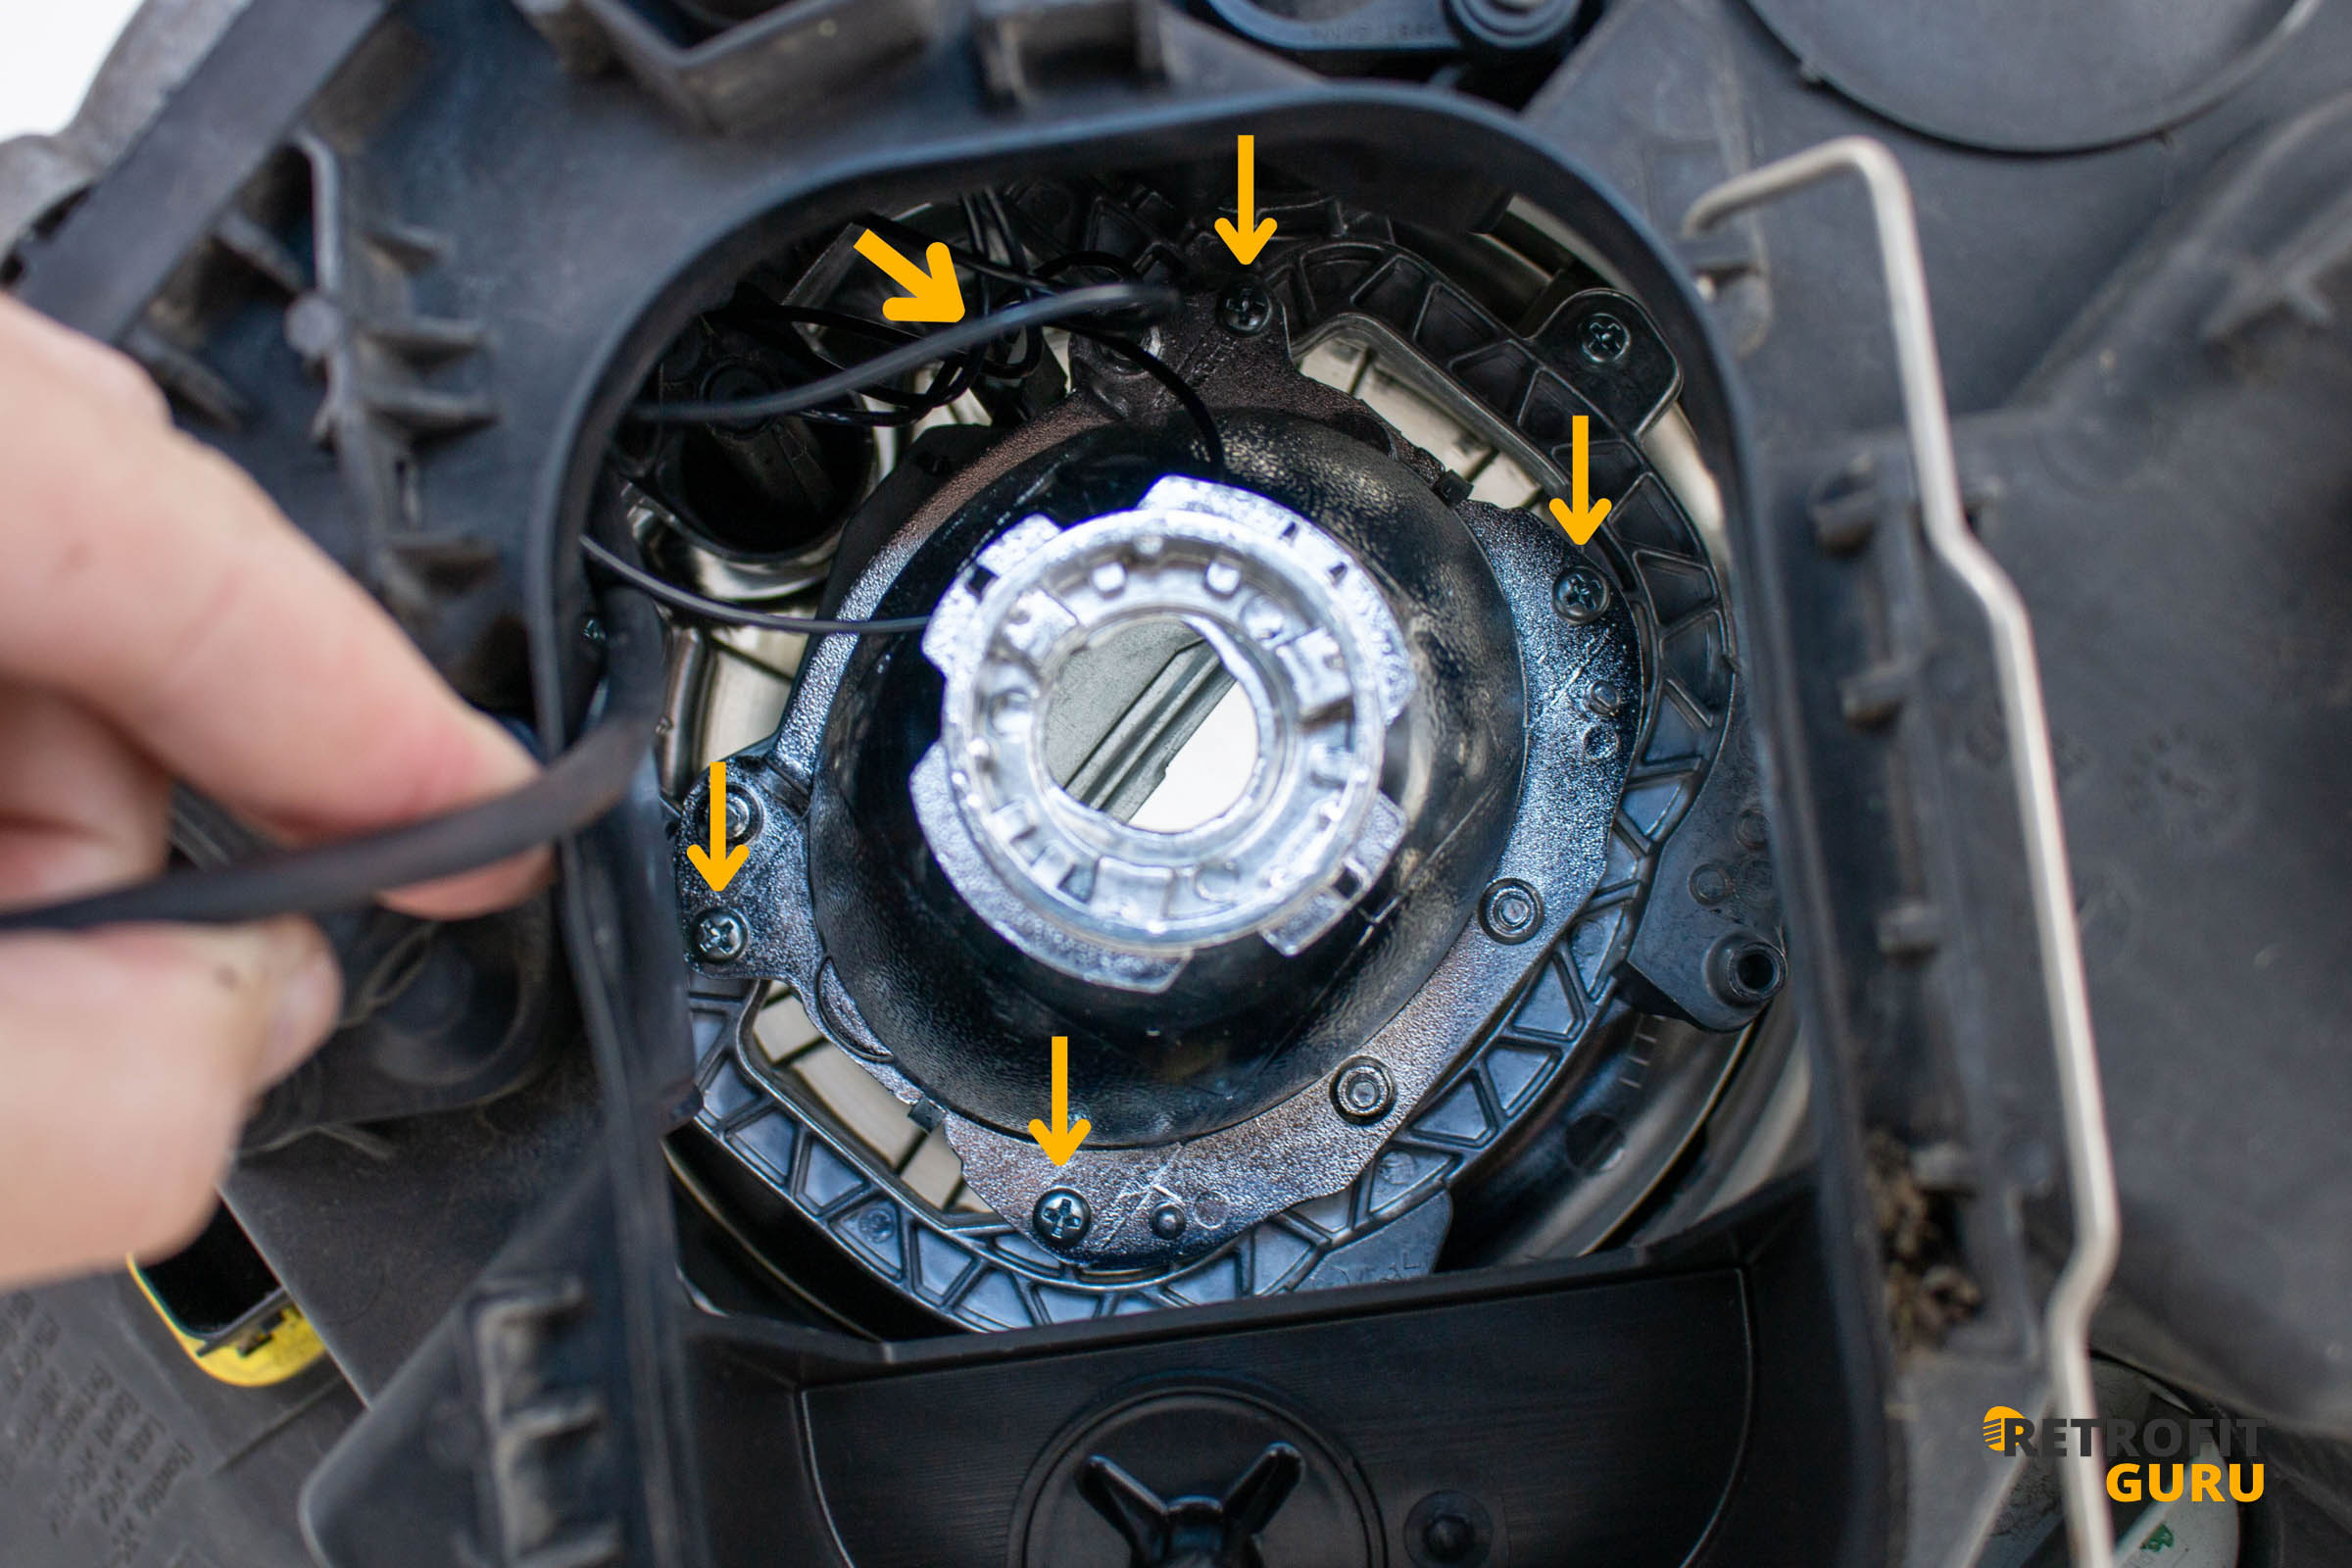
- Undo the four Torx T20 screws that hold the original projector.
- Unplug the shield solenoid cable (it switches between low and high beam) and take the projector out of the headlight.
4. Adjusting the solenoid connector
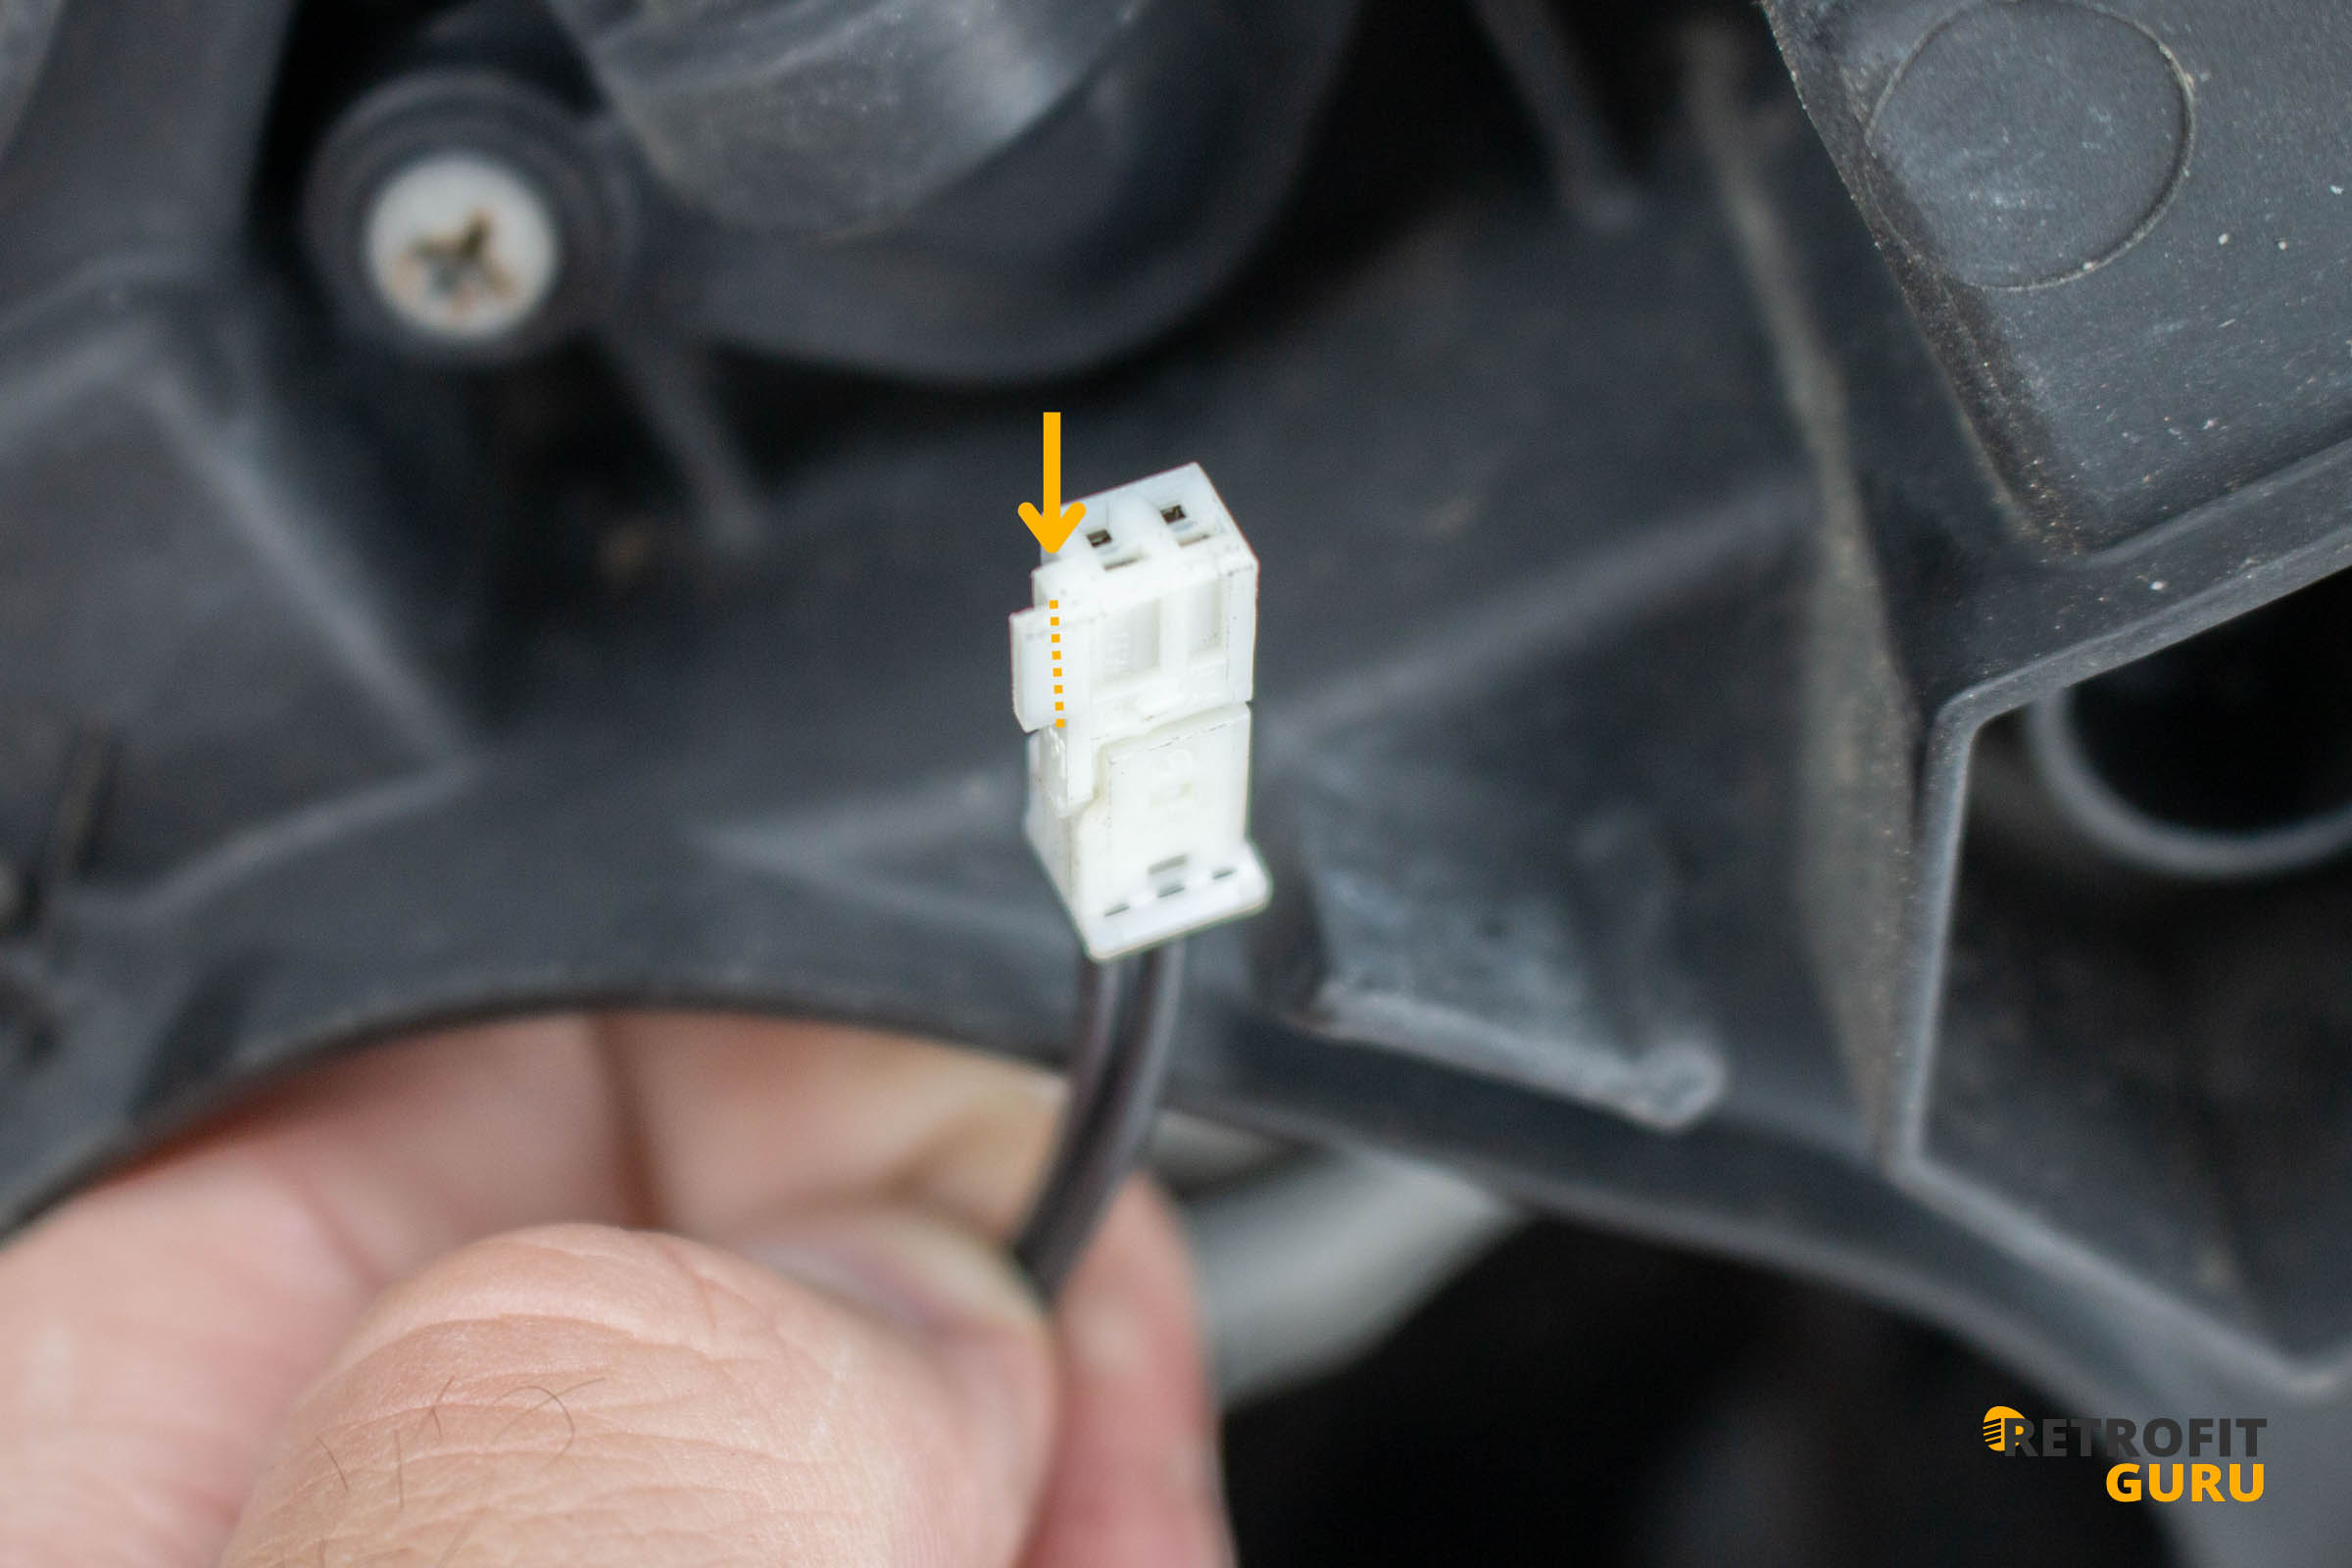
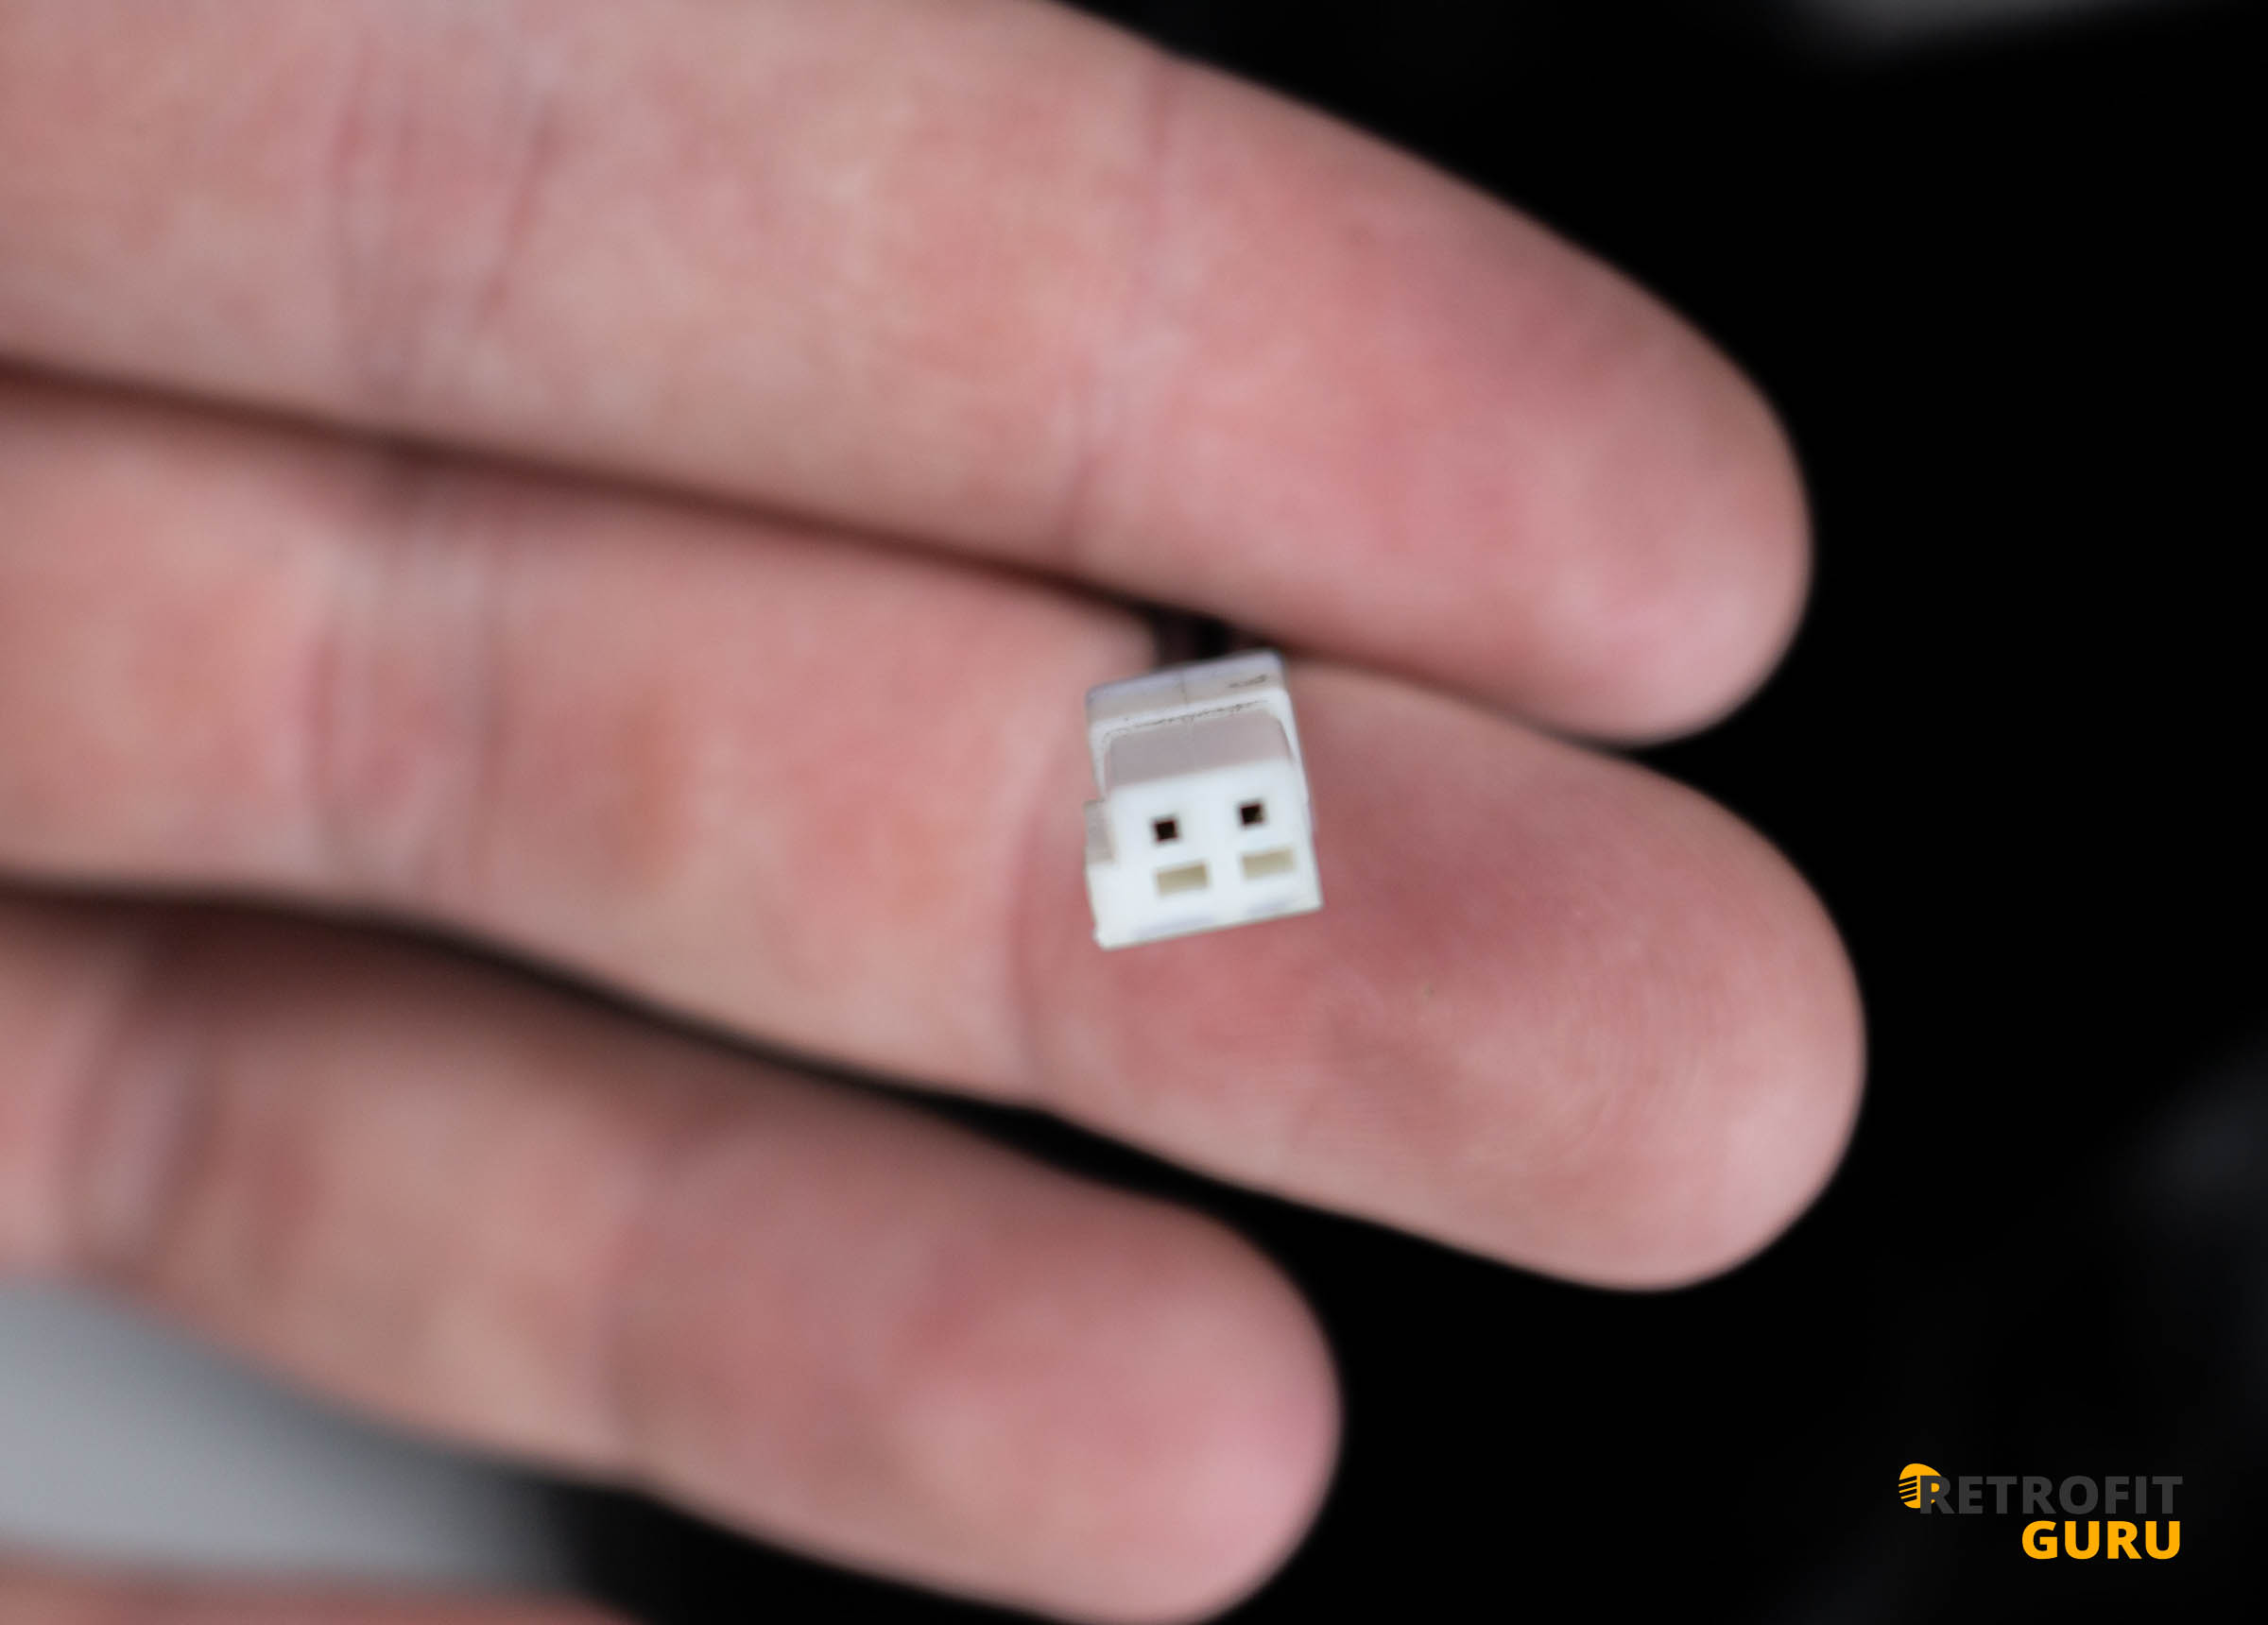
- Grind off the marked tab on the shield solenoid connector. The connector then fits the new projector. The first photo shows the connector before grinding, the second after.
5. Projector and bulb installation
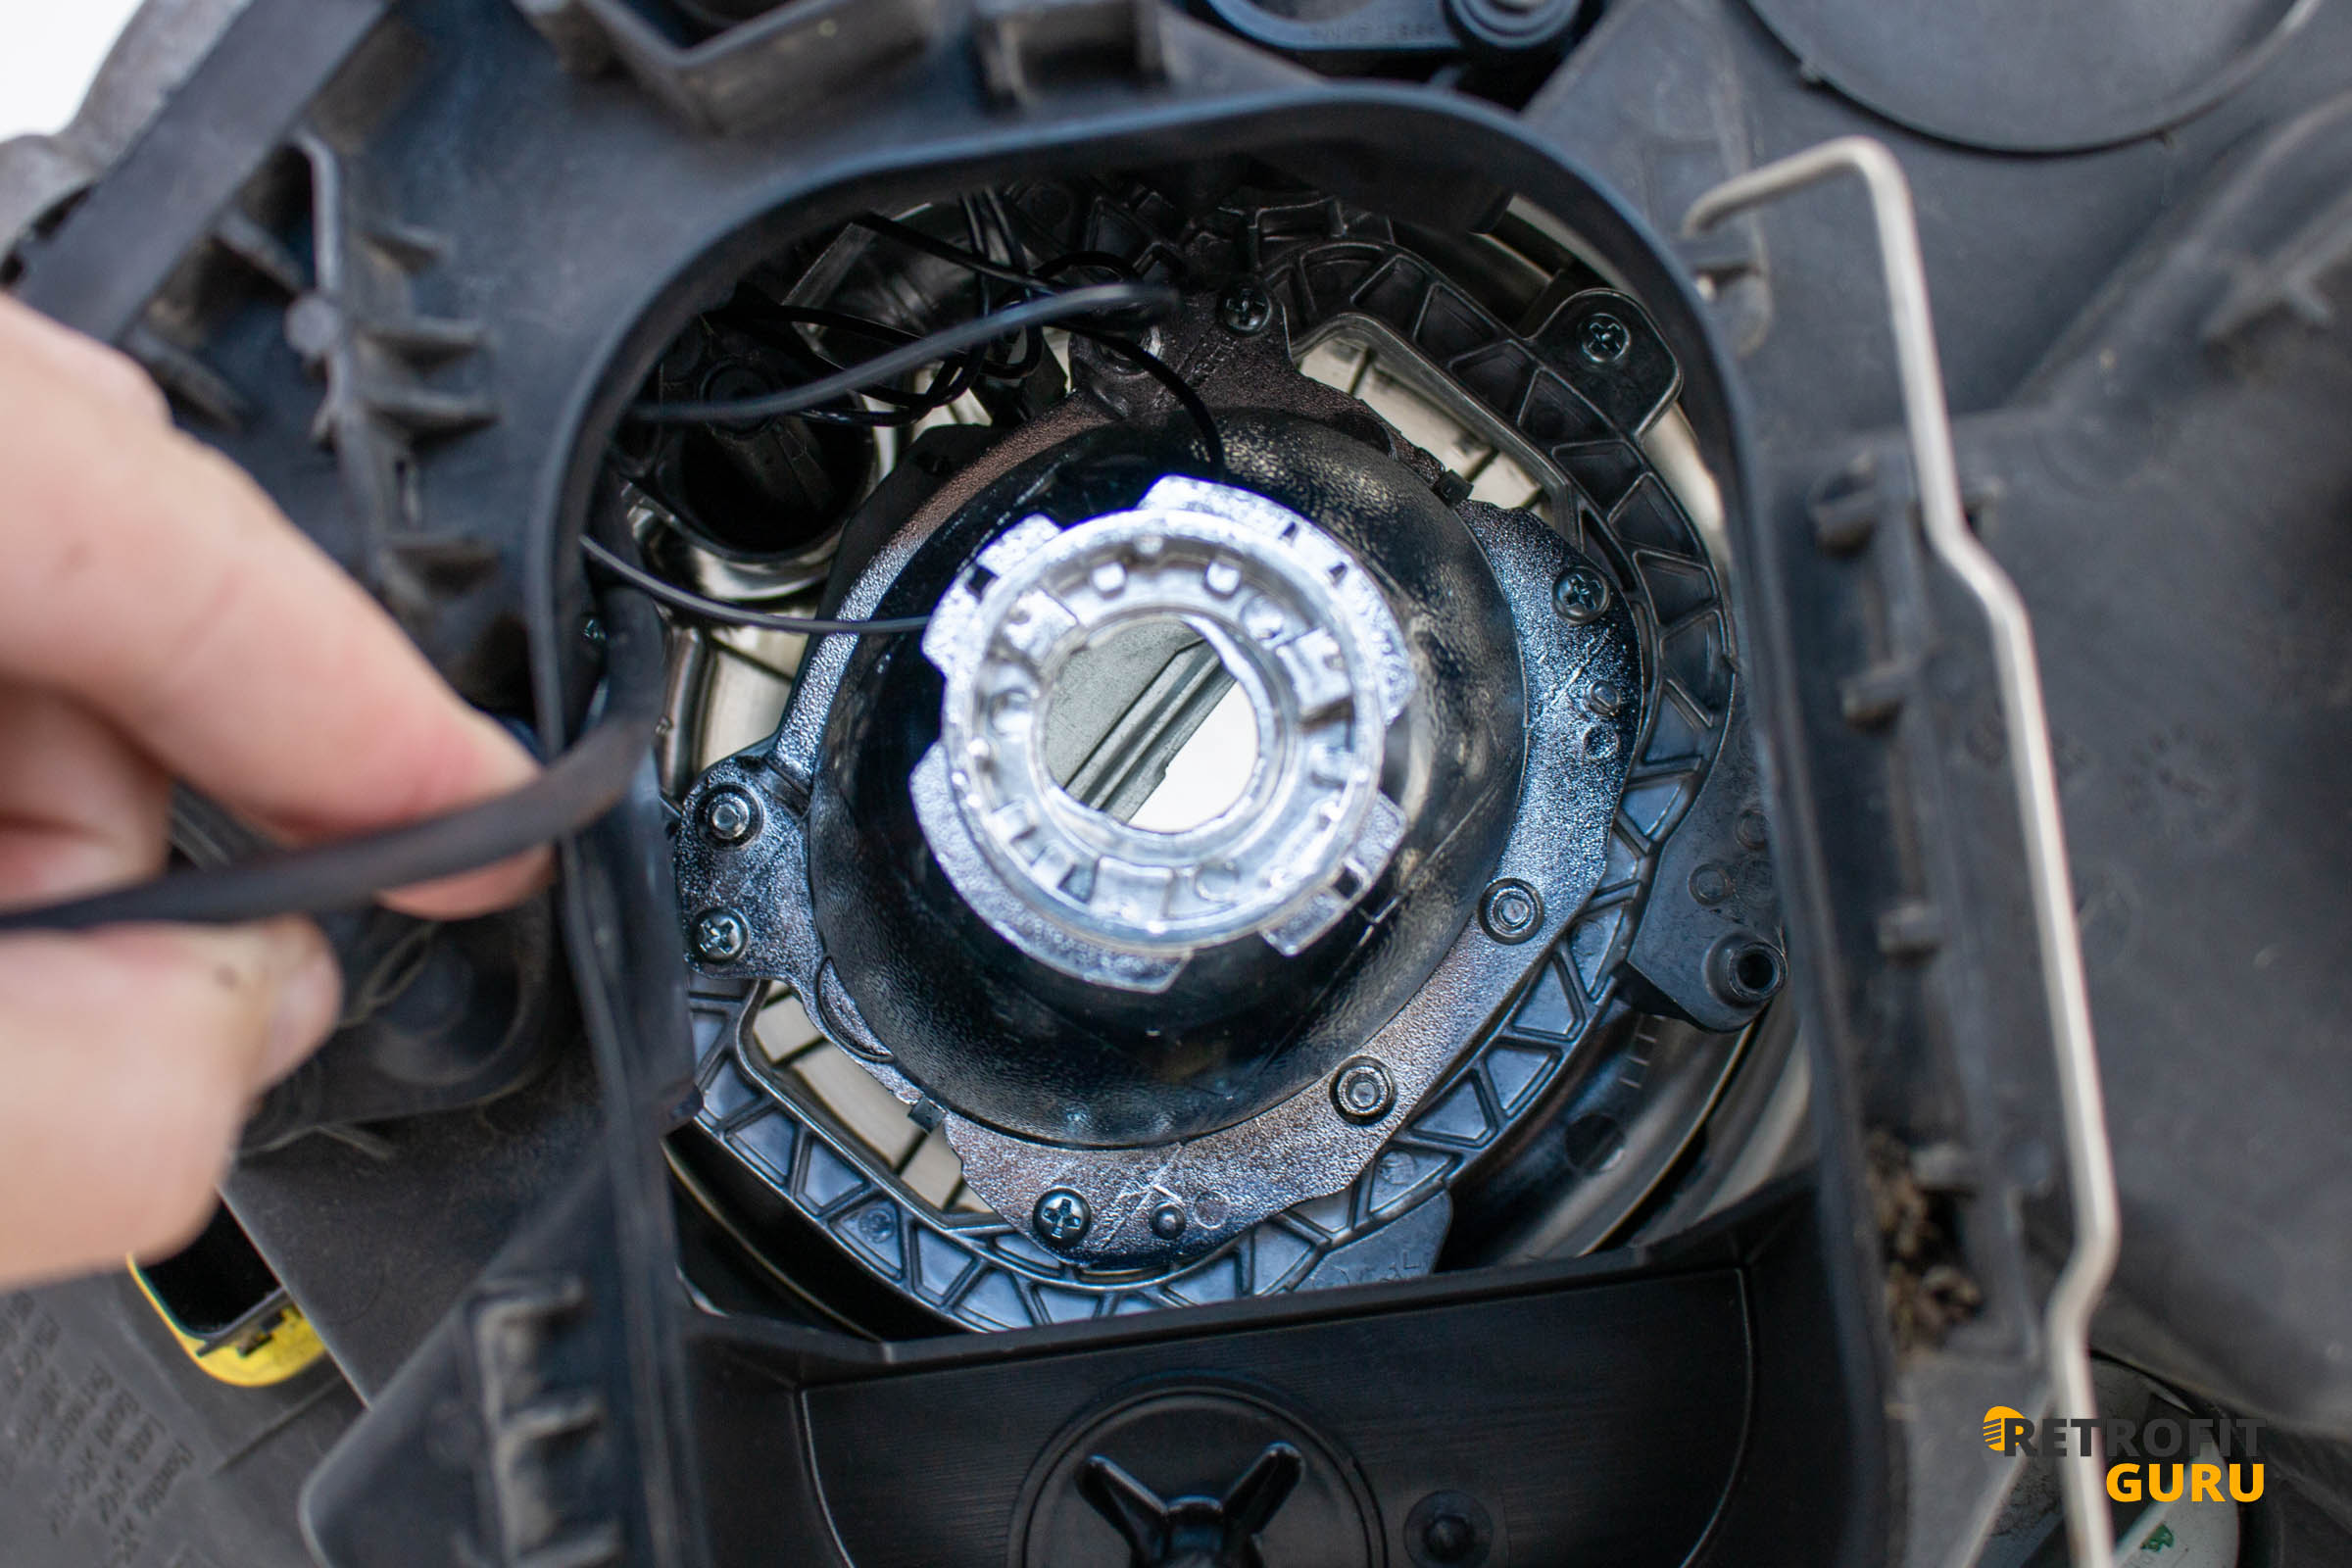
- Fit the new projector on the original mounting and screw it in with the original Torx screws. No adapters are needed here.
- Connect the shield solenoid cable to the new projector. The high beams then work the same as with the original projector. The solenoid runs on the 24 V system without modifications.
- Fit the bulb into the holder from the kit, insert it into the projector and lock it by turning clockwise. You should feel a gentle stop.
- Plug the connector back onto the bulb and refit the rear cover in the reverse order.
Done
Refit the headlights to the vehicle and have them aimed using the original adjusting screws in the headlight. Automatic levelling keeps working.
You will find the complete kit here: Bi-xenon kit for Mercedes Actros MP4/MP5
The lenses must be clear. Yellowed or scratched lenses scatter the cut-off and you will not get the full output of the new projector.
If you are unsure about any step, send us a photo at info@retrofitguru.com or call +420 736 443 413 and we will help.
More articles
Xenon Projector Replacement – Audi A4/S4 B6 We have prepared a detailed guide to converting the xenon headlights of the Audi A4 B6 with 3-inch projectors to more powerful bi-xenon projectors with our Plug &… Read more → Xenon Projector Replacement – Ford S-Max Mk1 We have prepared a detailed guide to converting the xenon headlights of the Ford S-Max mk1 to more powerful bi-xenon projectors with our Plug & Play repair kit. The whole process… Read more →