
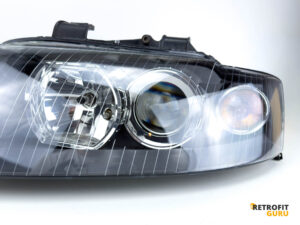
 Audi A4/S4 B6
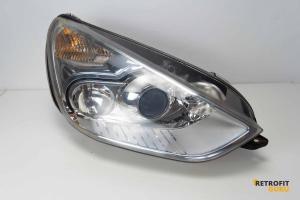 Ford S-Max mk1
 Audi TT mk1
 Ford Mondeo Mk4
 Octavia 1
Xenon Projector Replacement – Audi A4/S4 B6
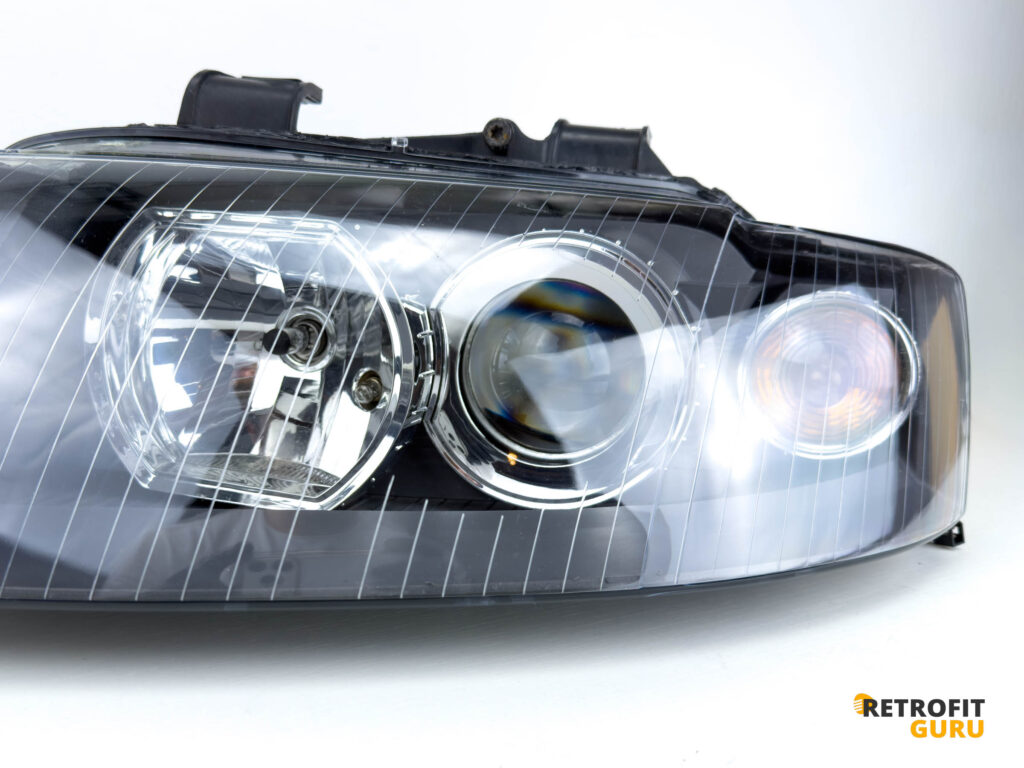
We have prepared detailed instructions for upgrading the xenon headlights on Audi A4 B6 with 3-inch projectors at more powerful bi-xenon projectors with our repair Plug & Play kit. The whole process is designed to be as simple as possible and did not require any modifications headlights.
Projector replacement procedure
1. Preparation
Check that you have a complete and correct kit for your headlights.
Read the instructions carefully for a smooth process.
- Prepare your basic tools — you’ll need a Torx, a Phillips screwdriver, and a socket set.
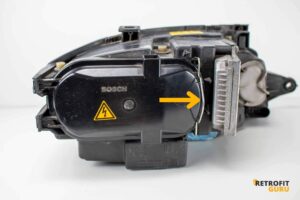
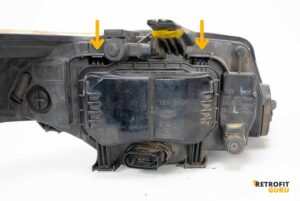
2. Removing the rear headlight cover
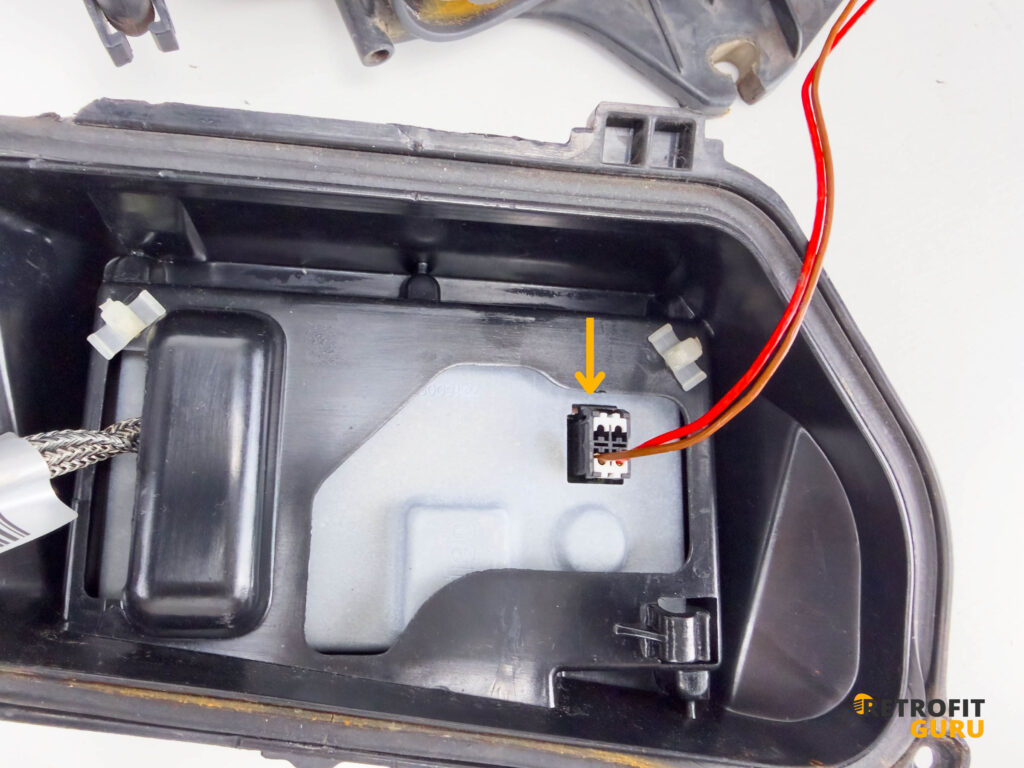
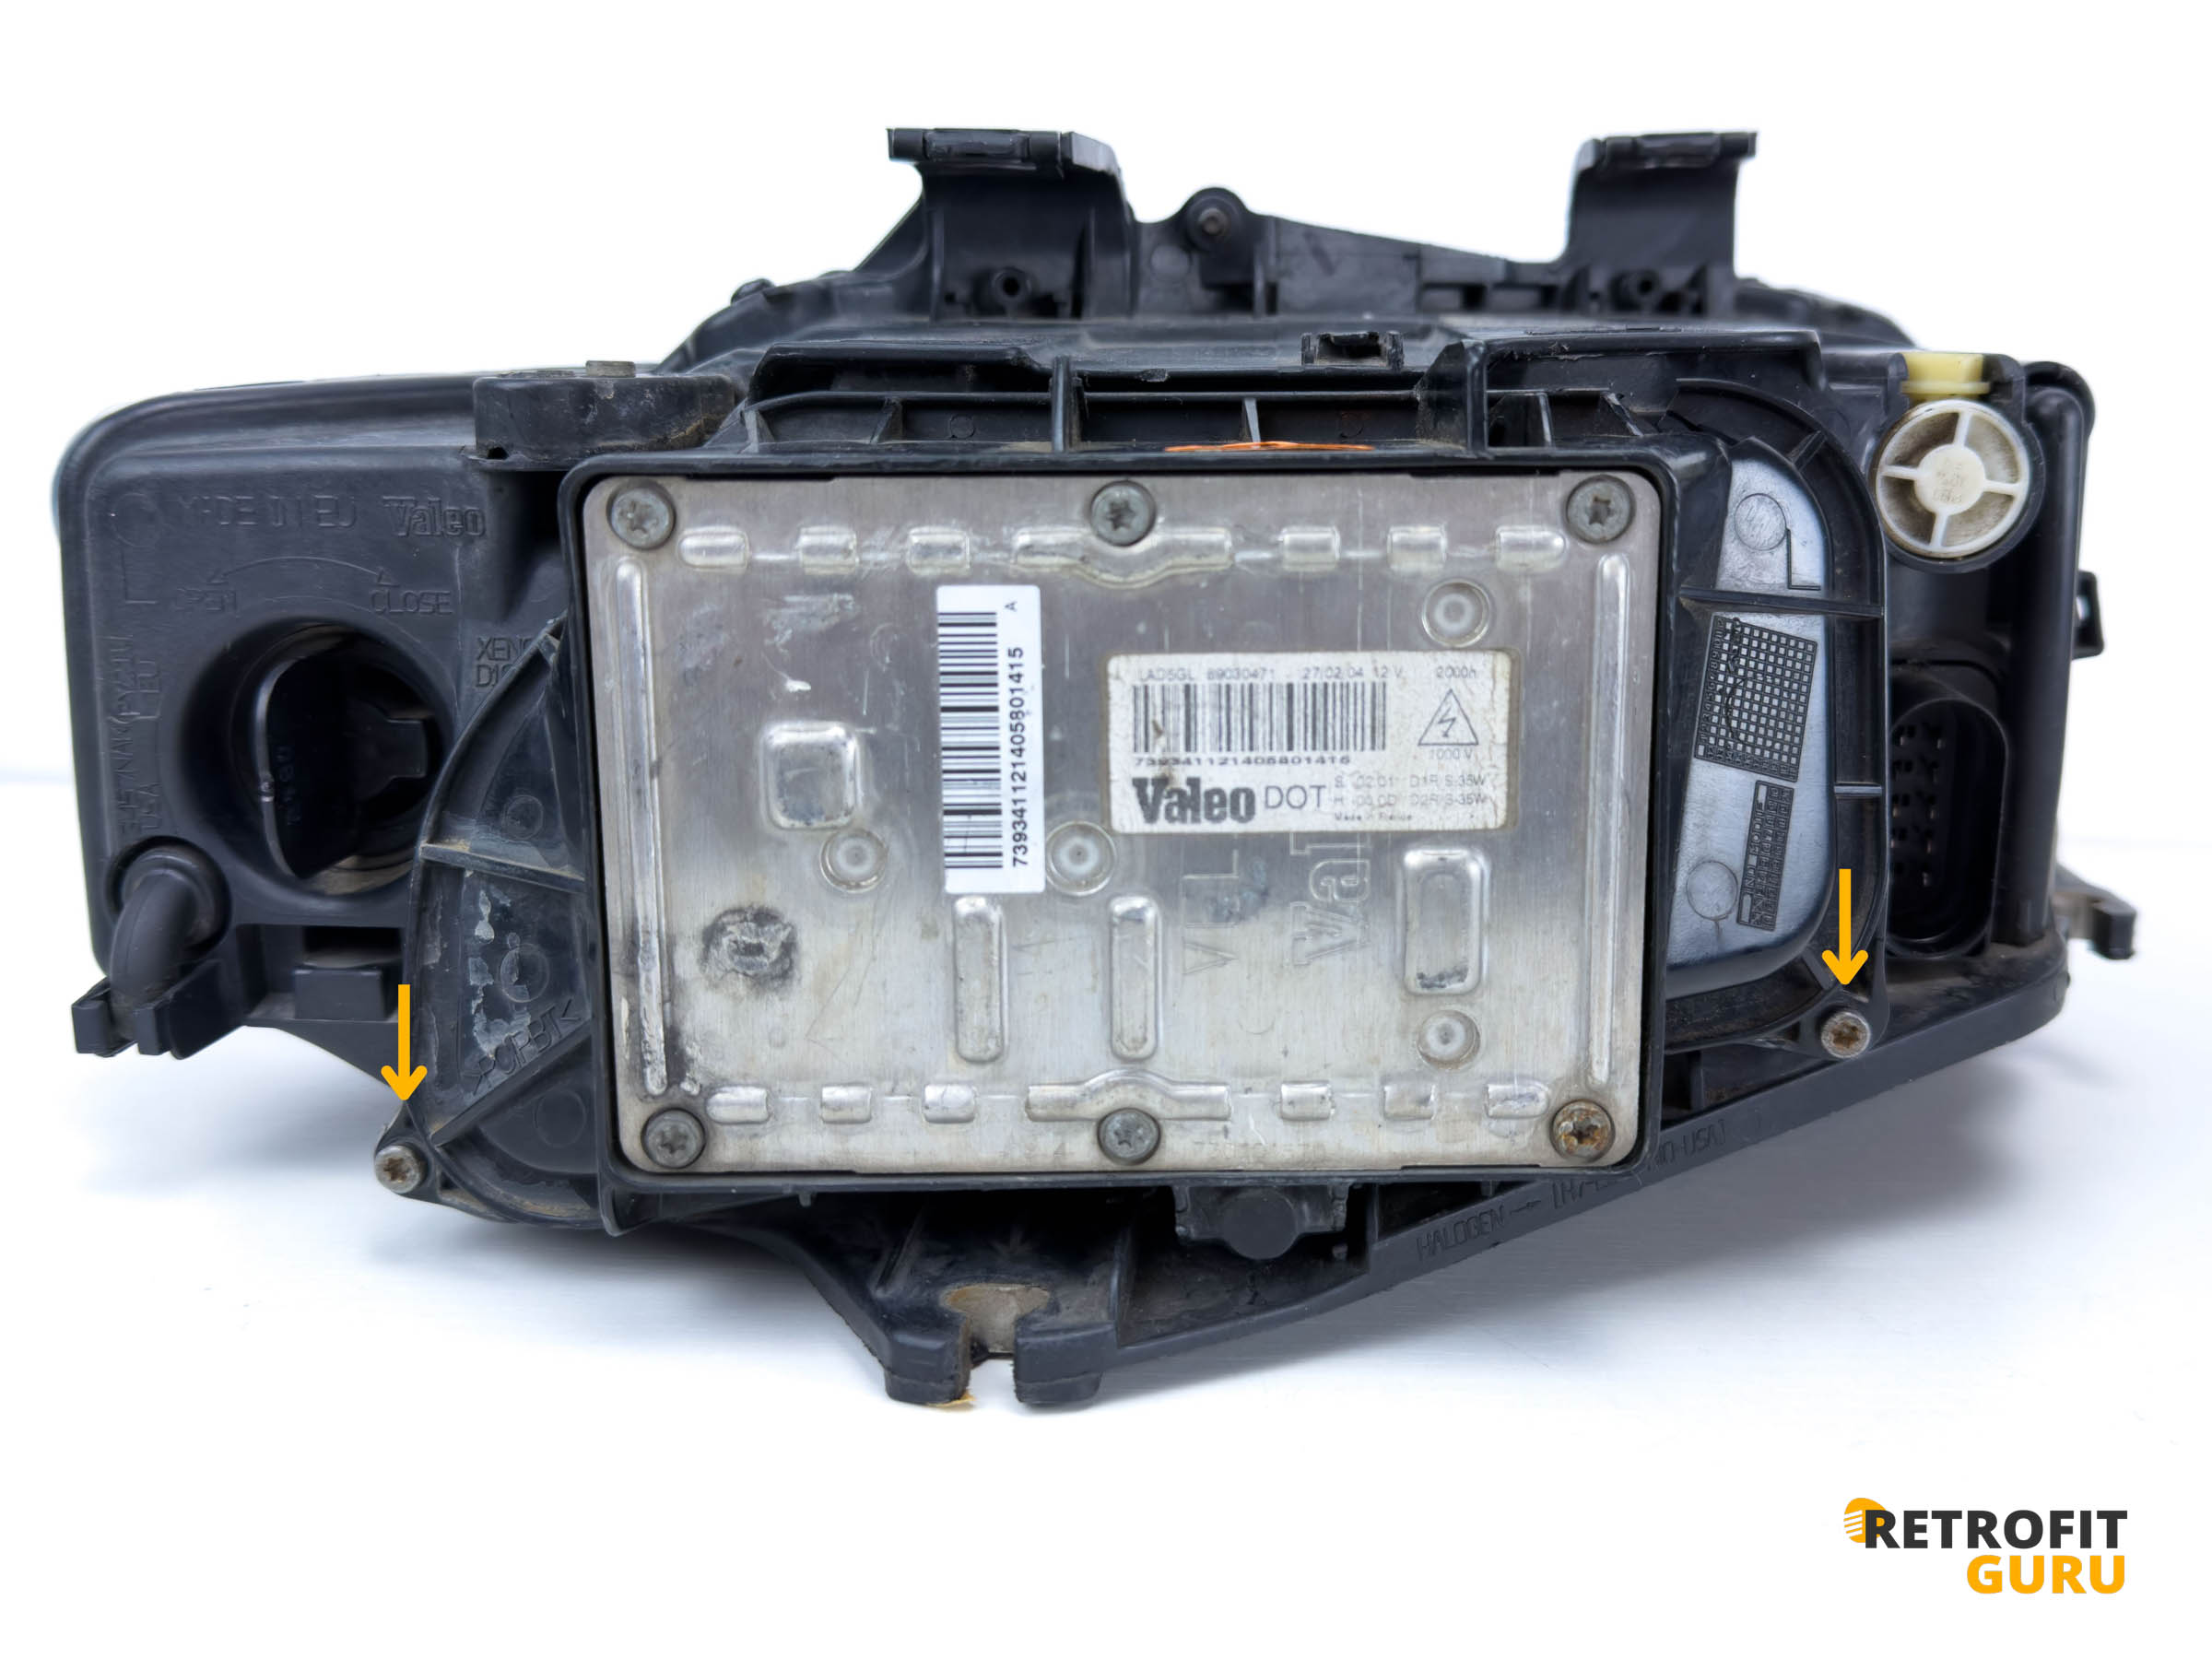
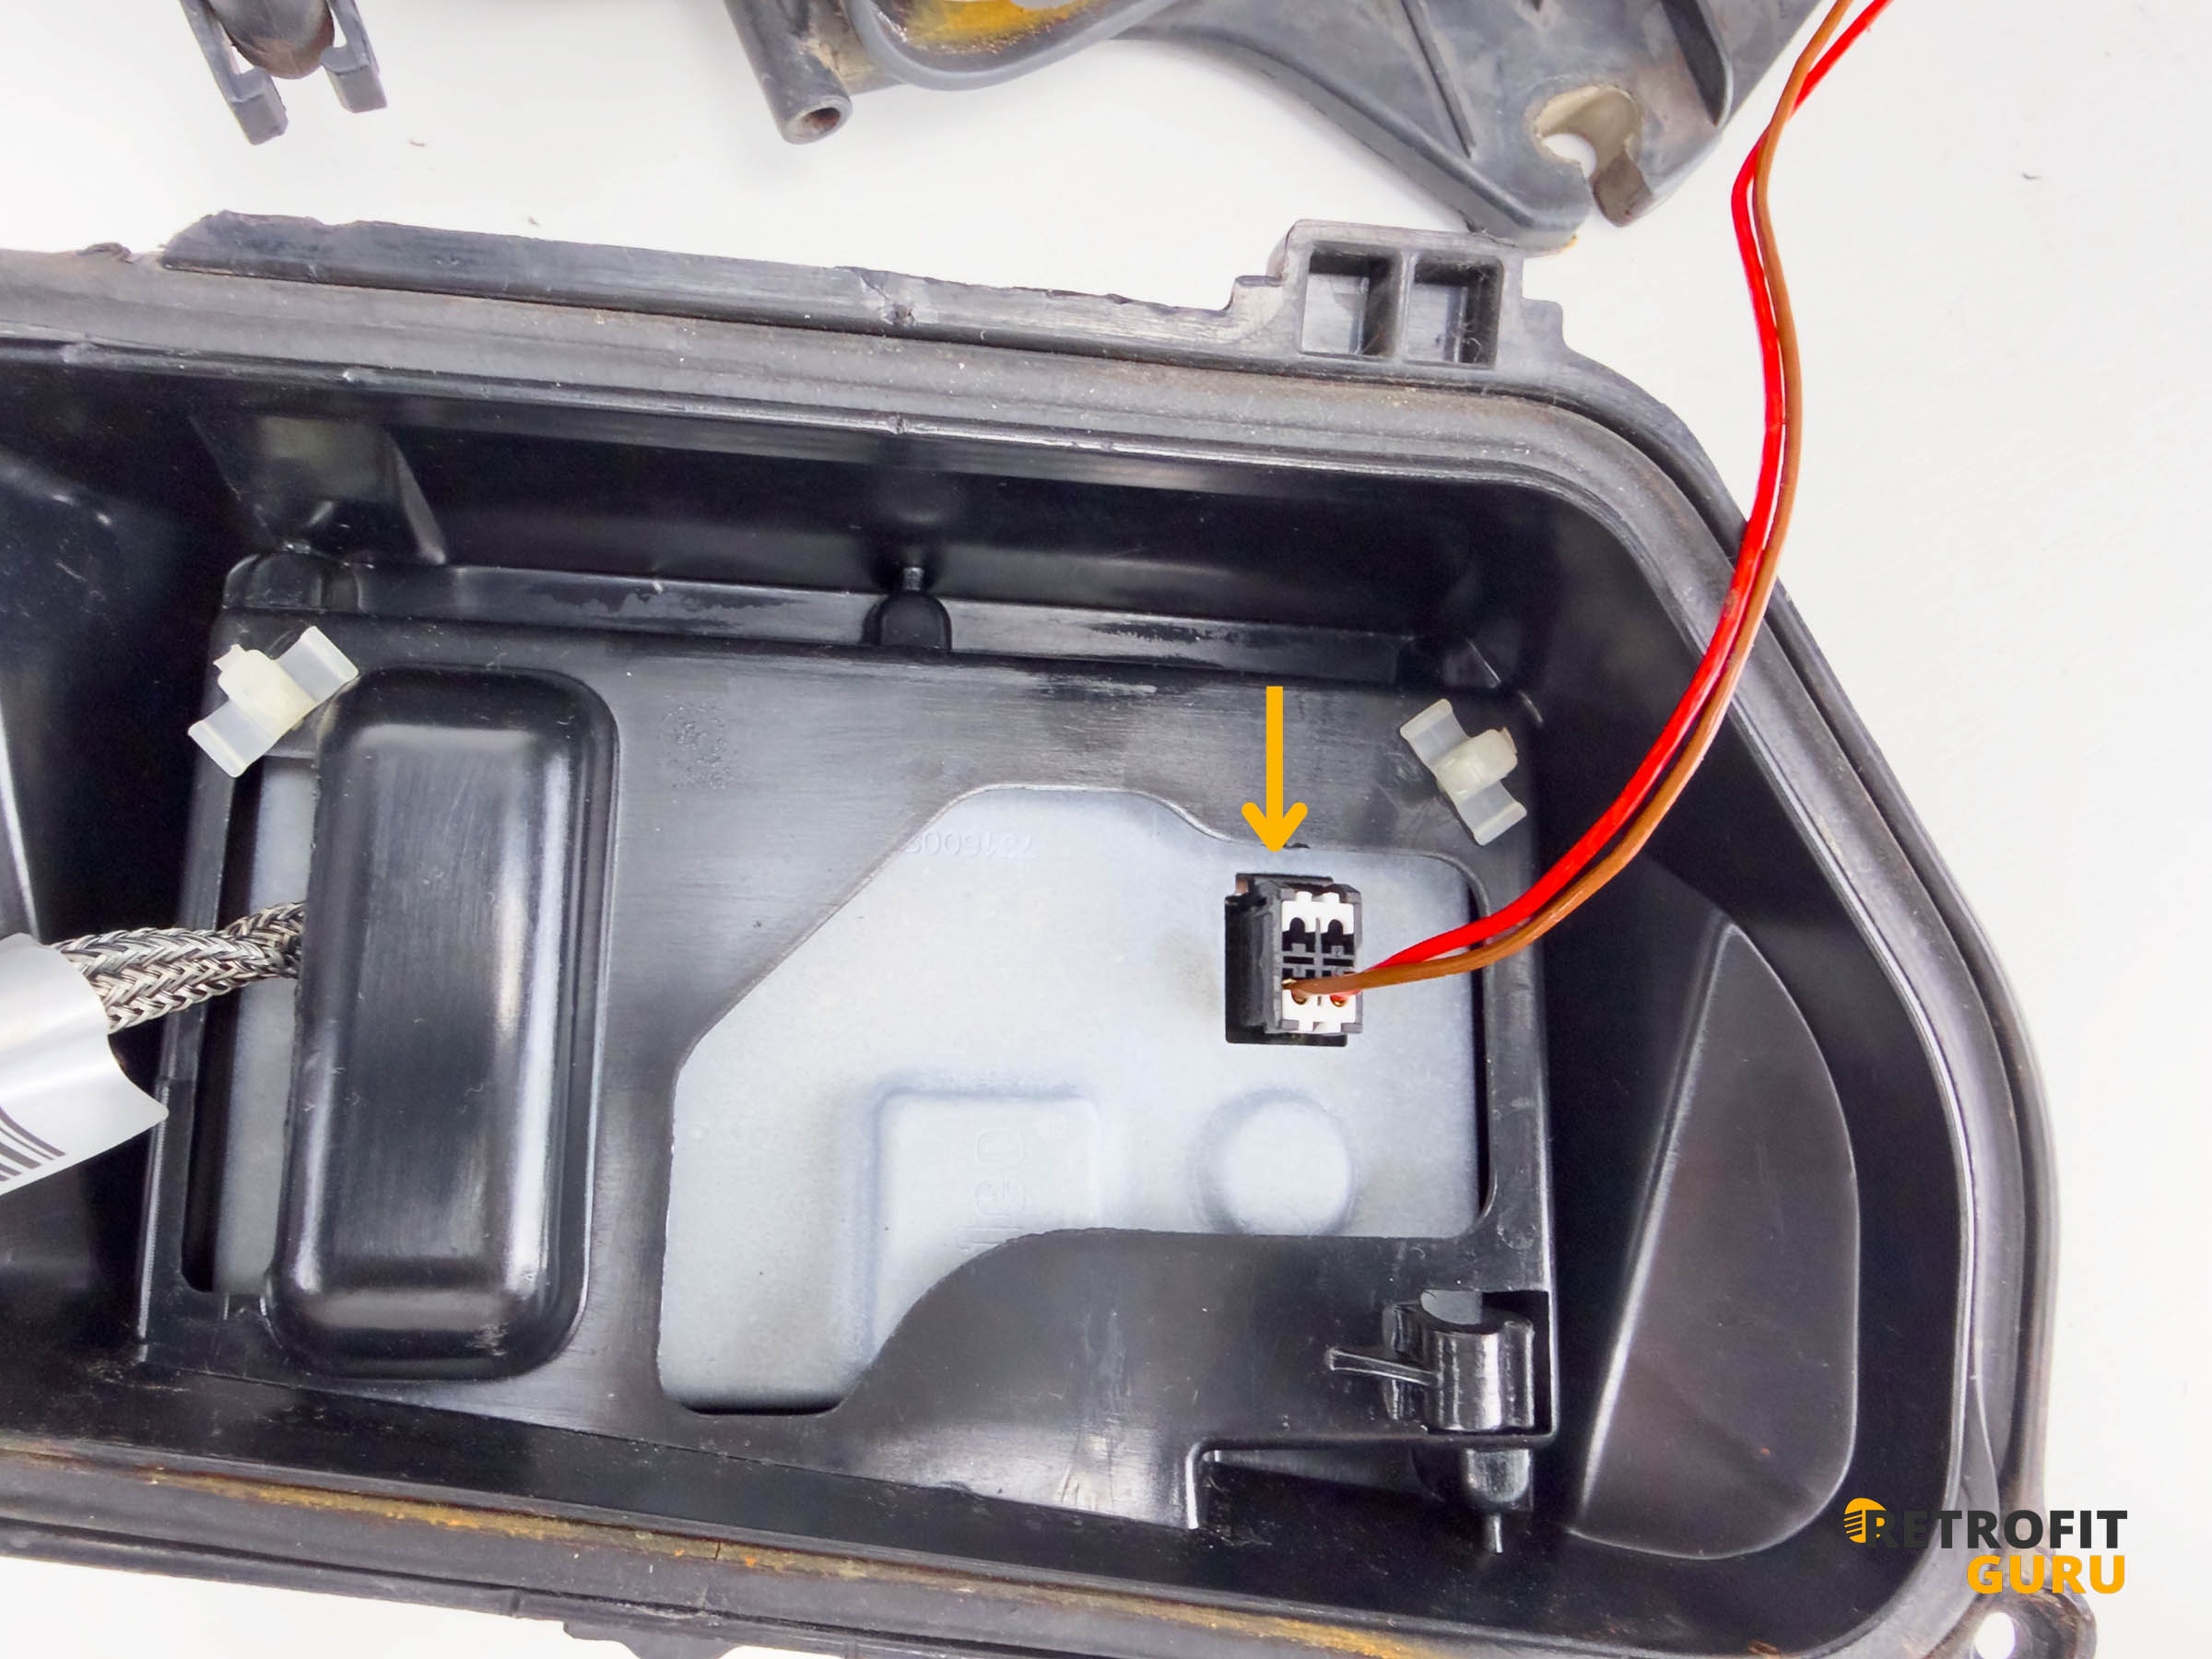
- Remove the two Torx T20 fixing screws.
- Unclip the rear cover and then slide it out of the holder.
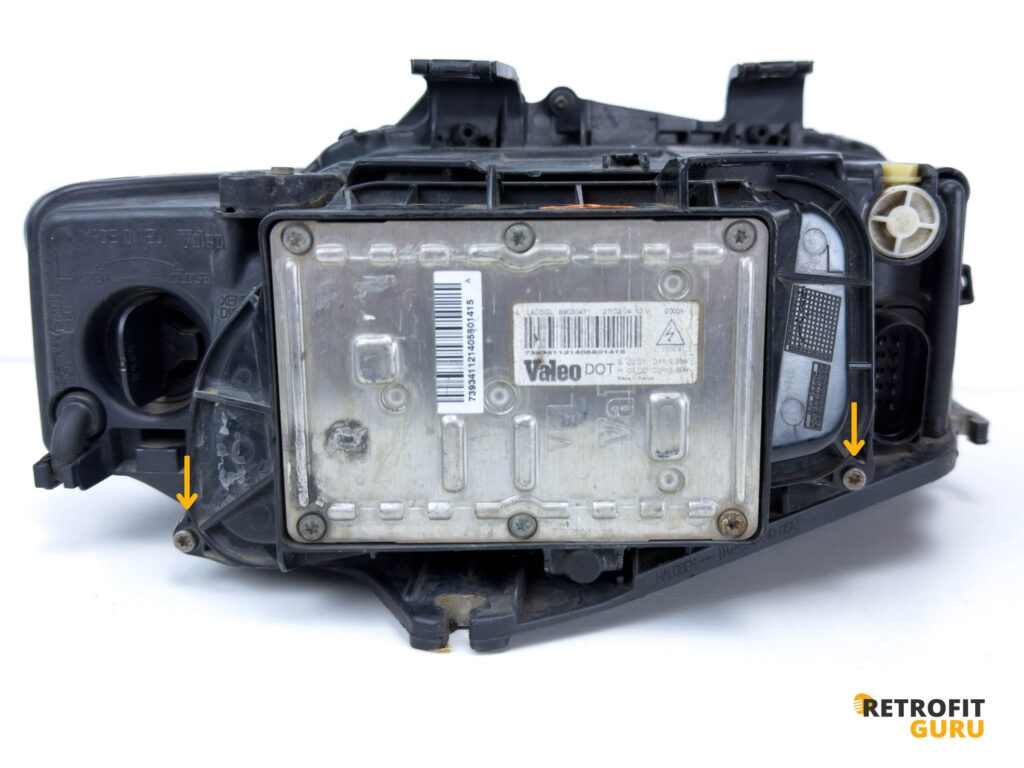
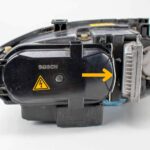
- Disconnect the ballast connector and remove the rear headlight cover.
3. Bulb removal
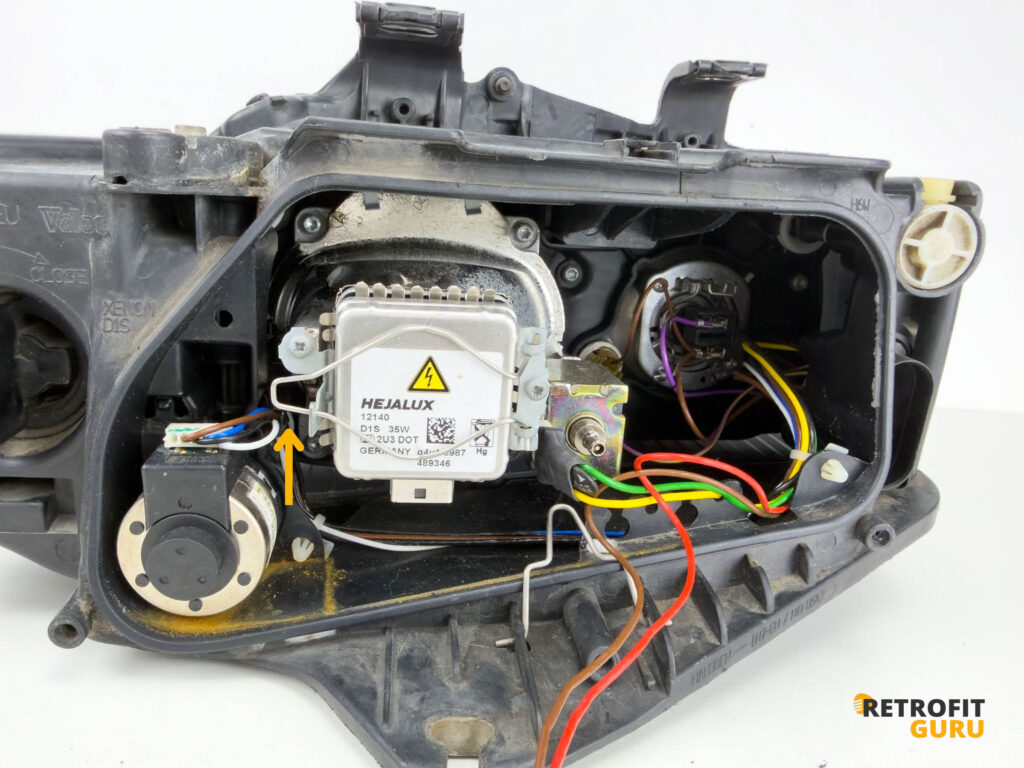
- Disconnect the connector from the bulb, release the clip and carefully pull the bulb out. Take care not to touch the glass of the bulb.
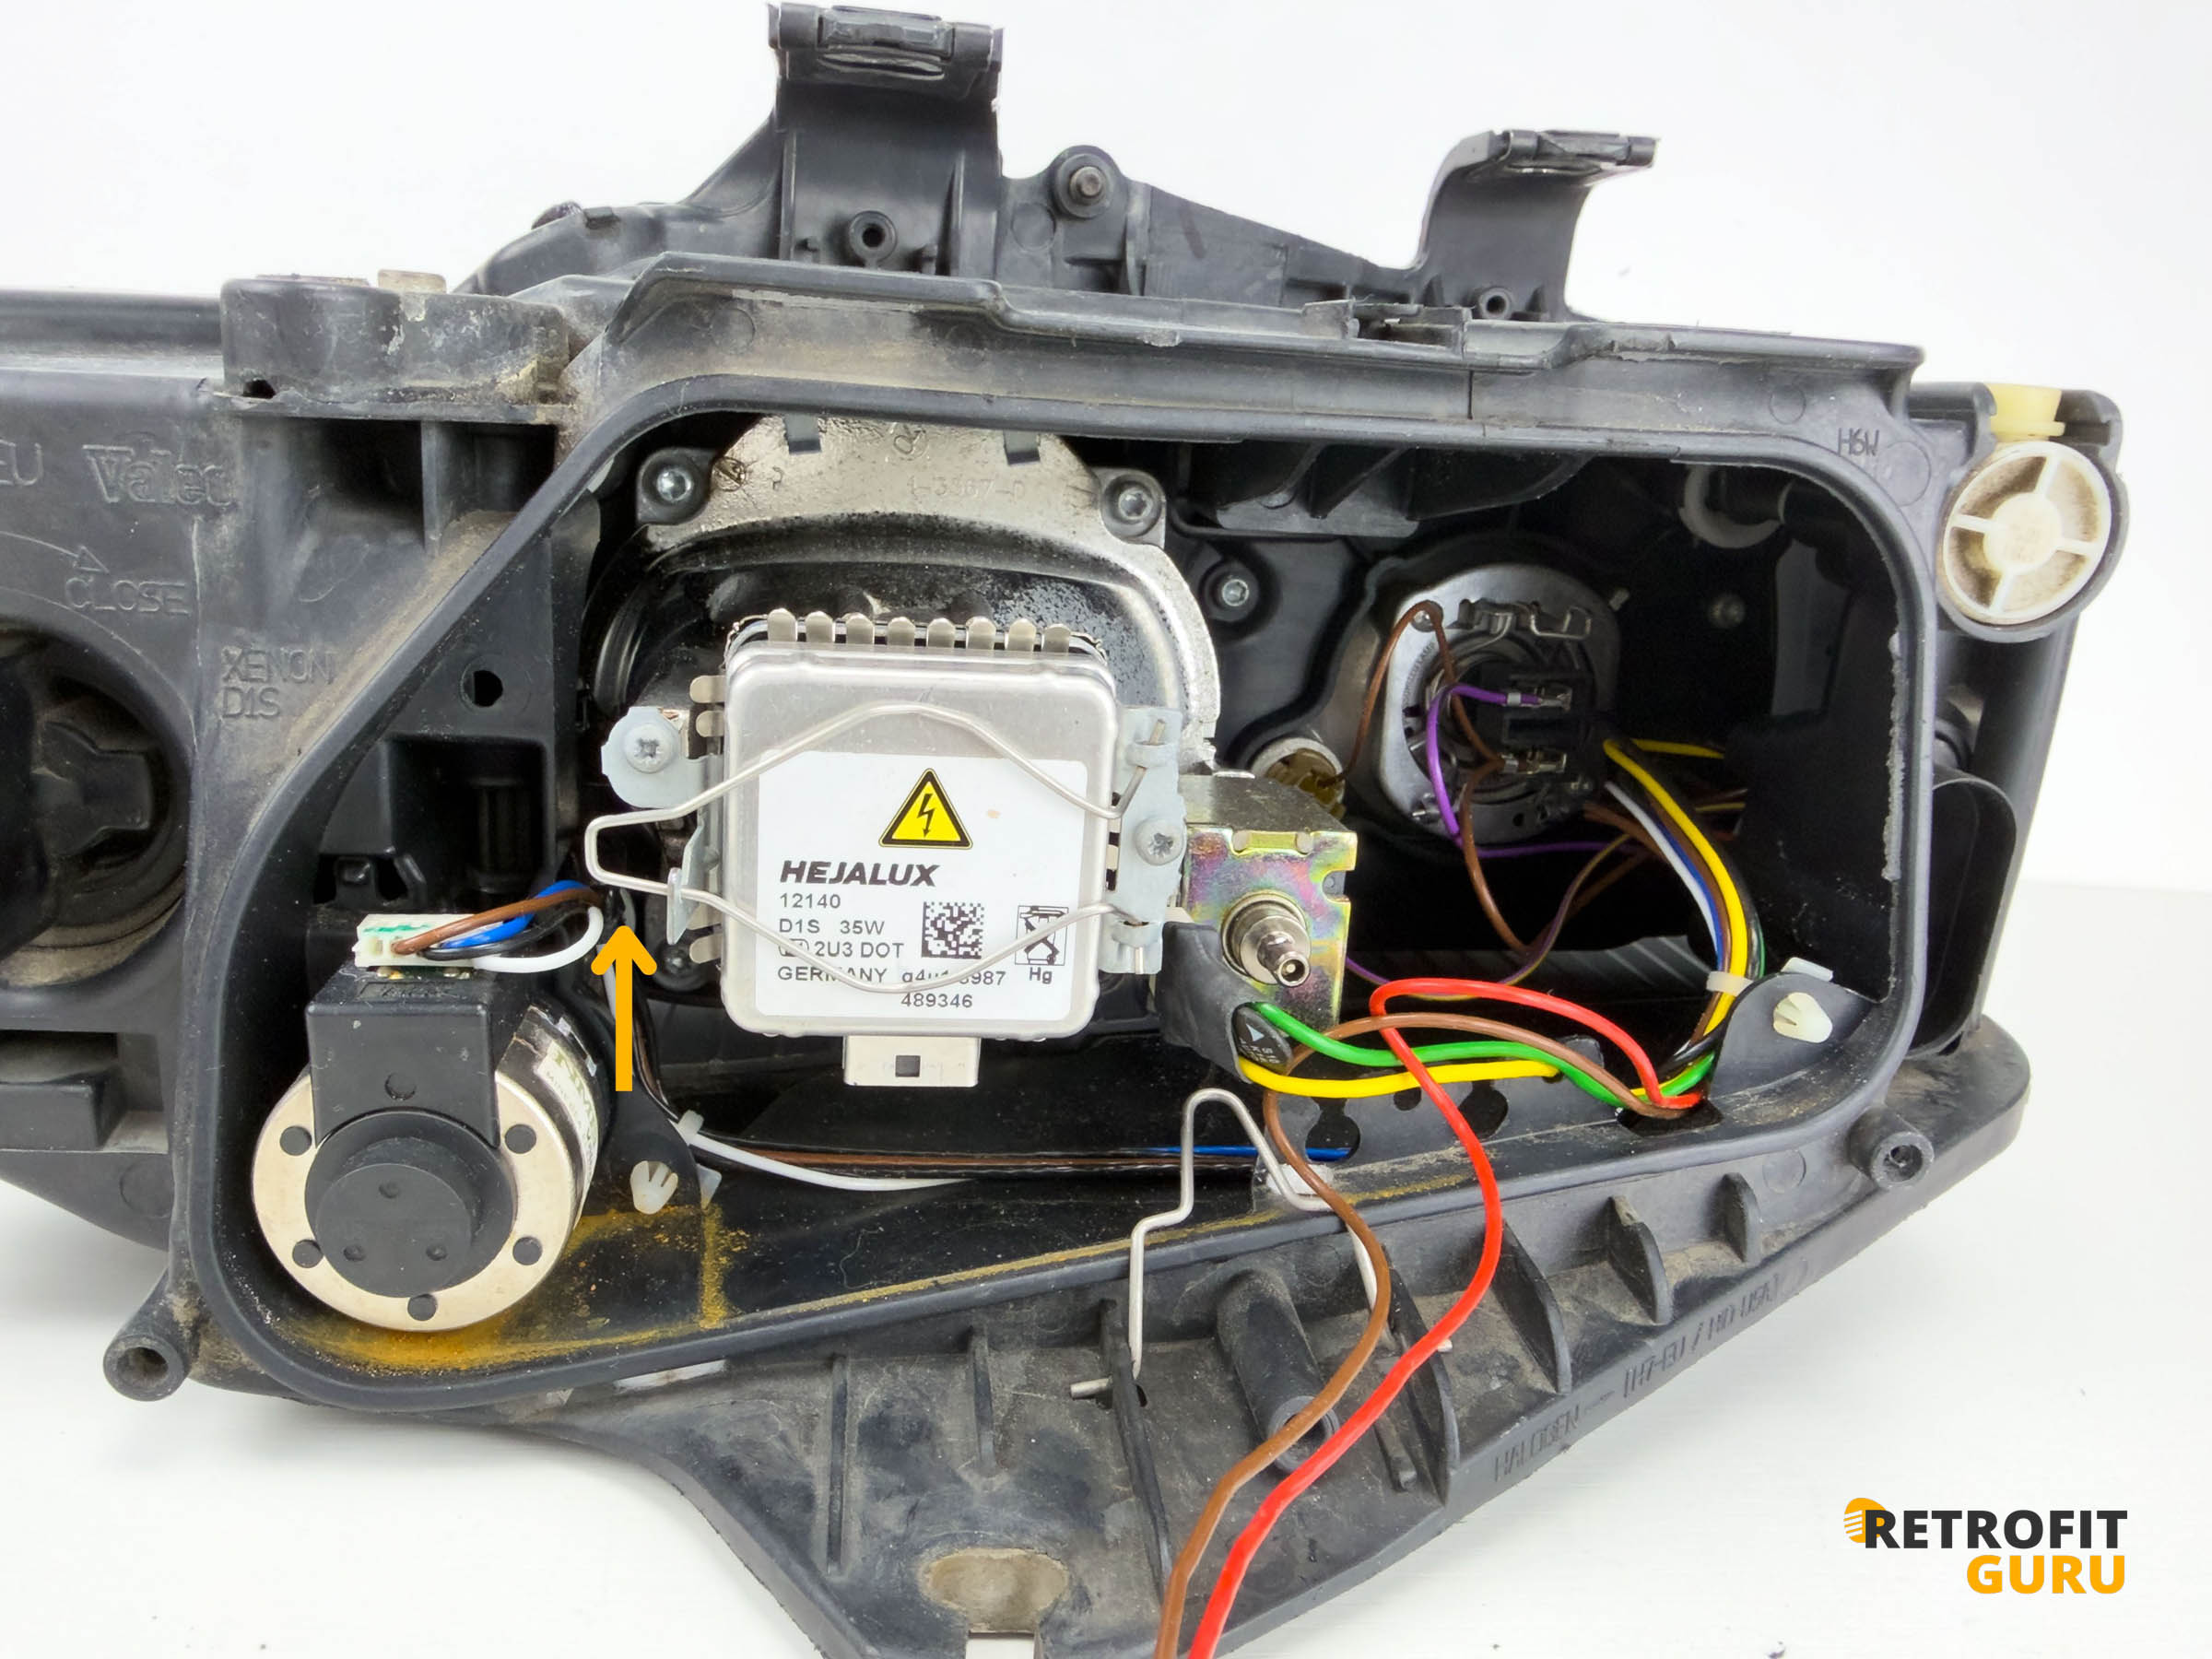
4. Removal of the projector
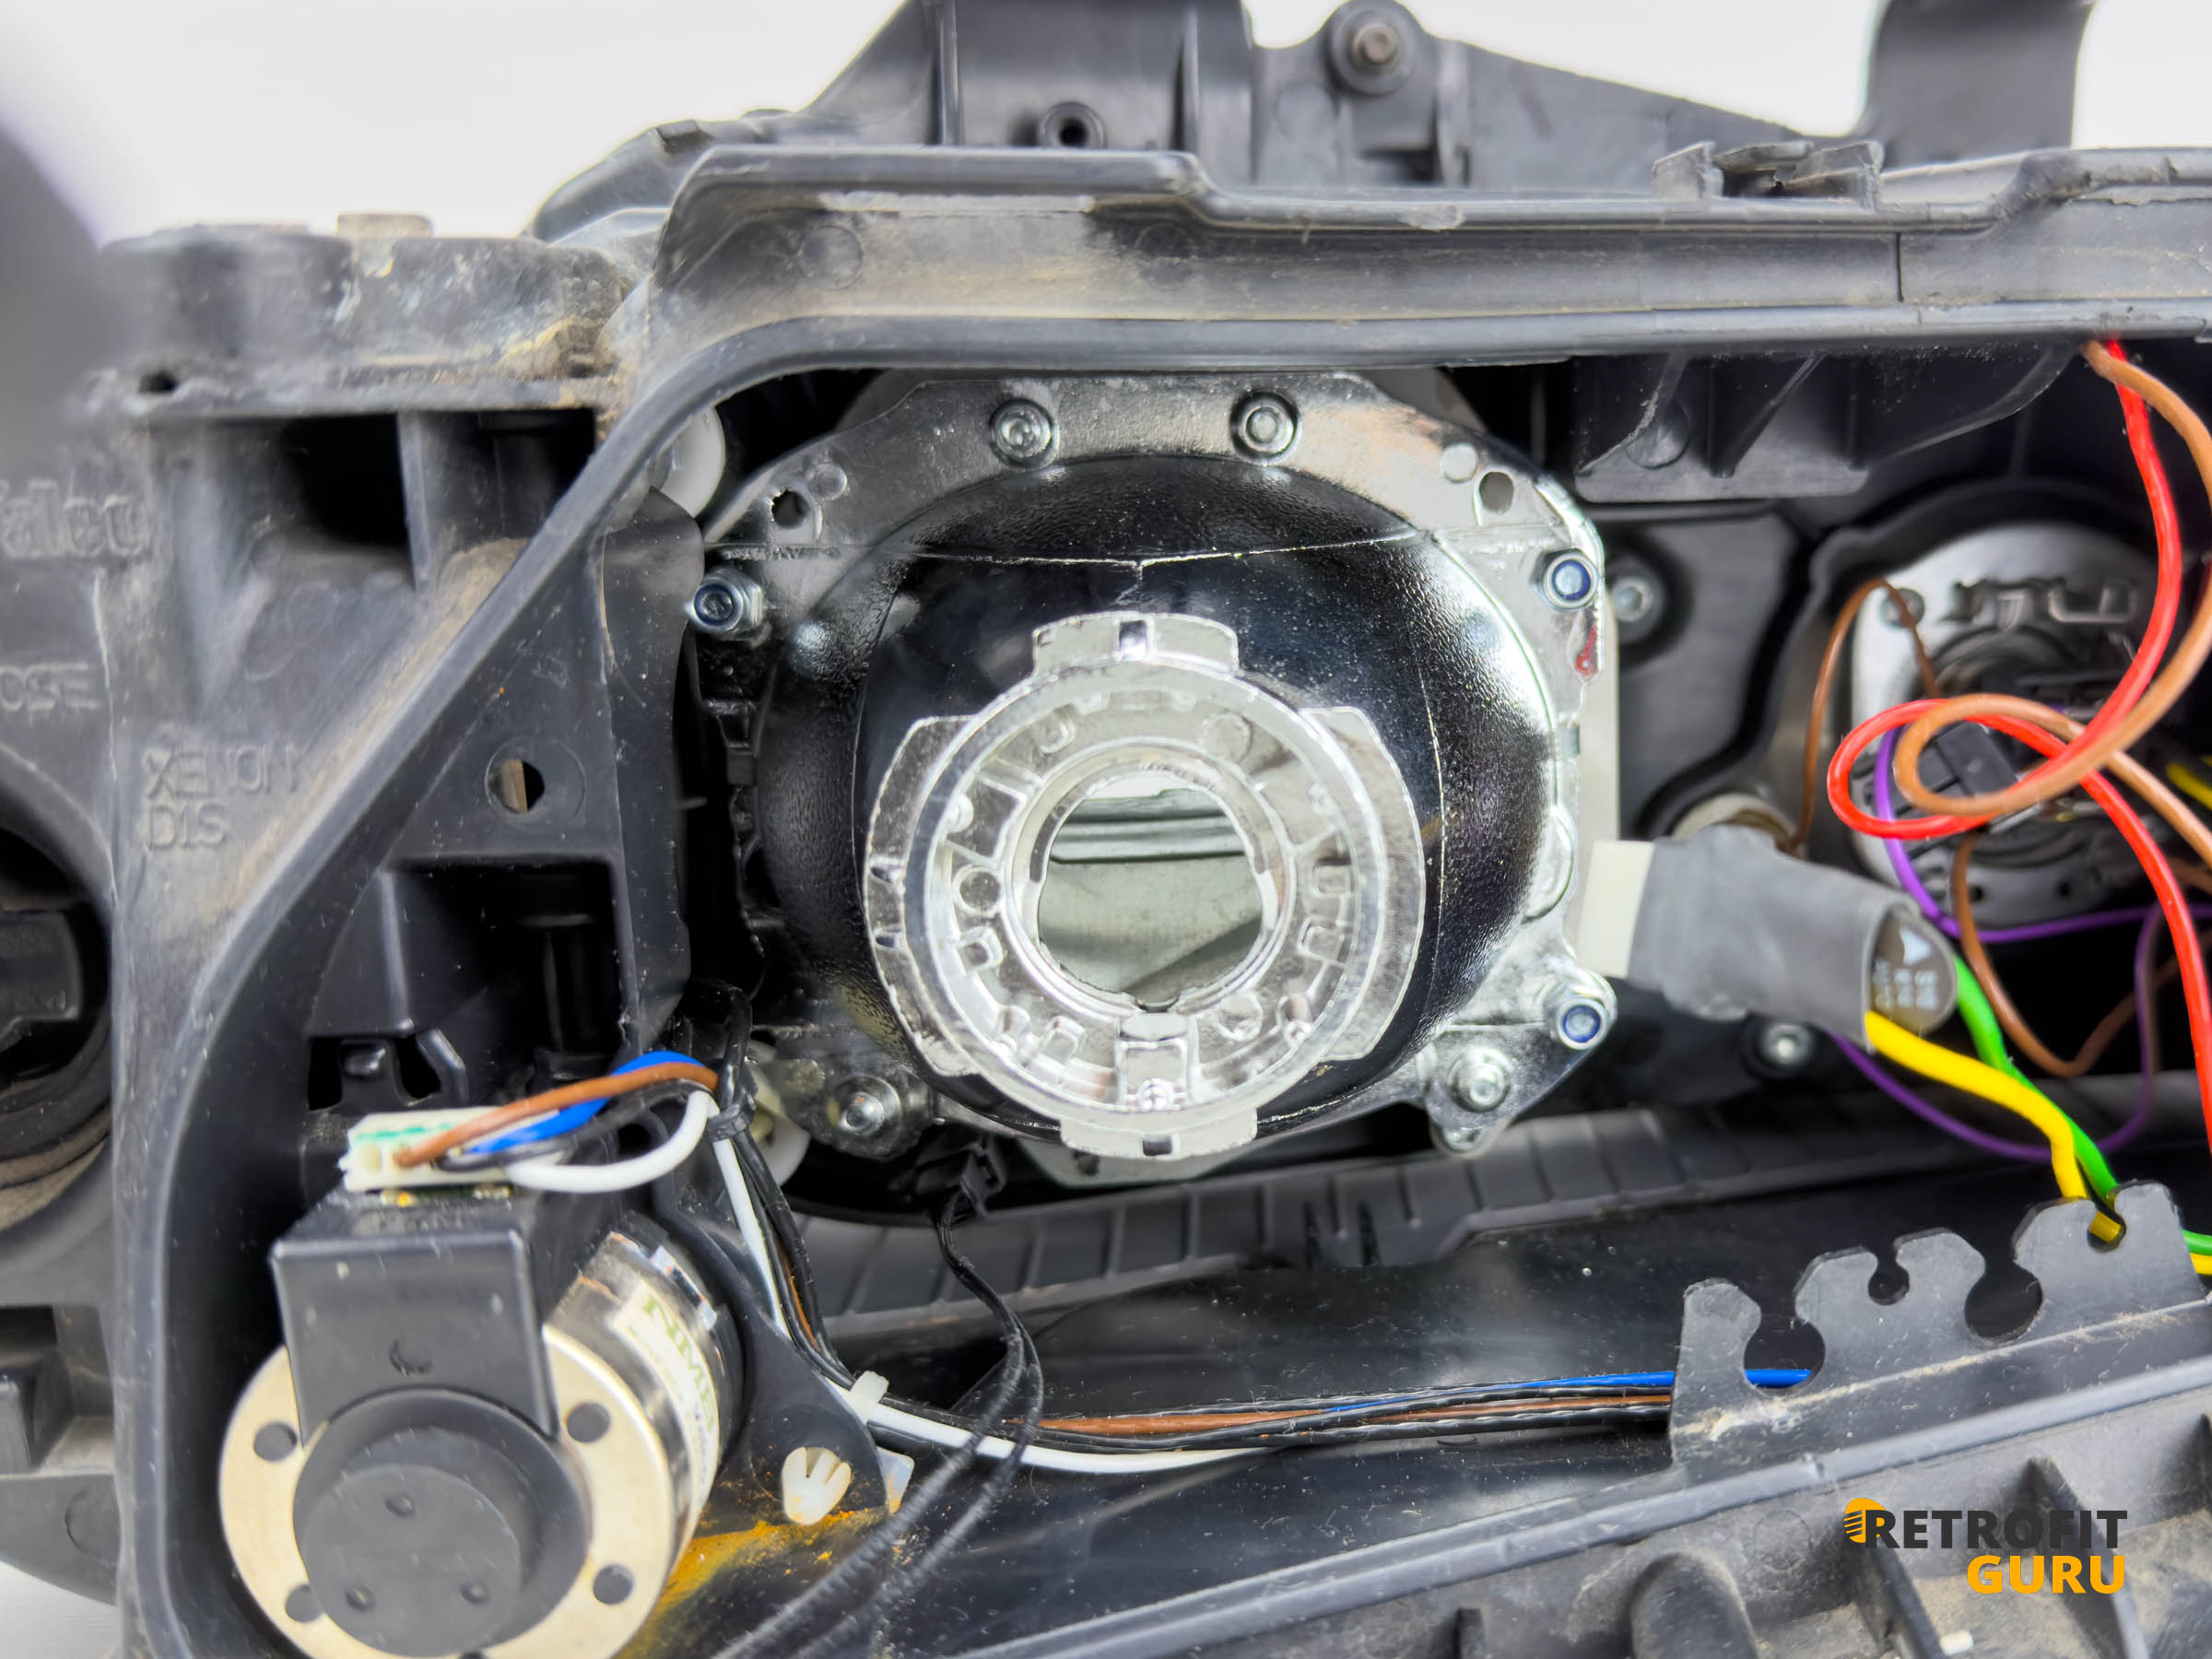
Use a Torx T20 screwdriver to loosen and remove the four mounting screws that hold the projector in the headlight.
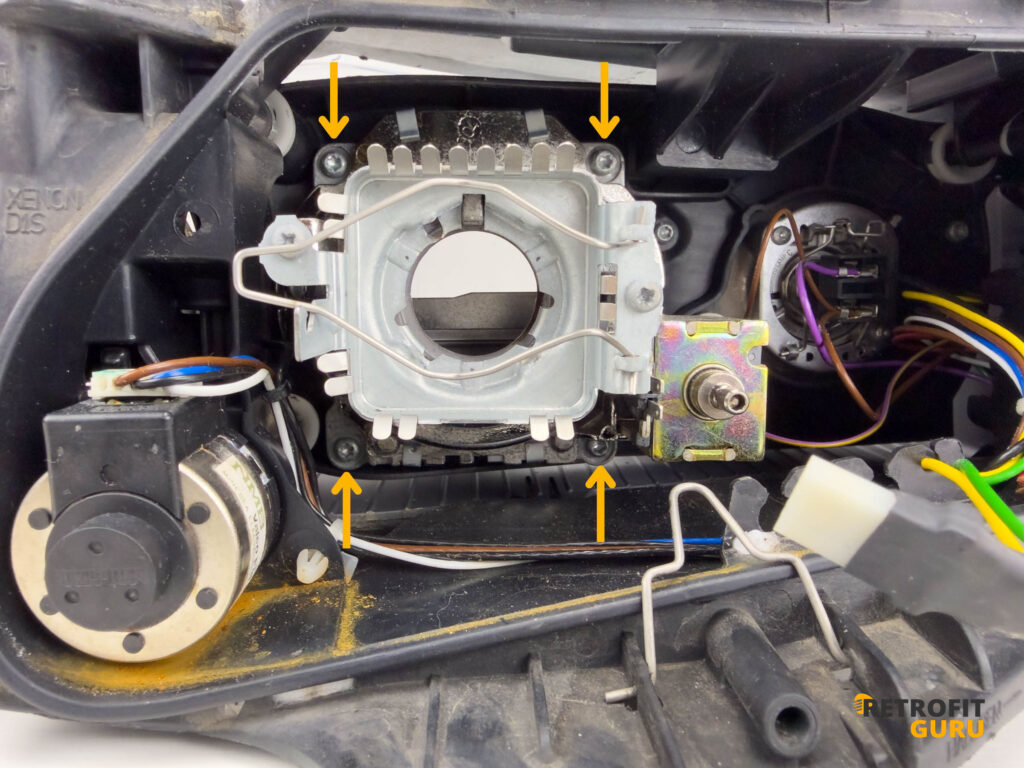
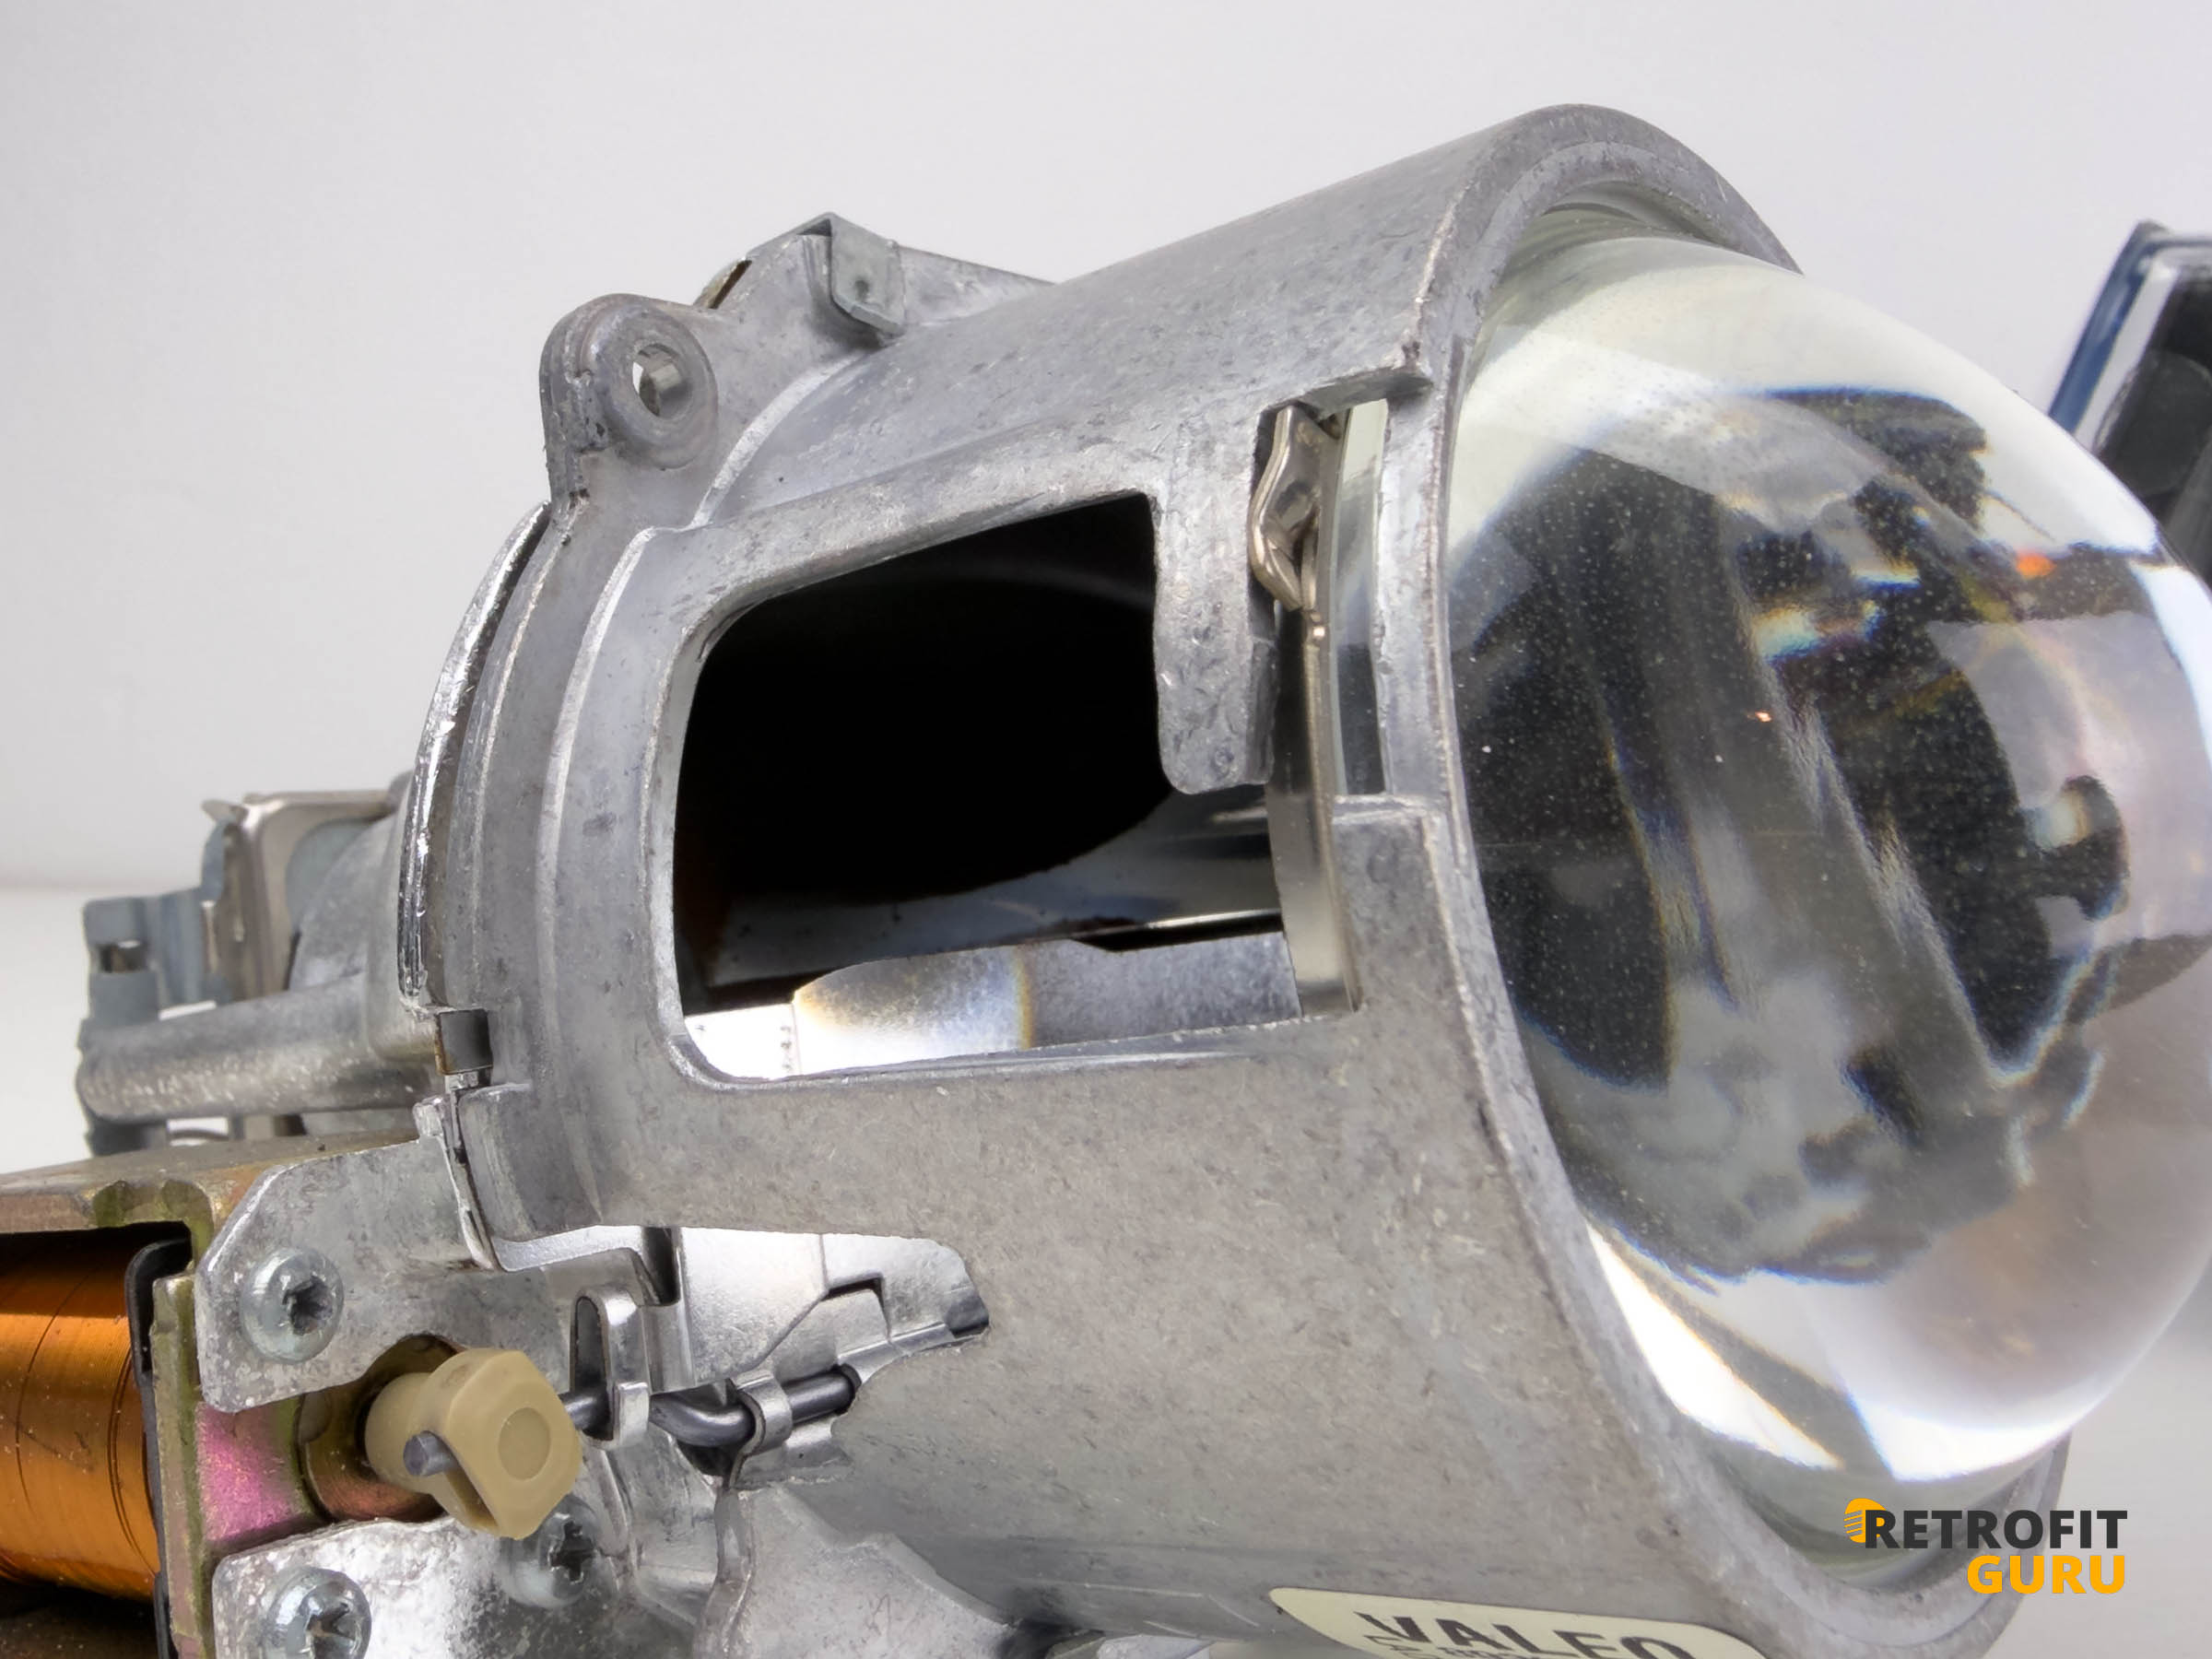
- This is what it looks like after years of use. As you can see in the photo, the reflective surface of the original projector is completely burnt and dull. Because of this, the reflector can no longer reflect light onto the road.
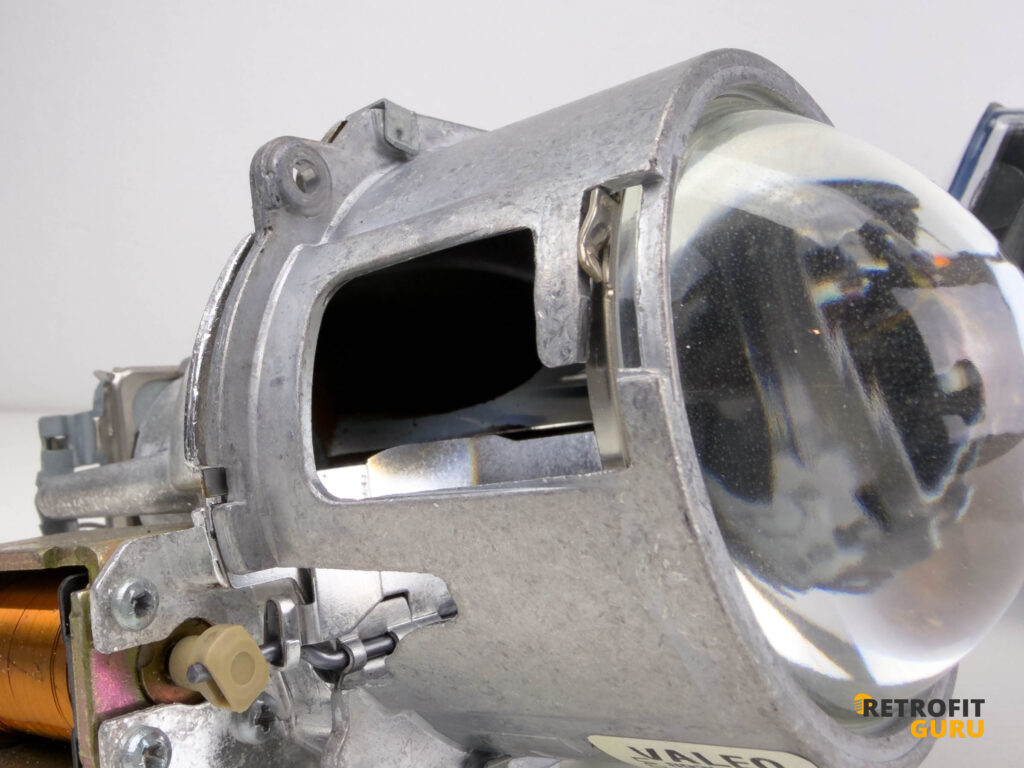
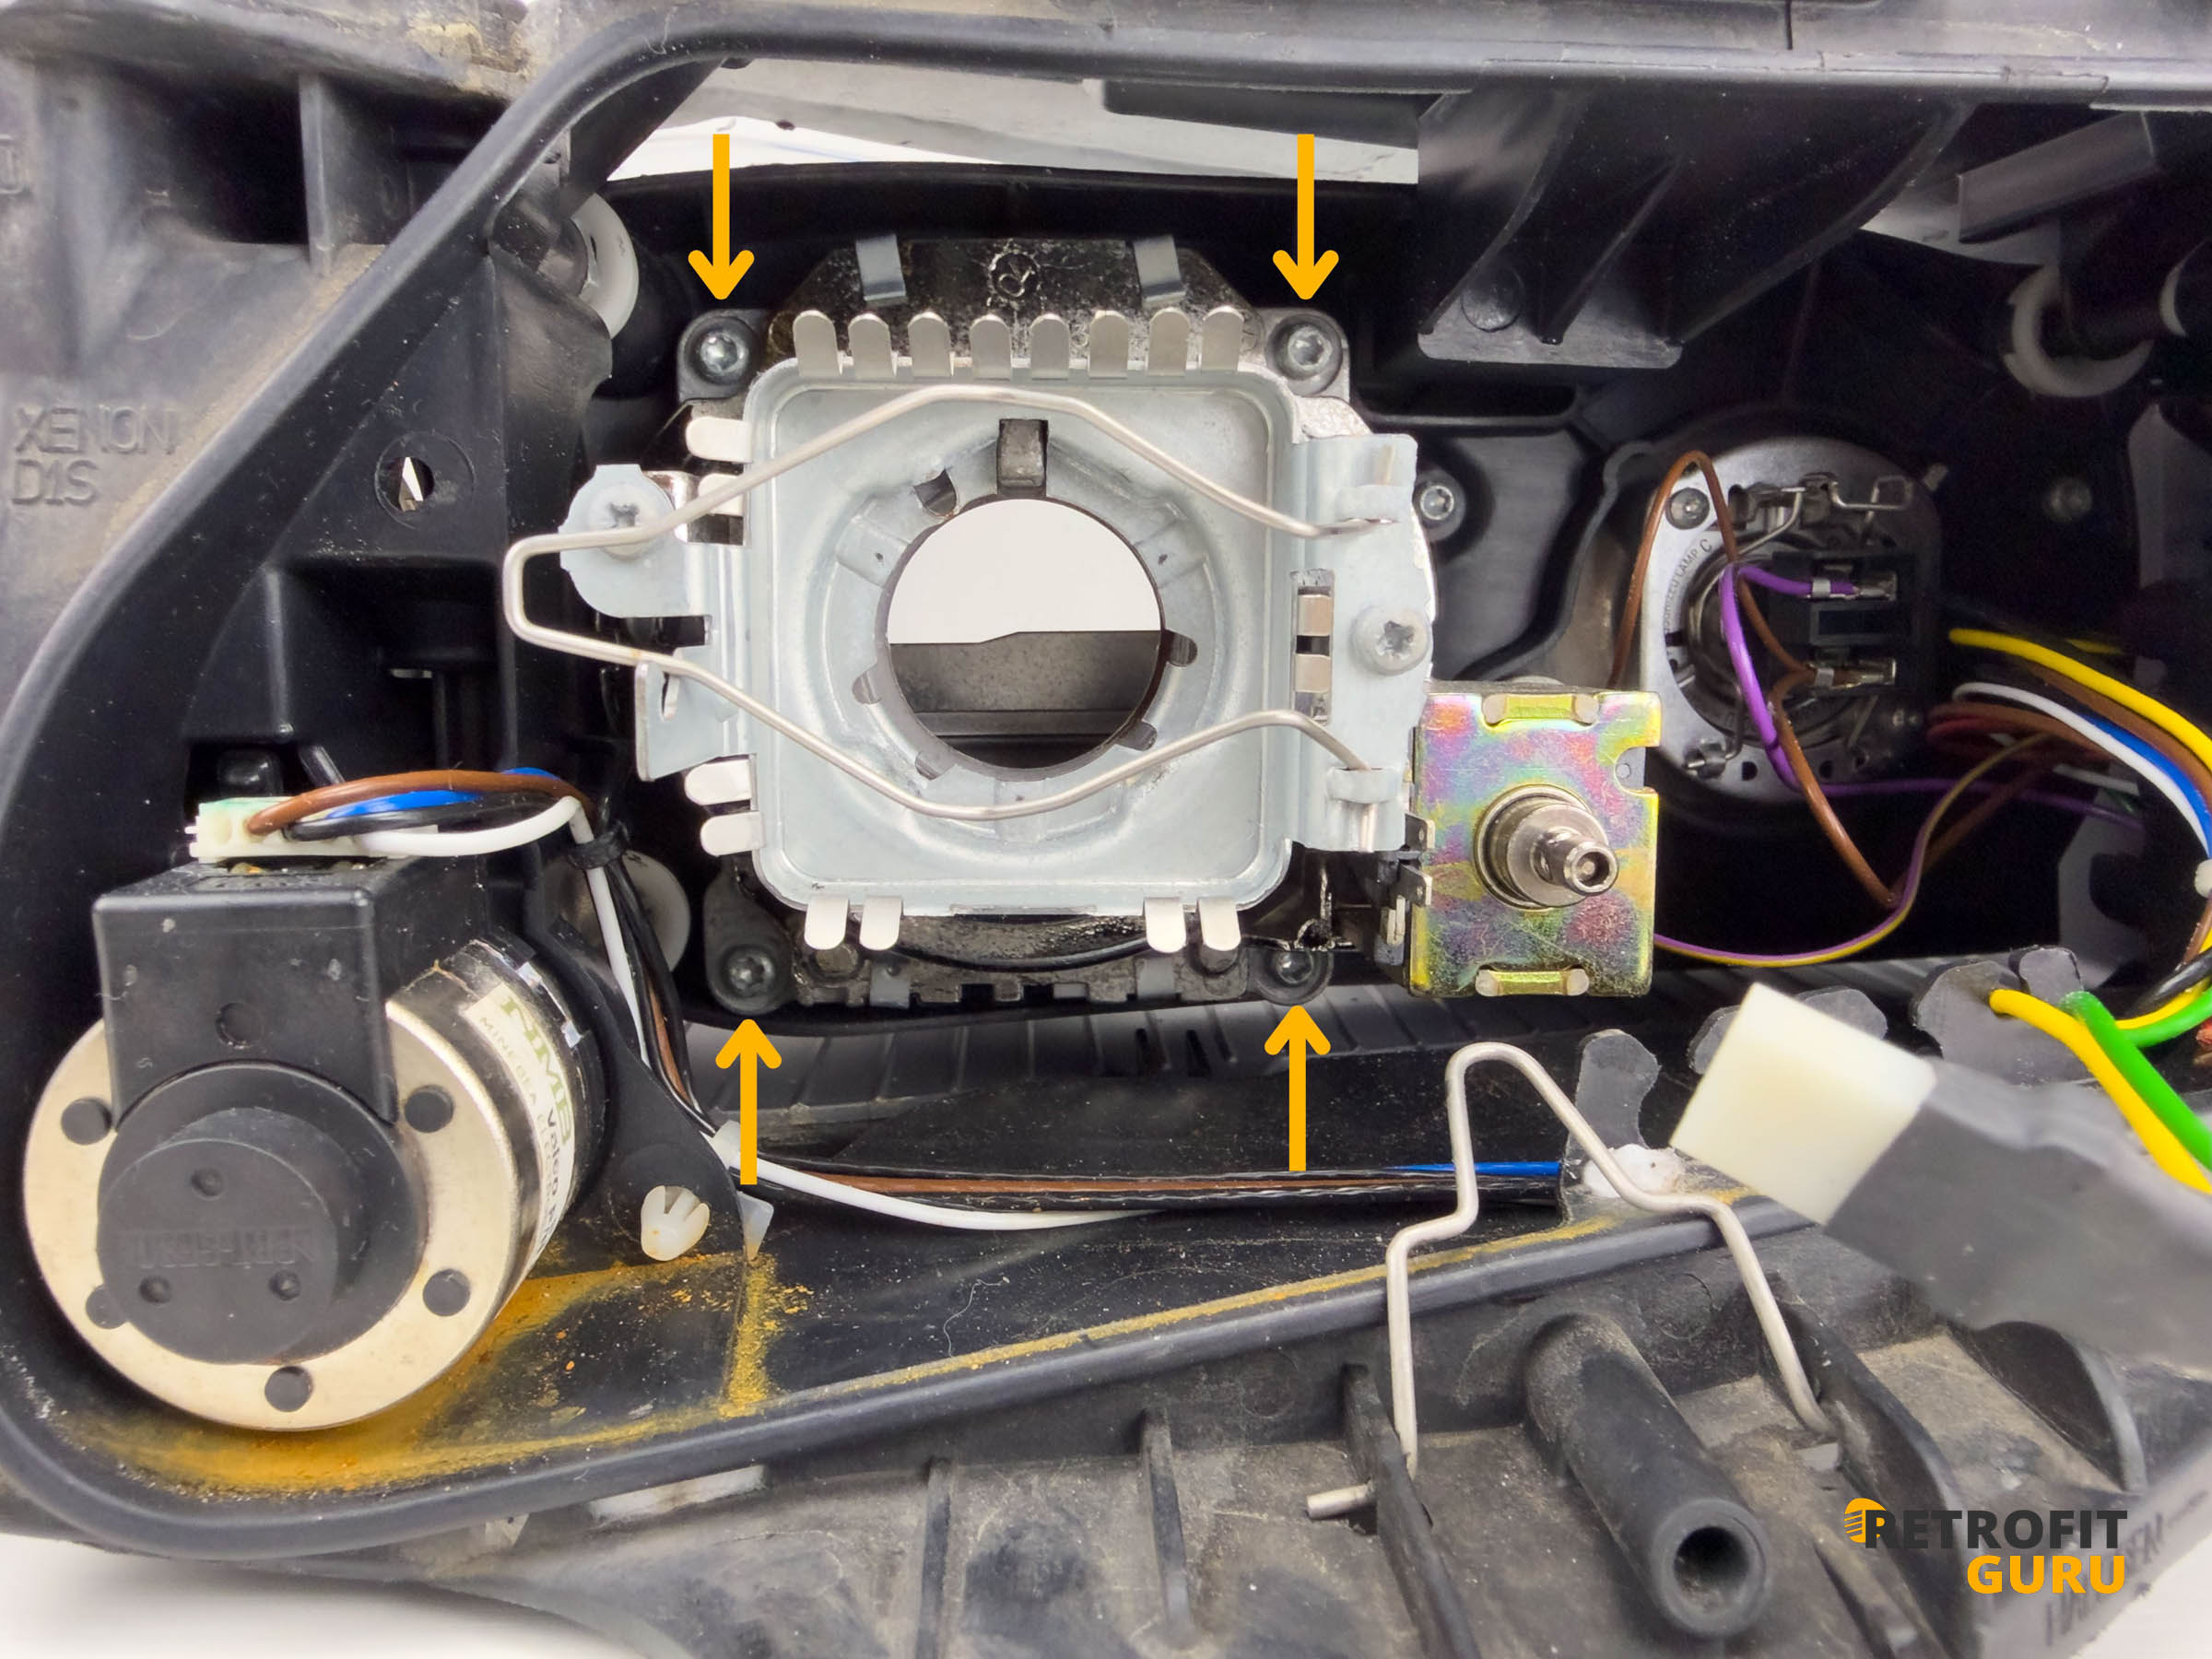
5. Projector and bulb installation
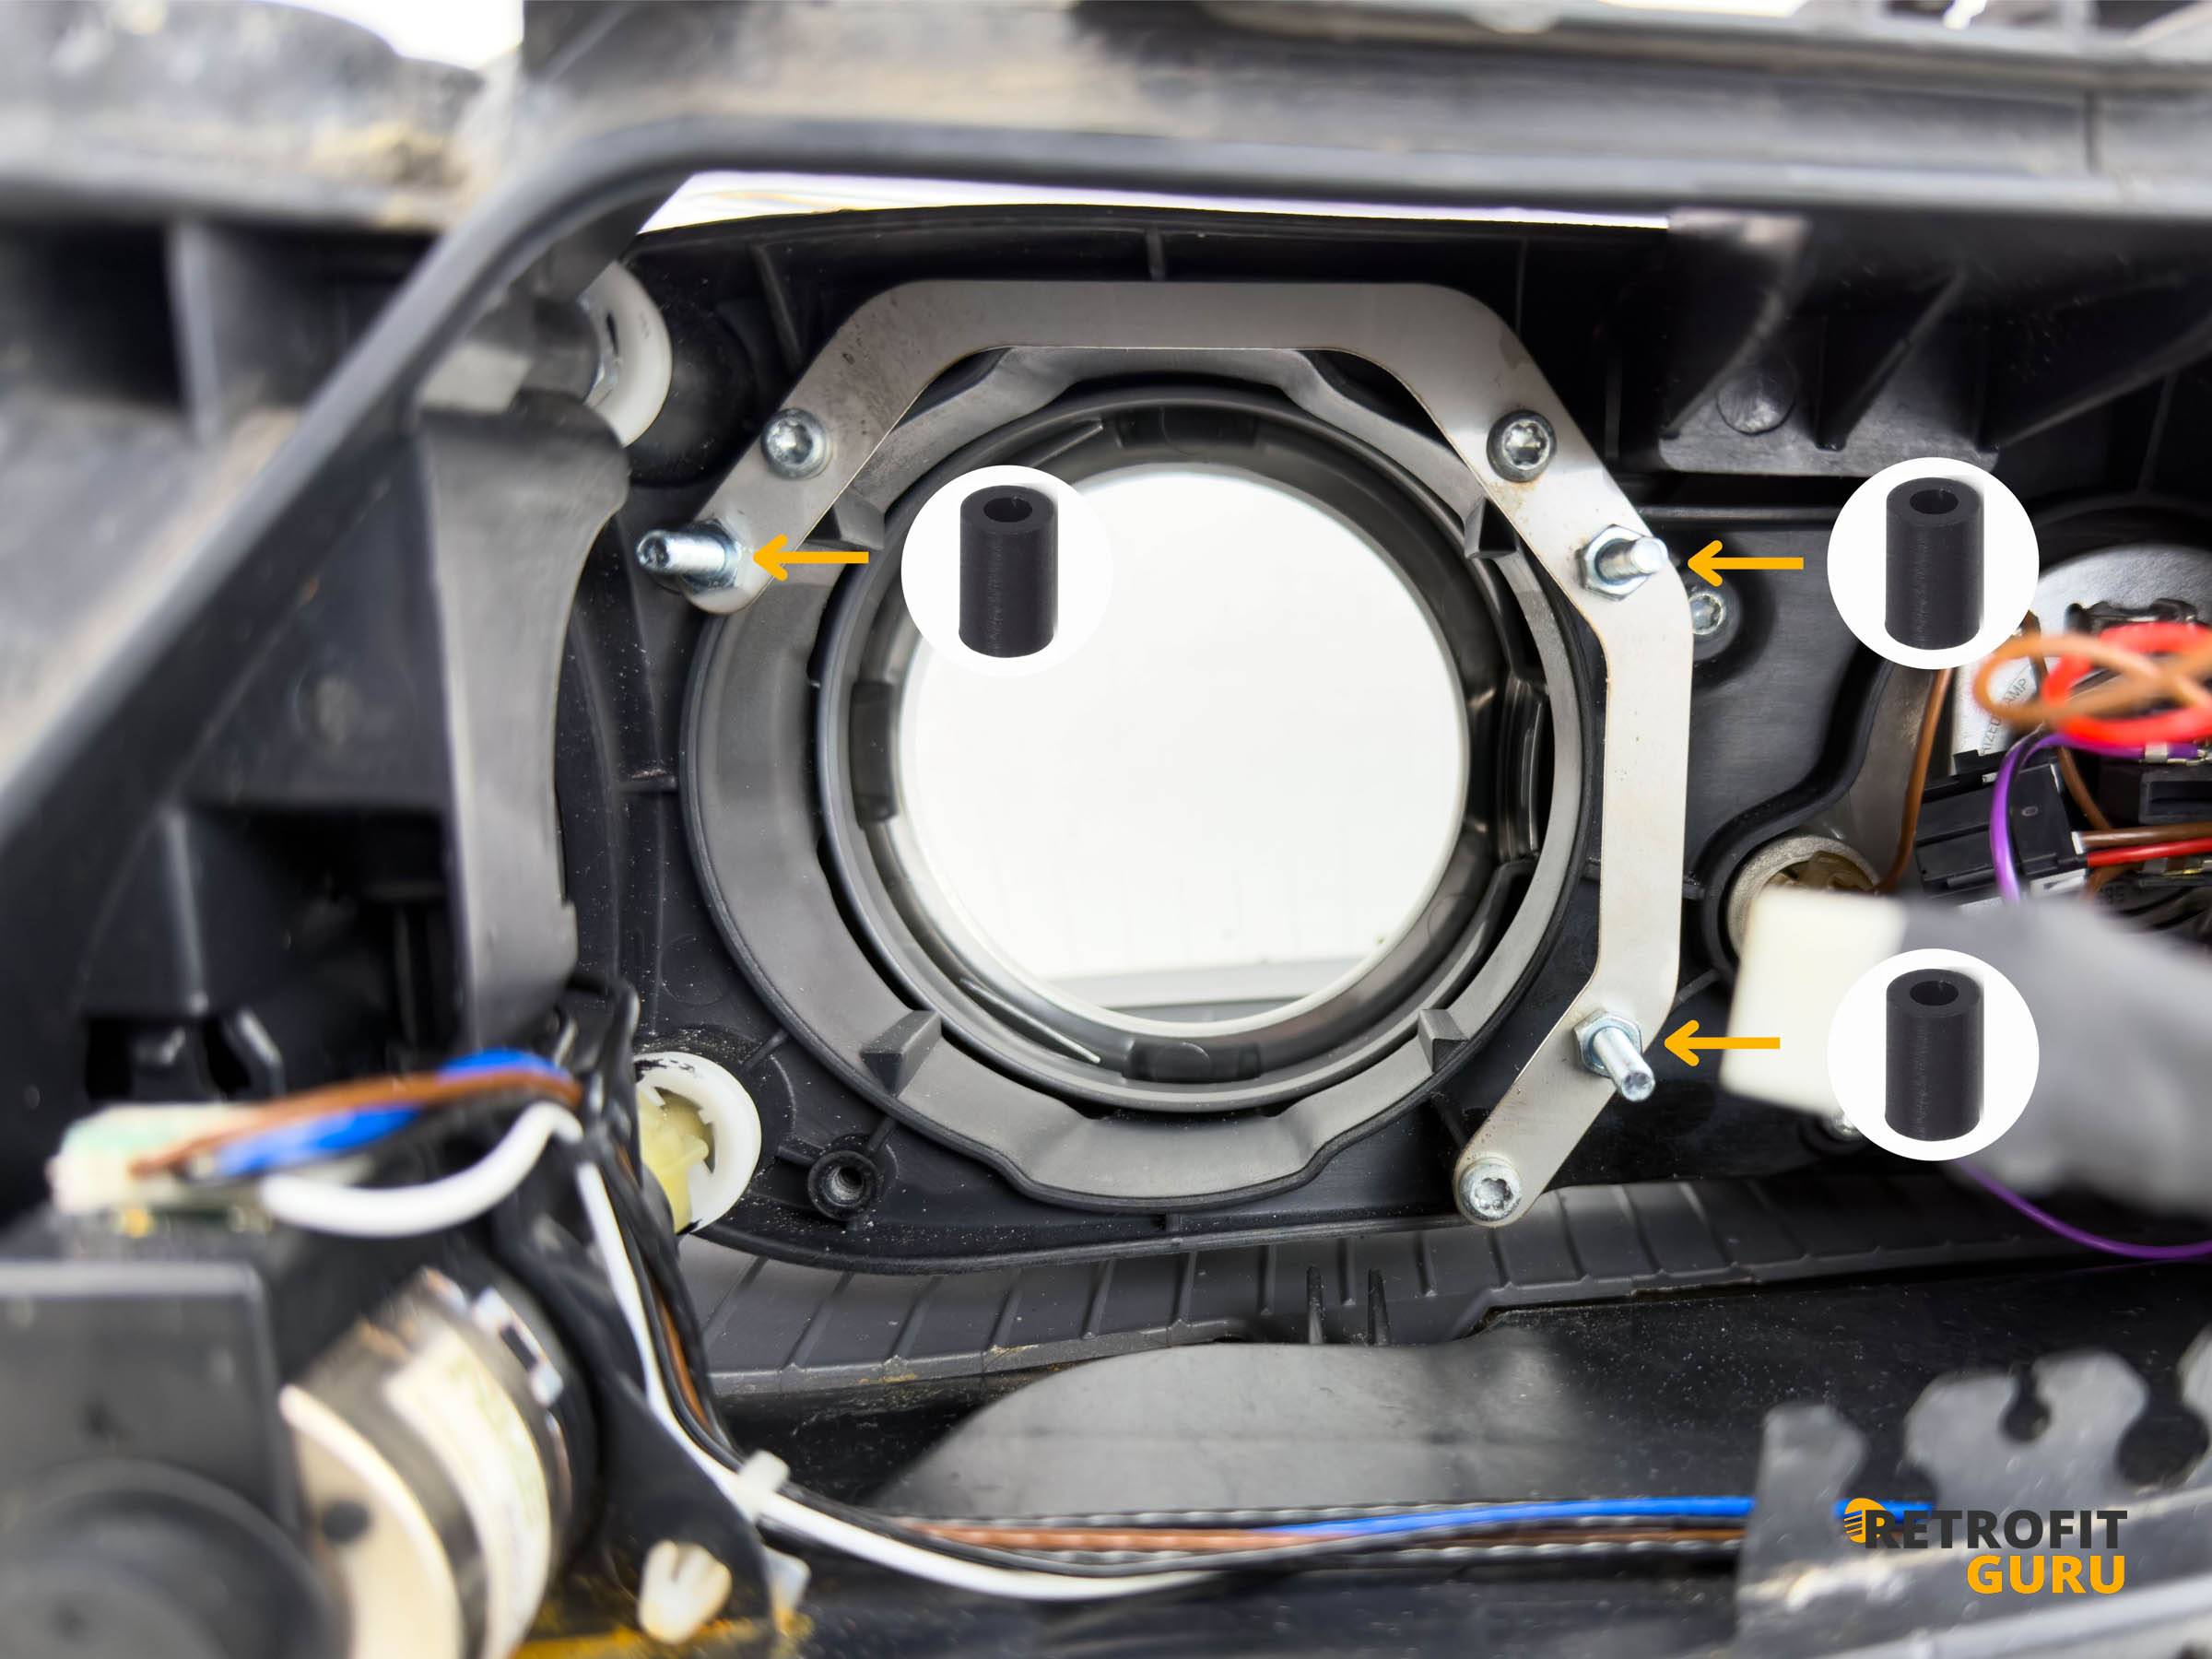
- When assembling the projector, follow the photos exactly. Watch the orientation of the screws: the left and right headlights are mirror images, so the screws go in the opposite way on each. Before tightening, double-check that you have the right side.
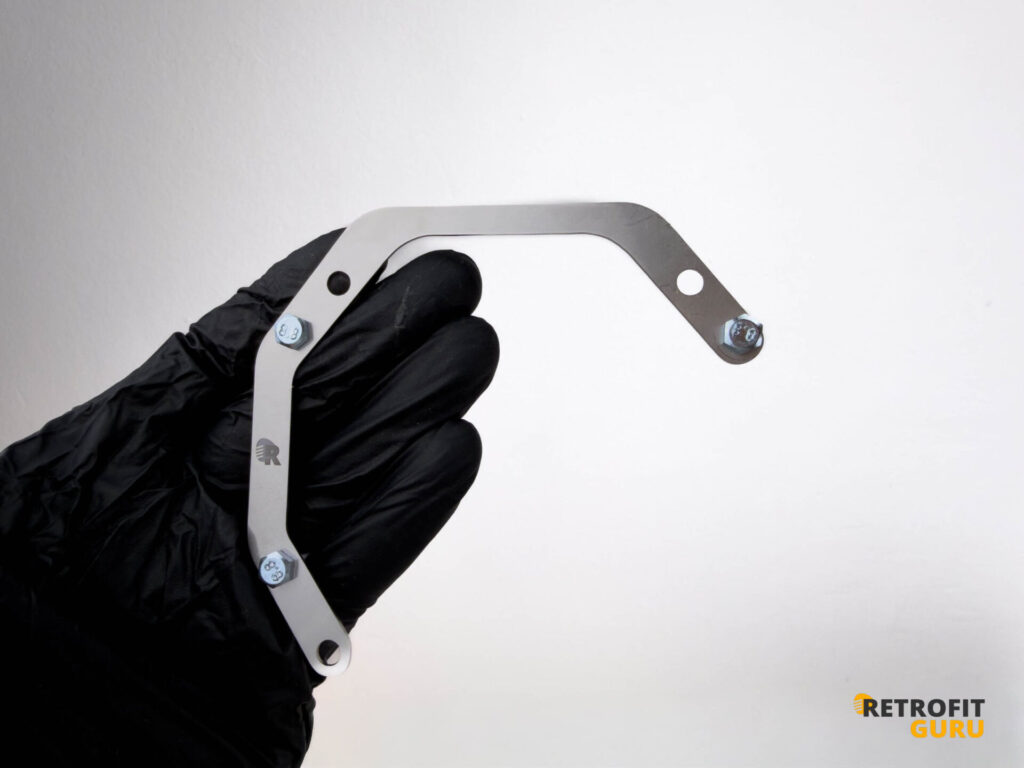
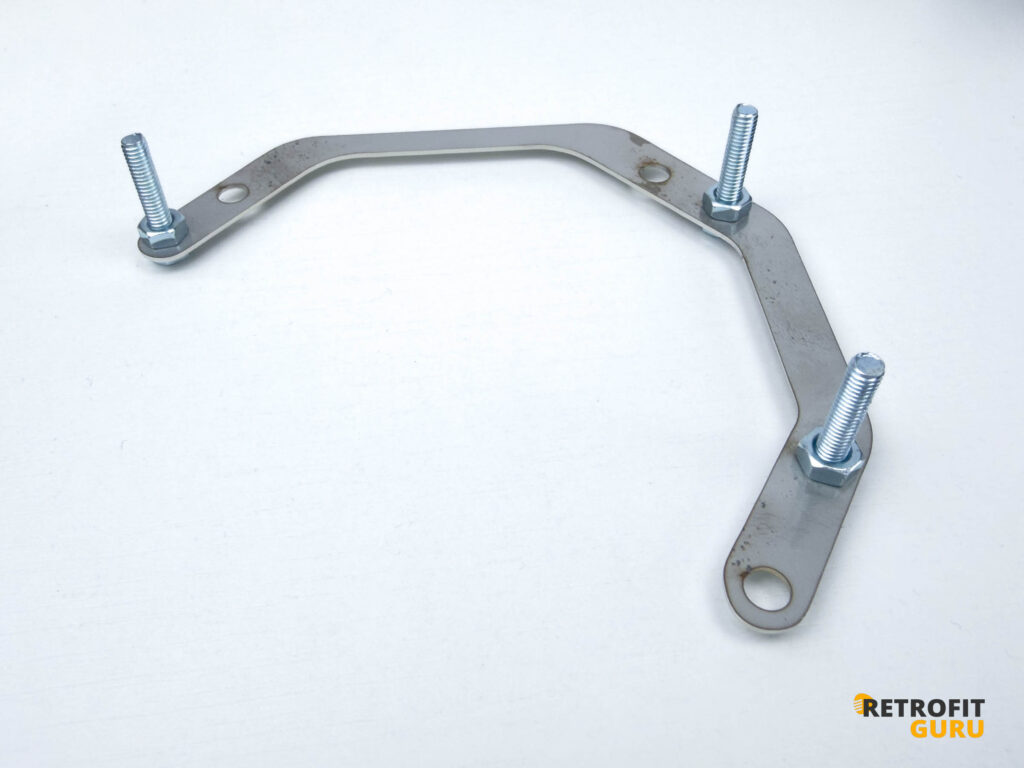
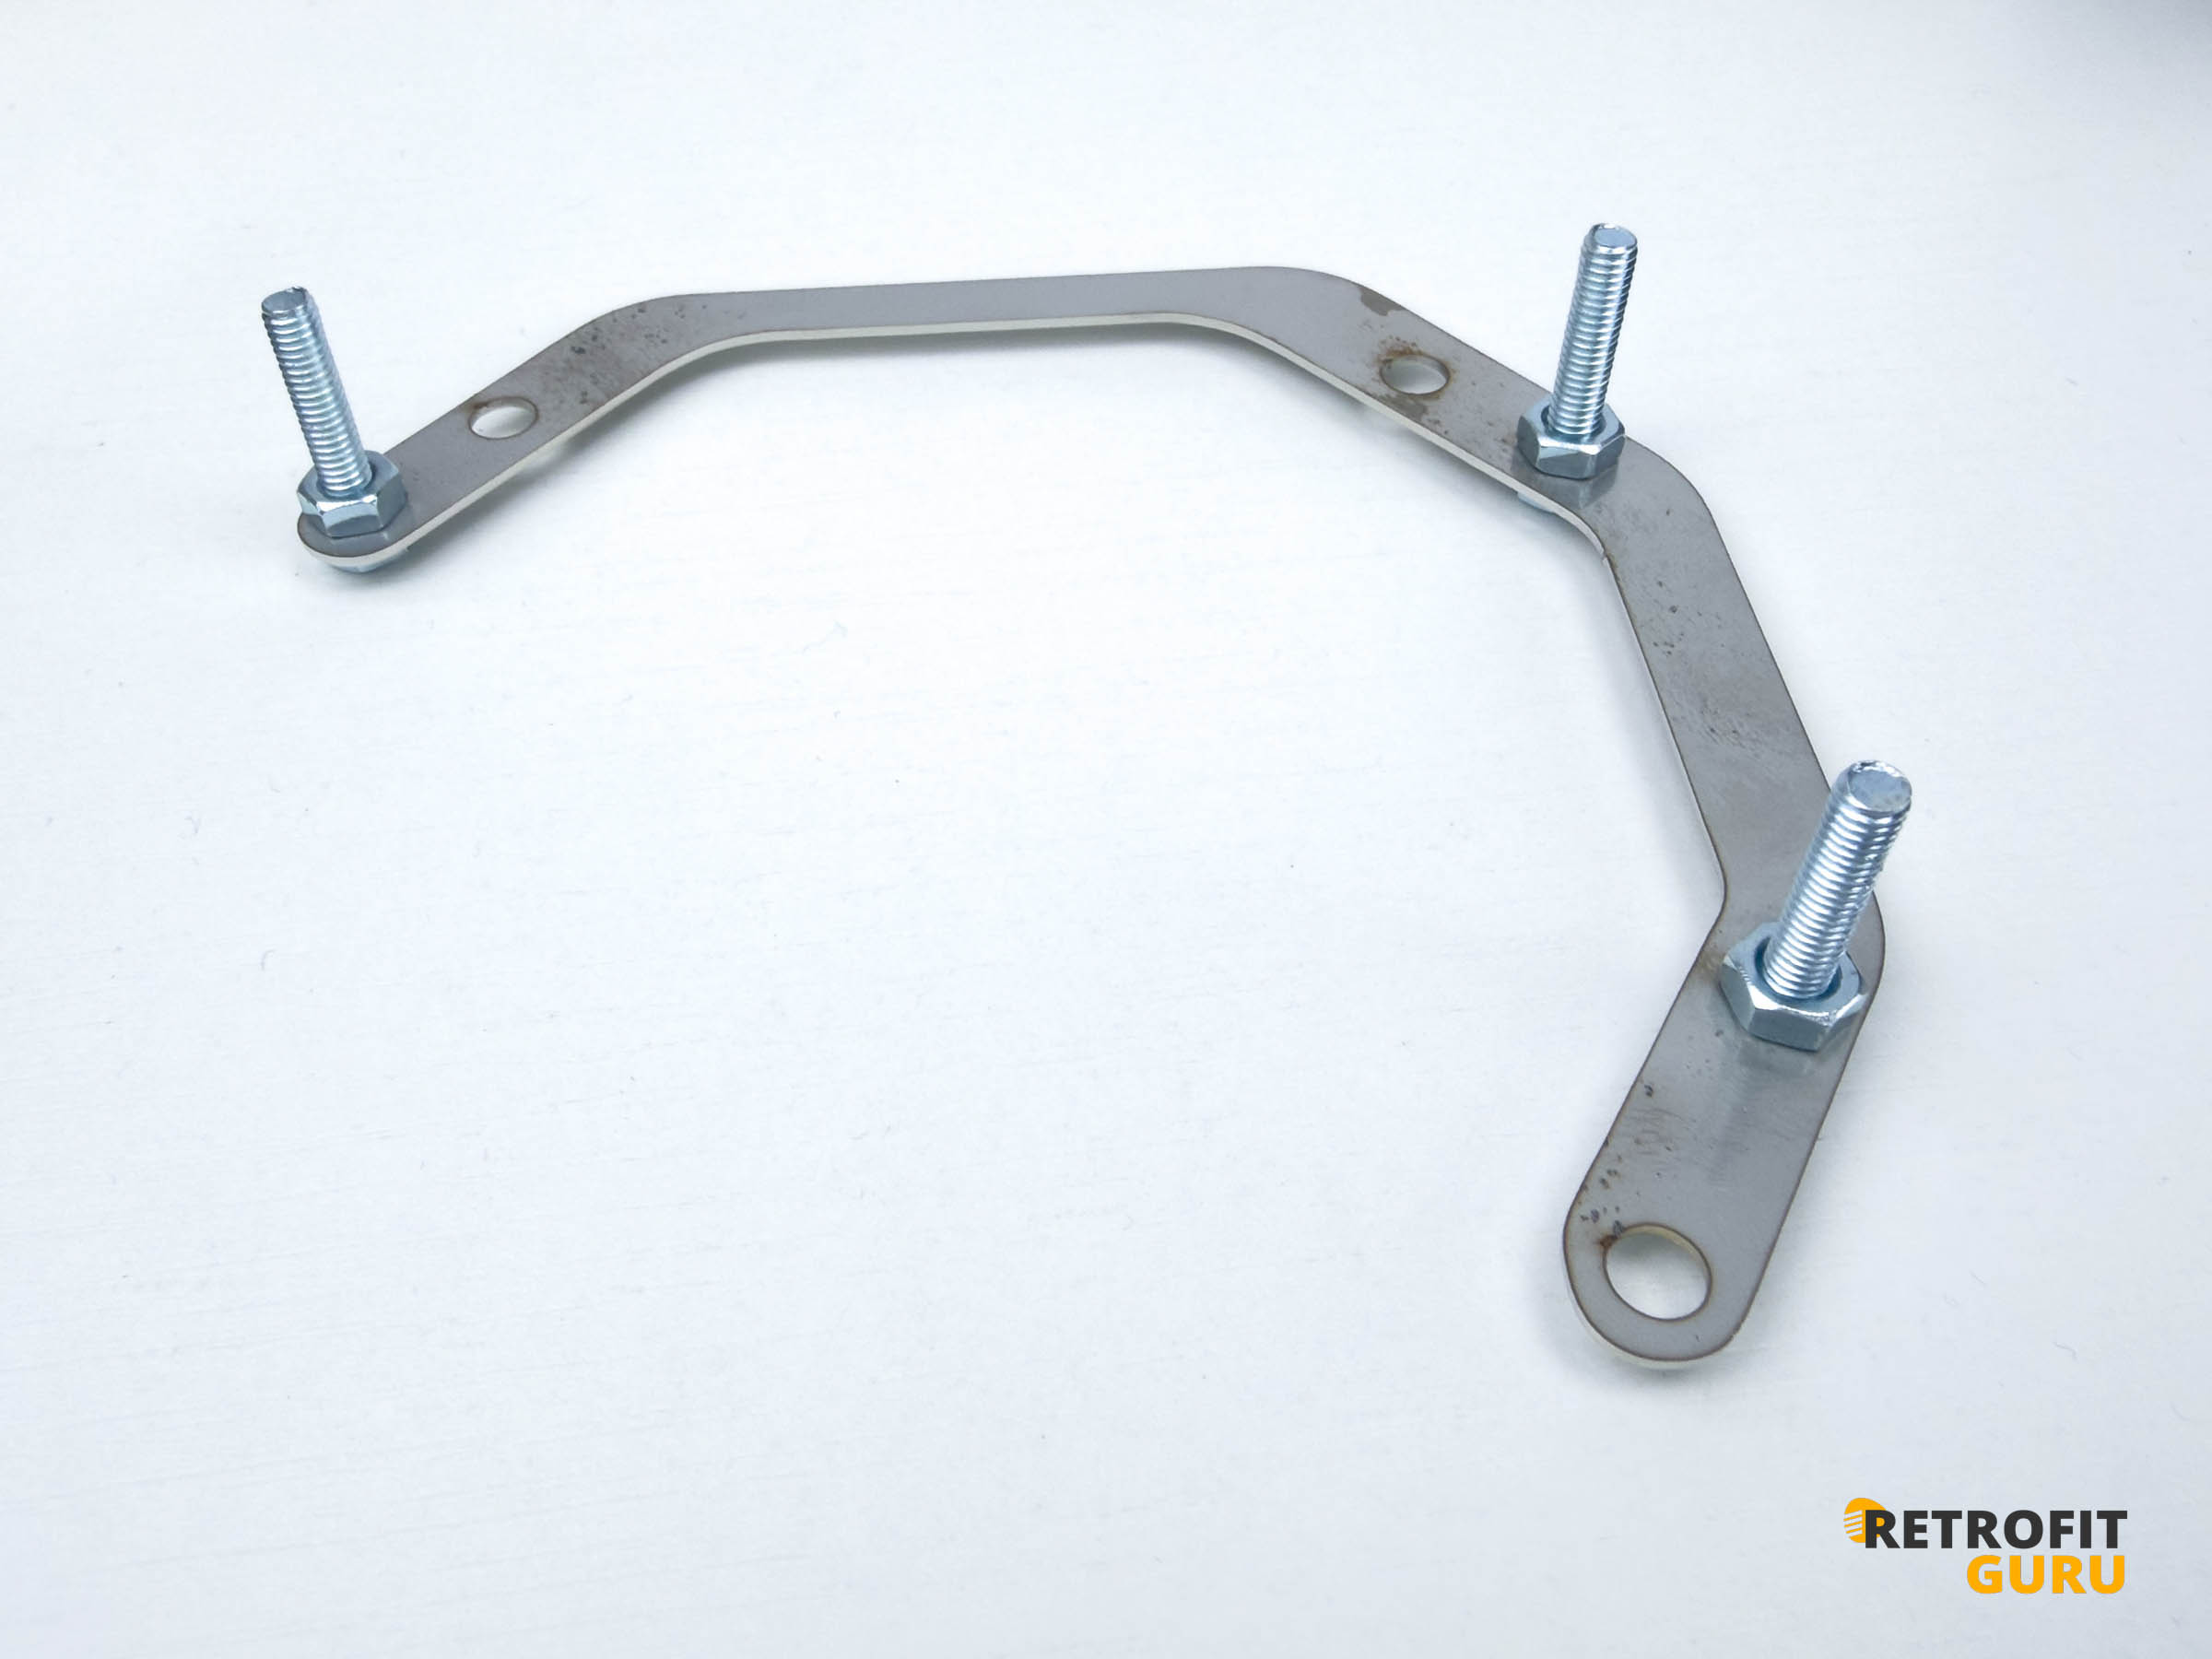
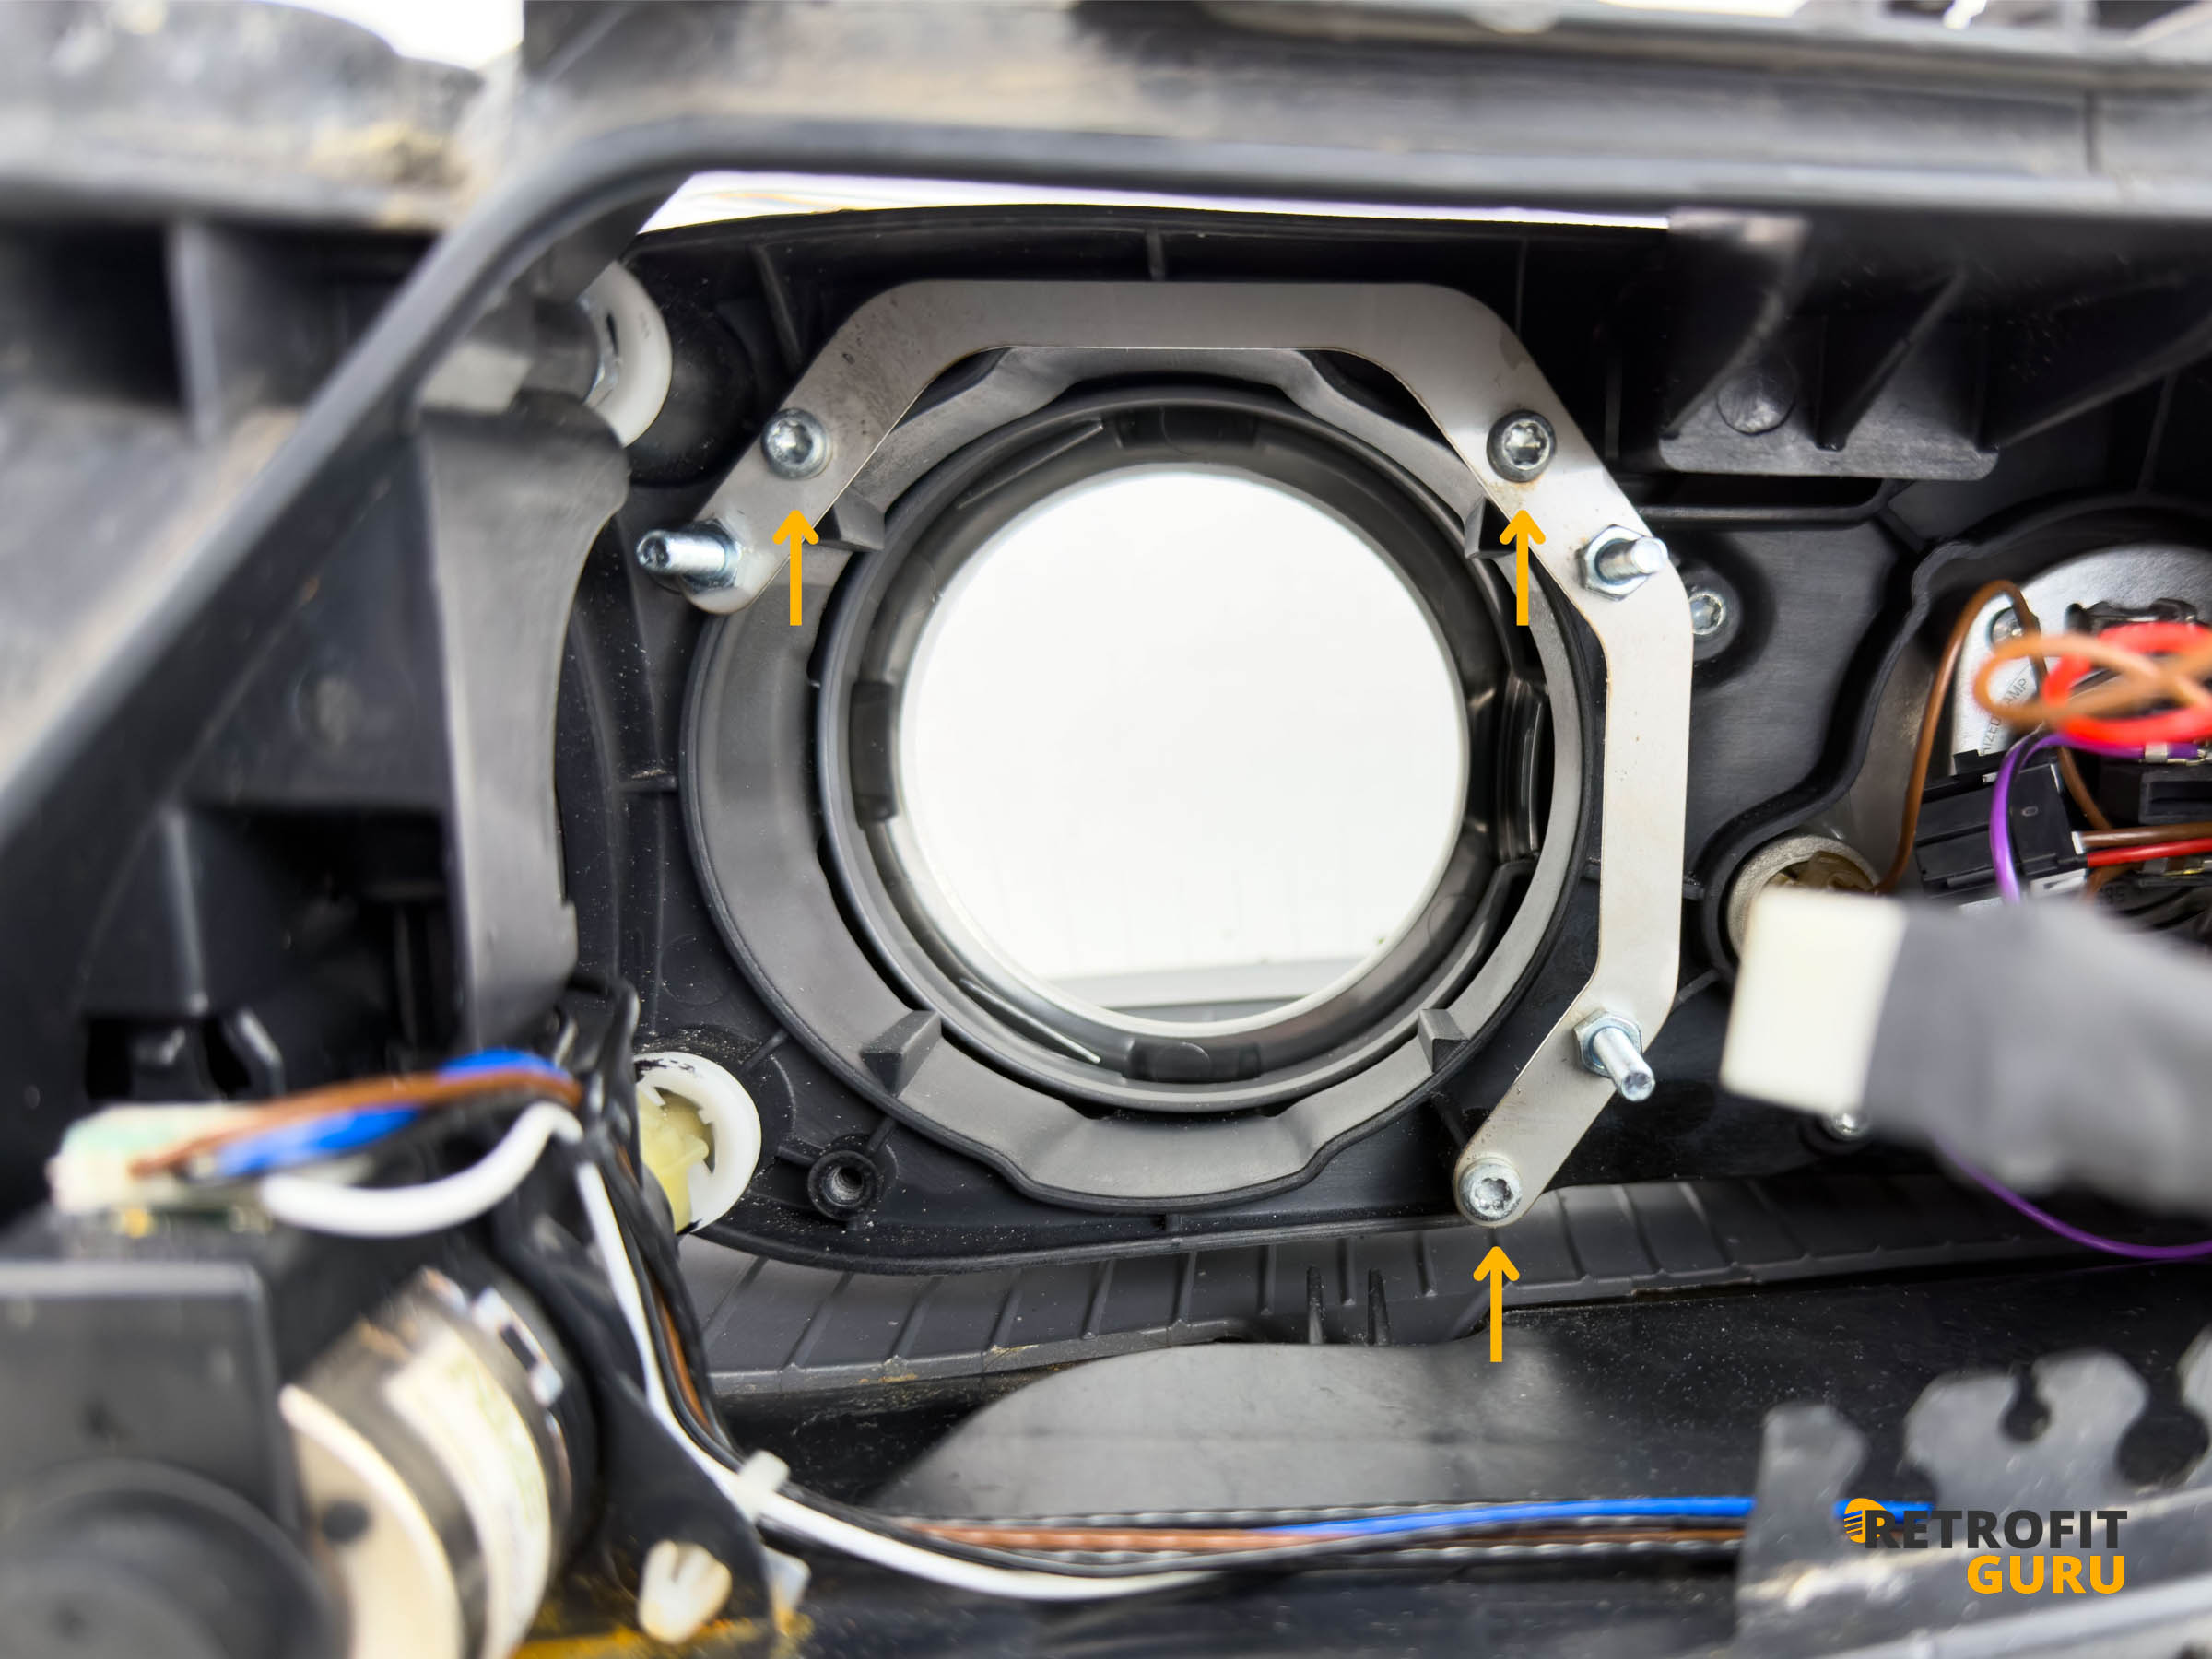
- Put the adapter in place and screw it firmly to the headlight housing with the original Torx screws.
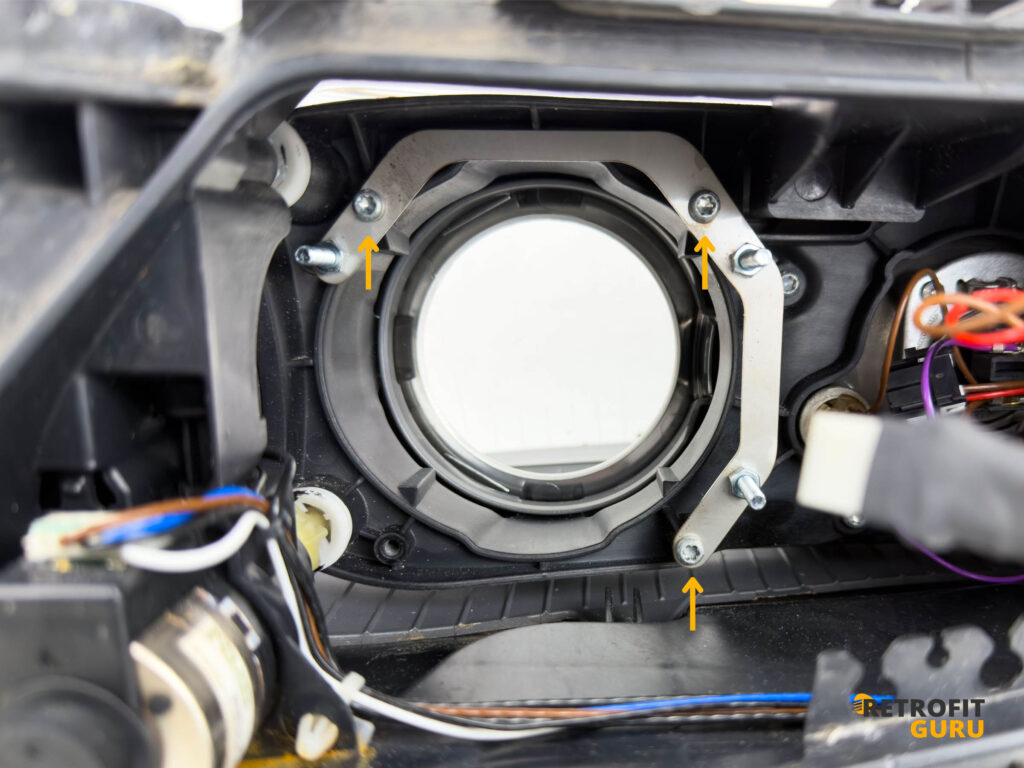
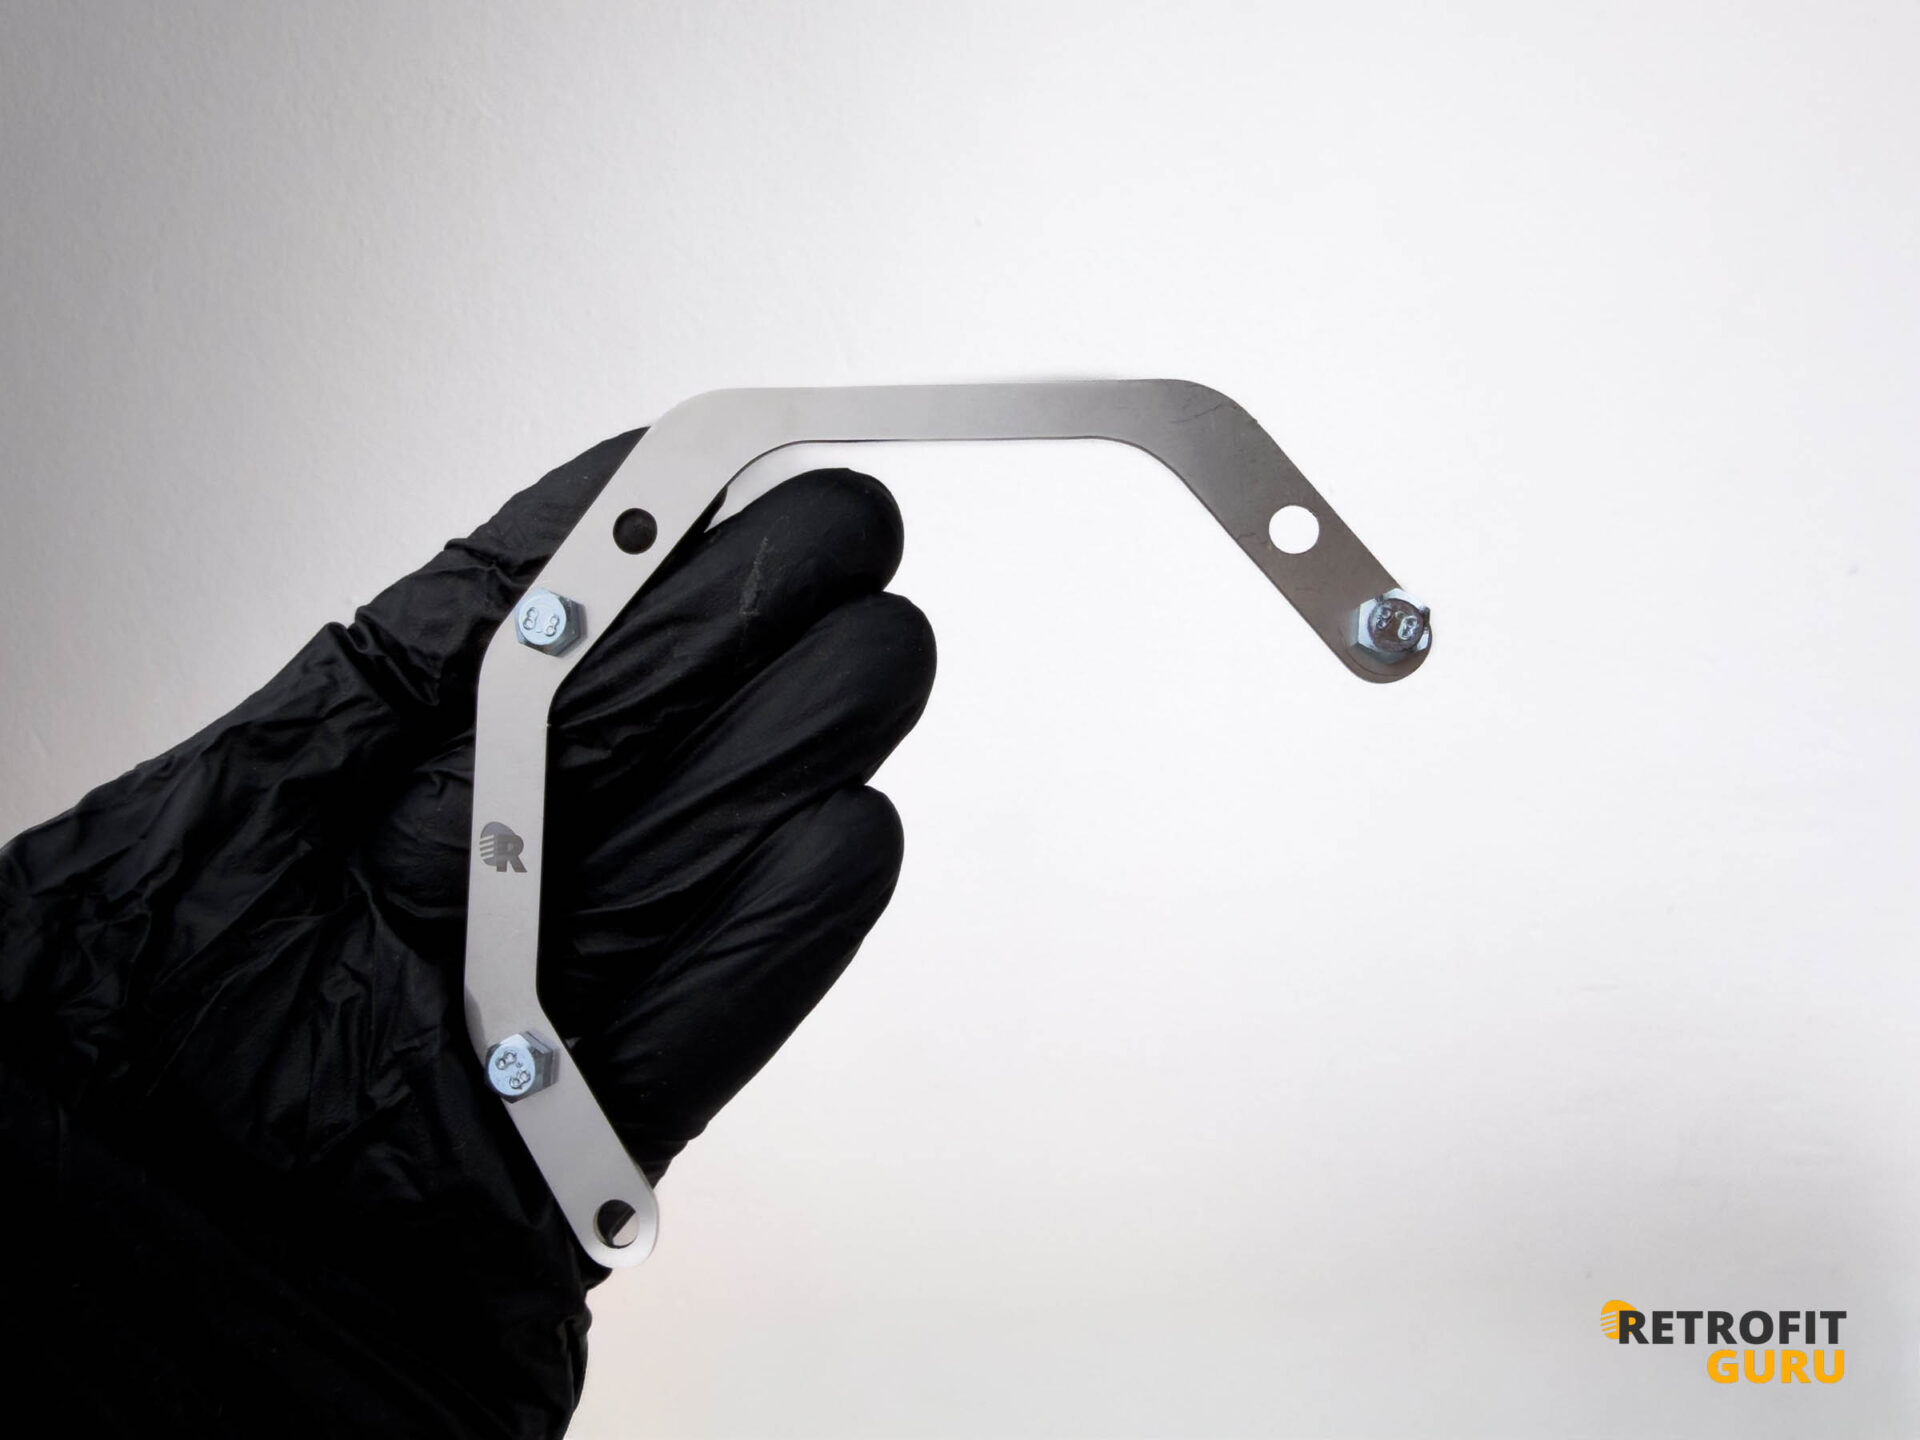
Slide the washers from the kit onto the new mounting screws. This step matters for even pressure and a stable projector position.
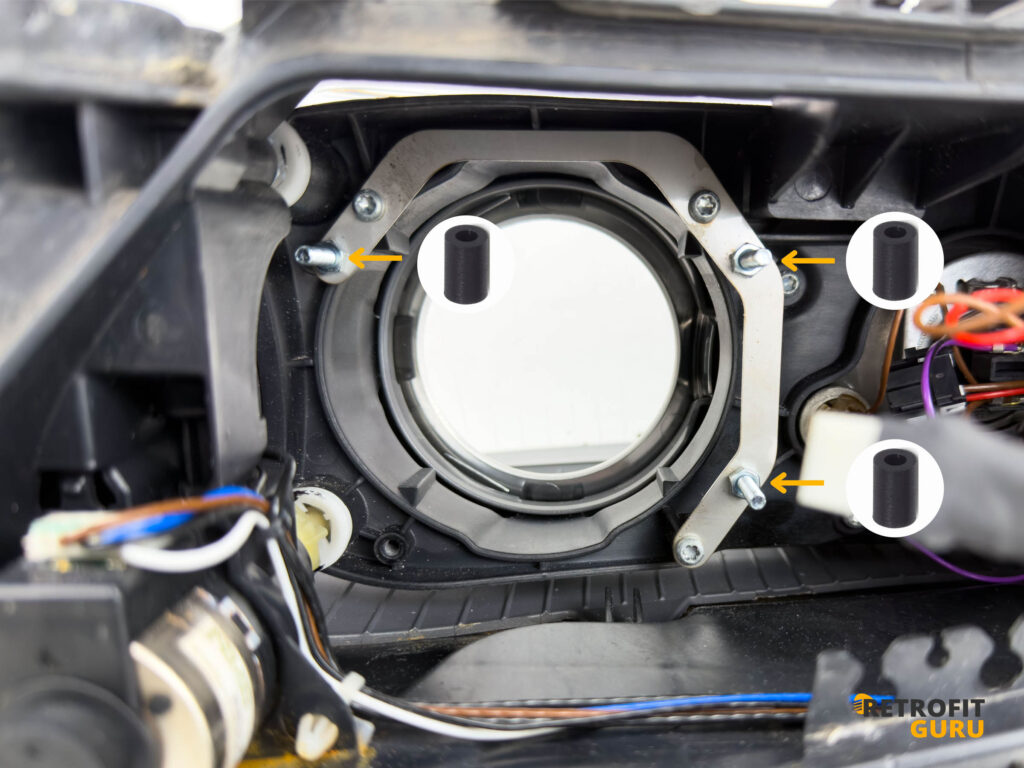
Now place the projector in the adapter and secure it with the new nuts from the kit. Tighten the nuts carefully but firmly so the optics sit perfectly fixed in the headlight.
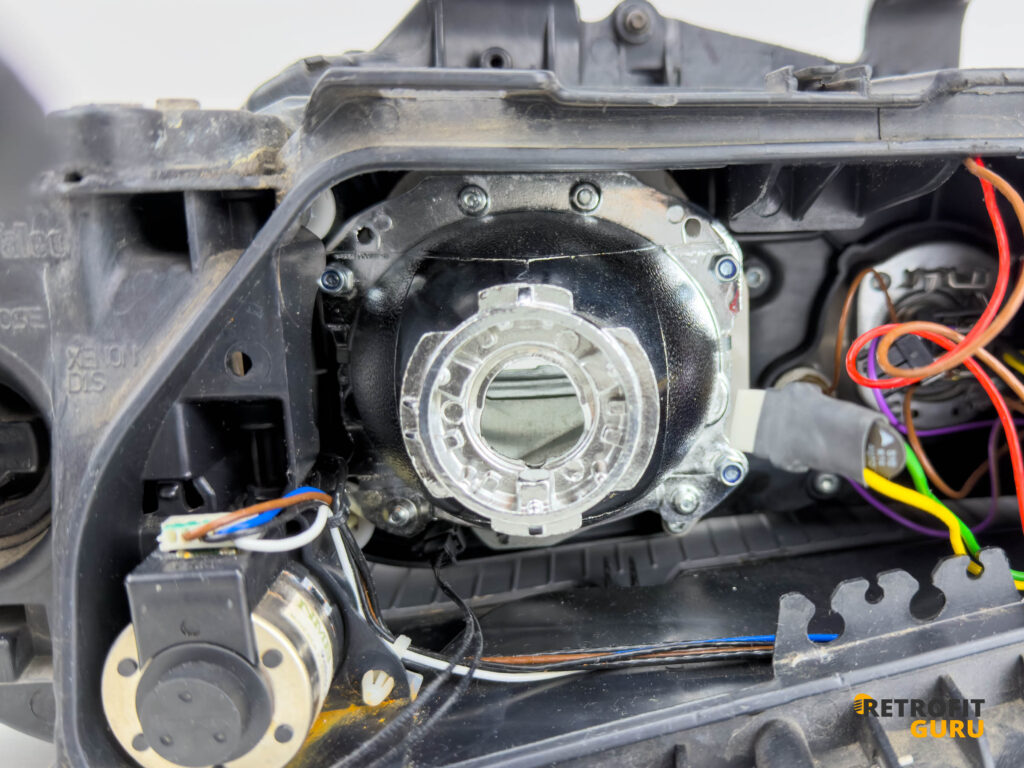
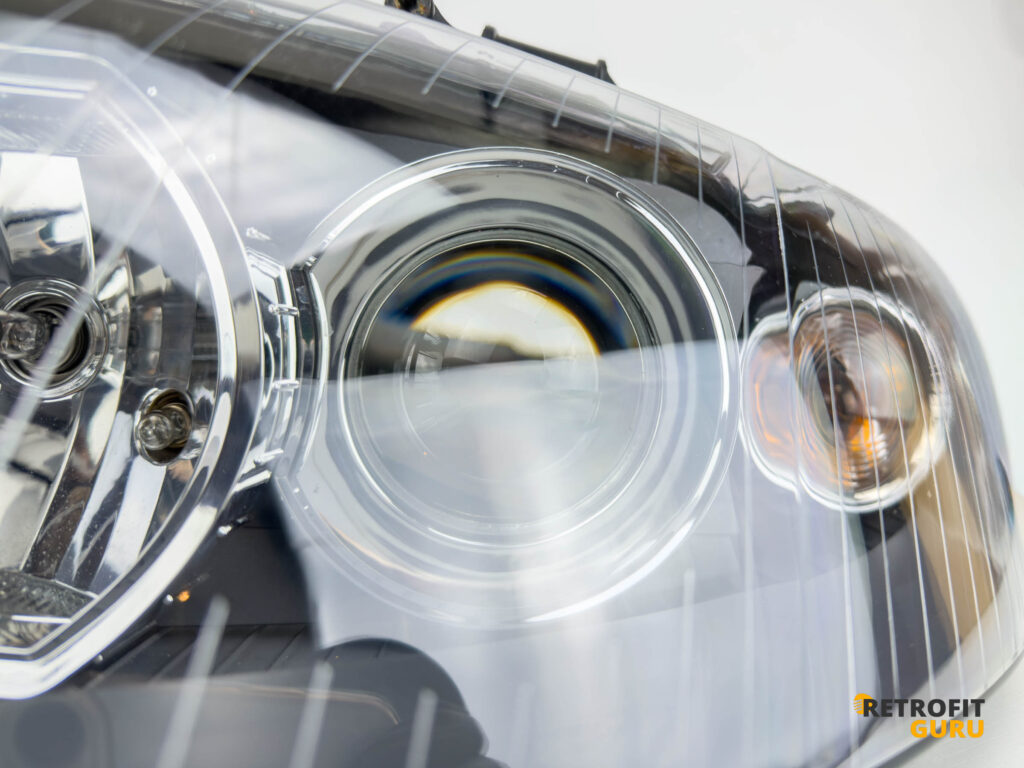
- After tightening the projector, look from the front and check that it is centred against the chrome shroud of the headlight. Perfect alignment confirms that the projector sits correctly in the adapter.
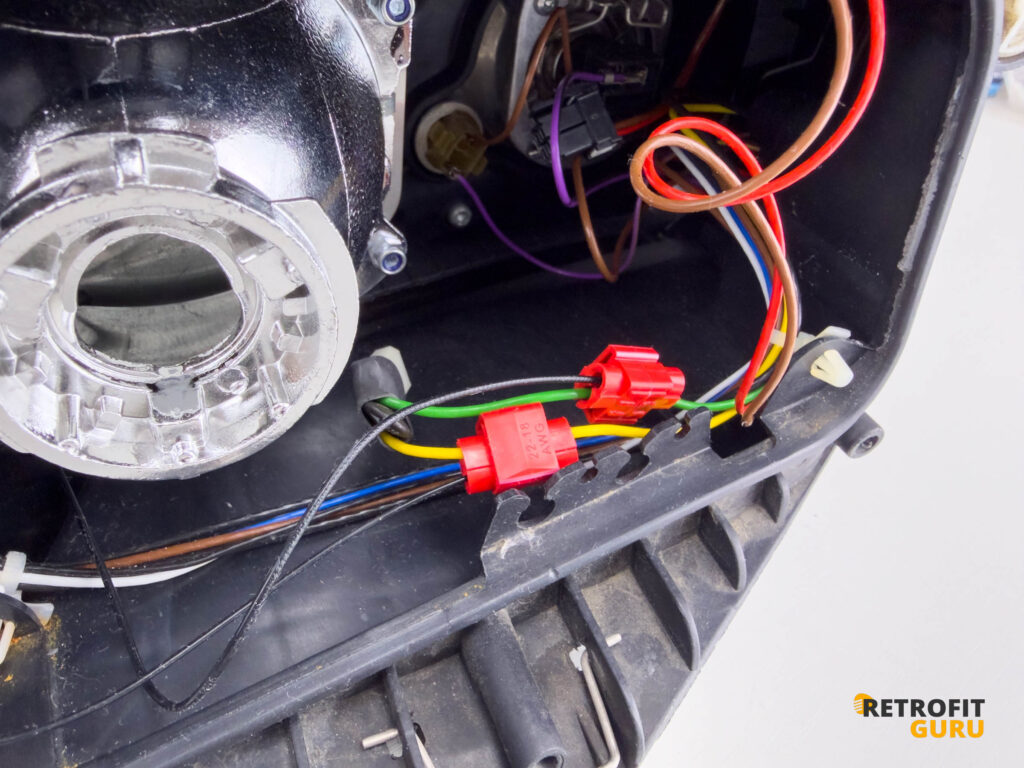
- Now connect the solenoid control cable to the original high beam wiring. Polarity does not matter here: just connect one wire to plus and the other to minus. The kit includes quick splice connectors for easy fitting, but if you want a fully professional joint, we recommend crimping the wires together.
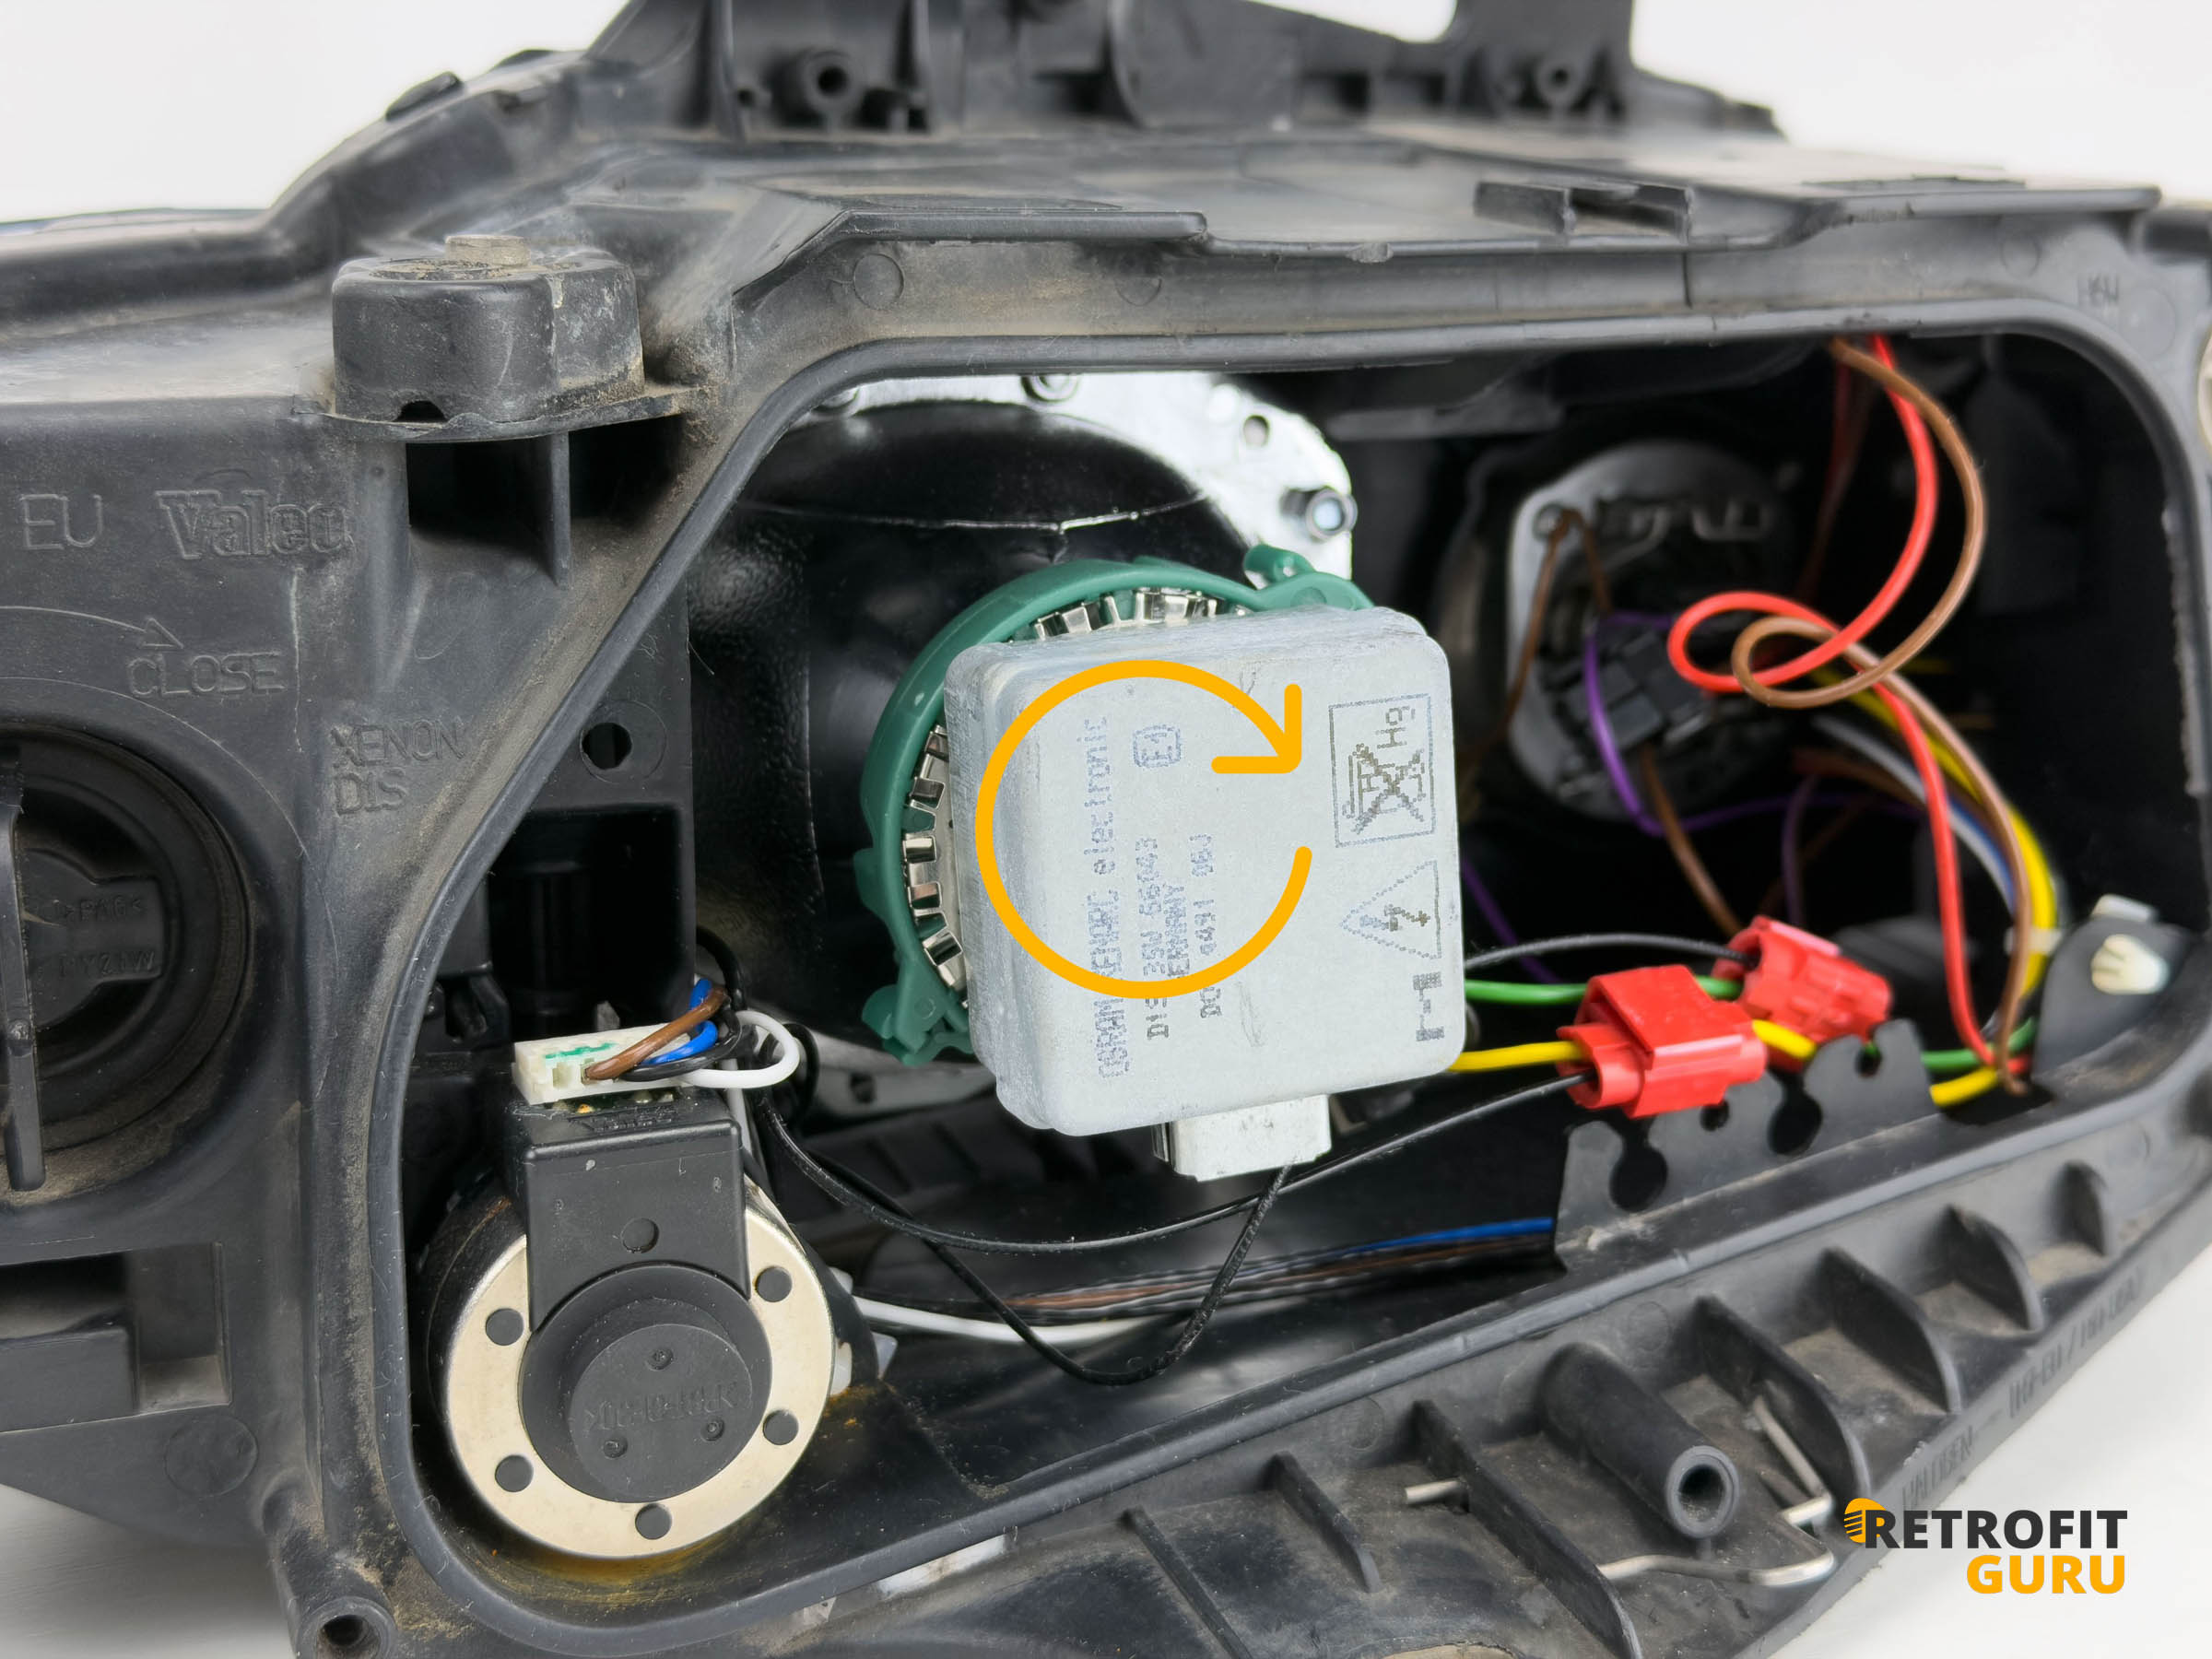
- Now fit the bulb into its holder. Make sure the guide tabs are centred, then click the holder firmly into place until you feel clear resistance (see the detailed photos below).
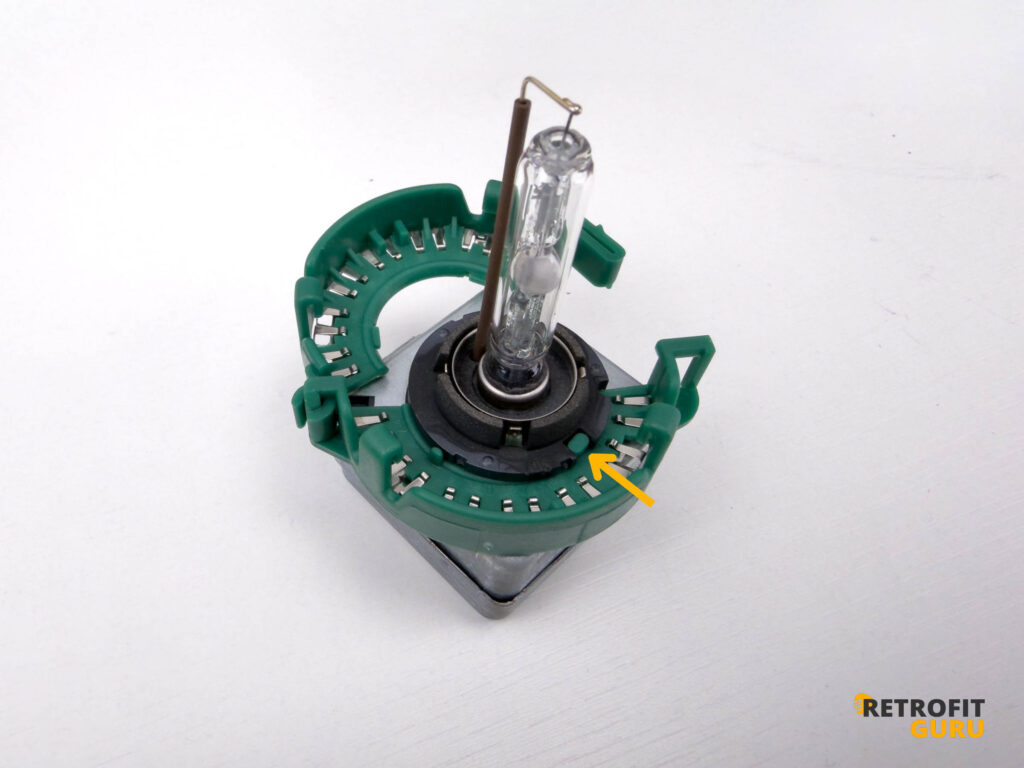
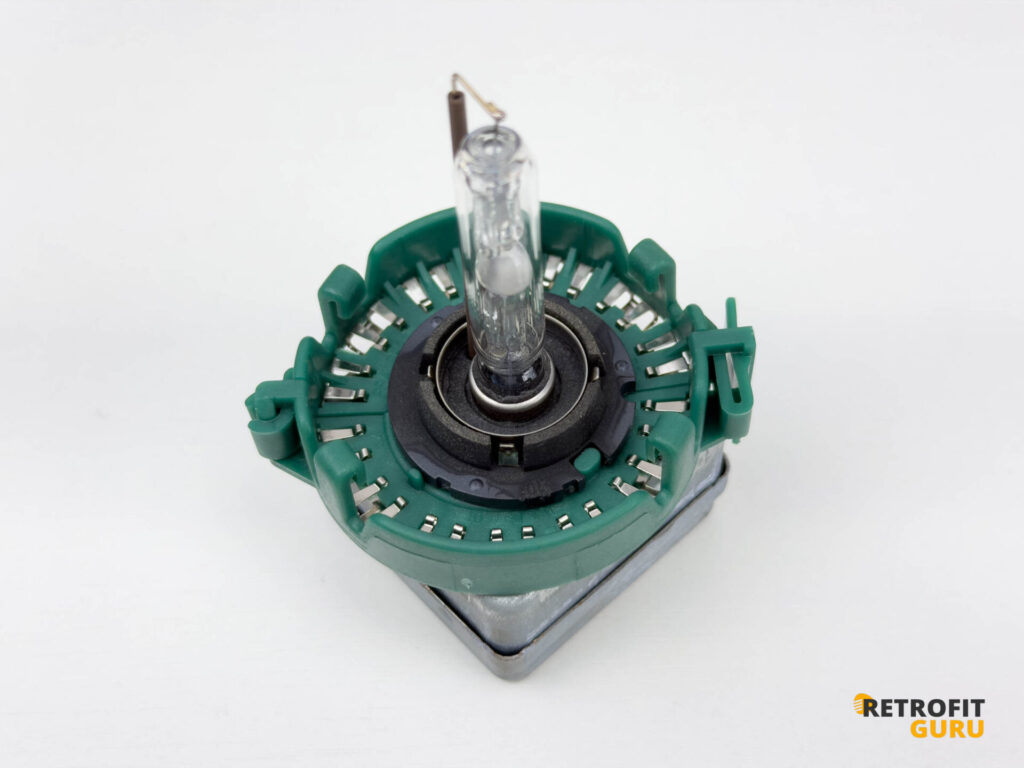
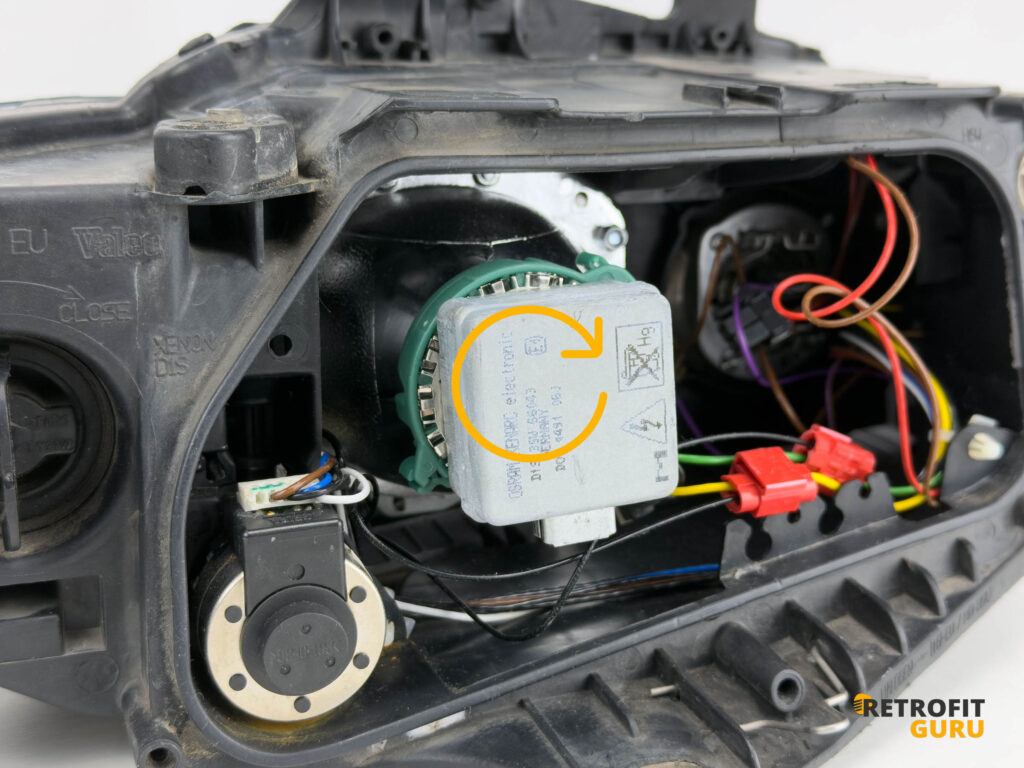
- Now insert the bulb into the projector and lock it by turning it clockwise. You should feel a gentle stop that confirms the bulb is seated firmly and correctly.
- Finally, connect the high-voltage cable to the bulb socket and plug the main connector into the ballast on the rear cover. Refit the cover and secure it carefully in the reverse order of removal. That completes the fitting.
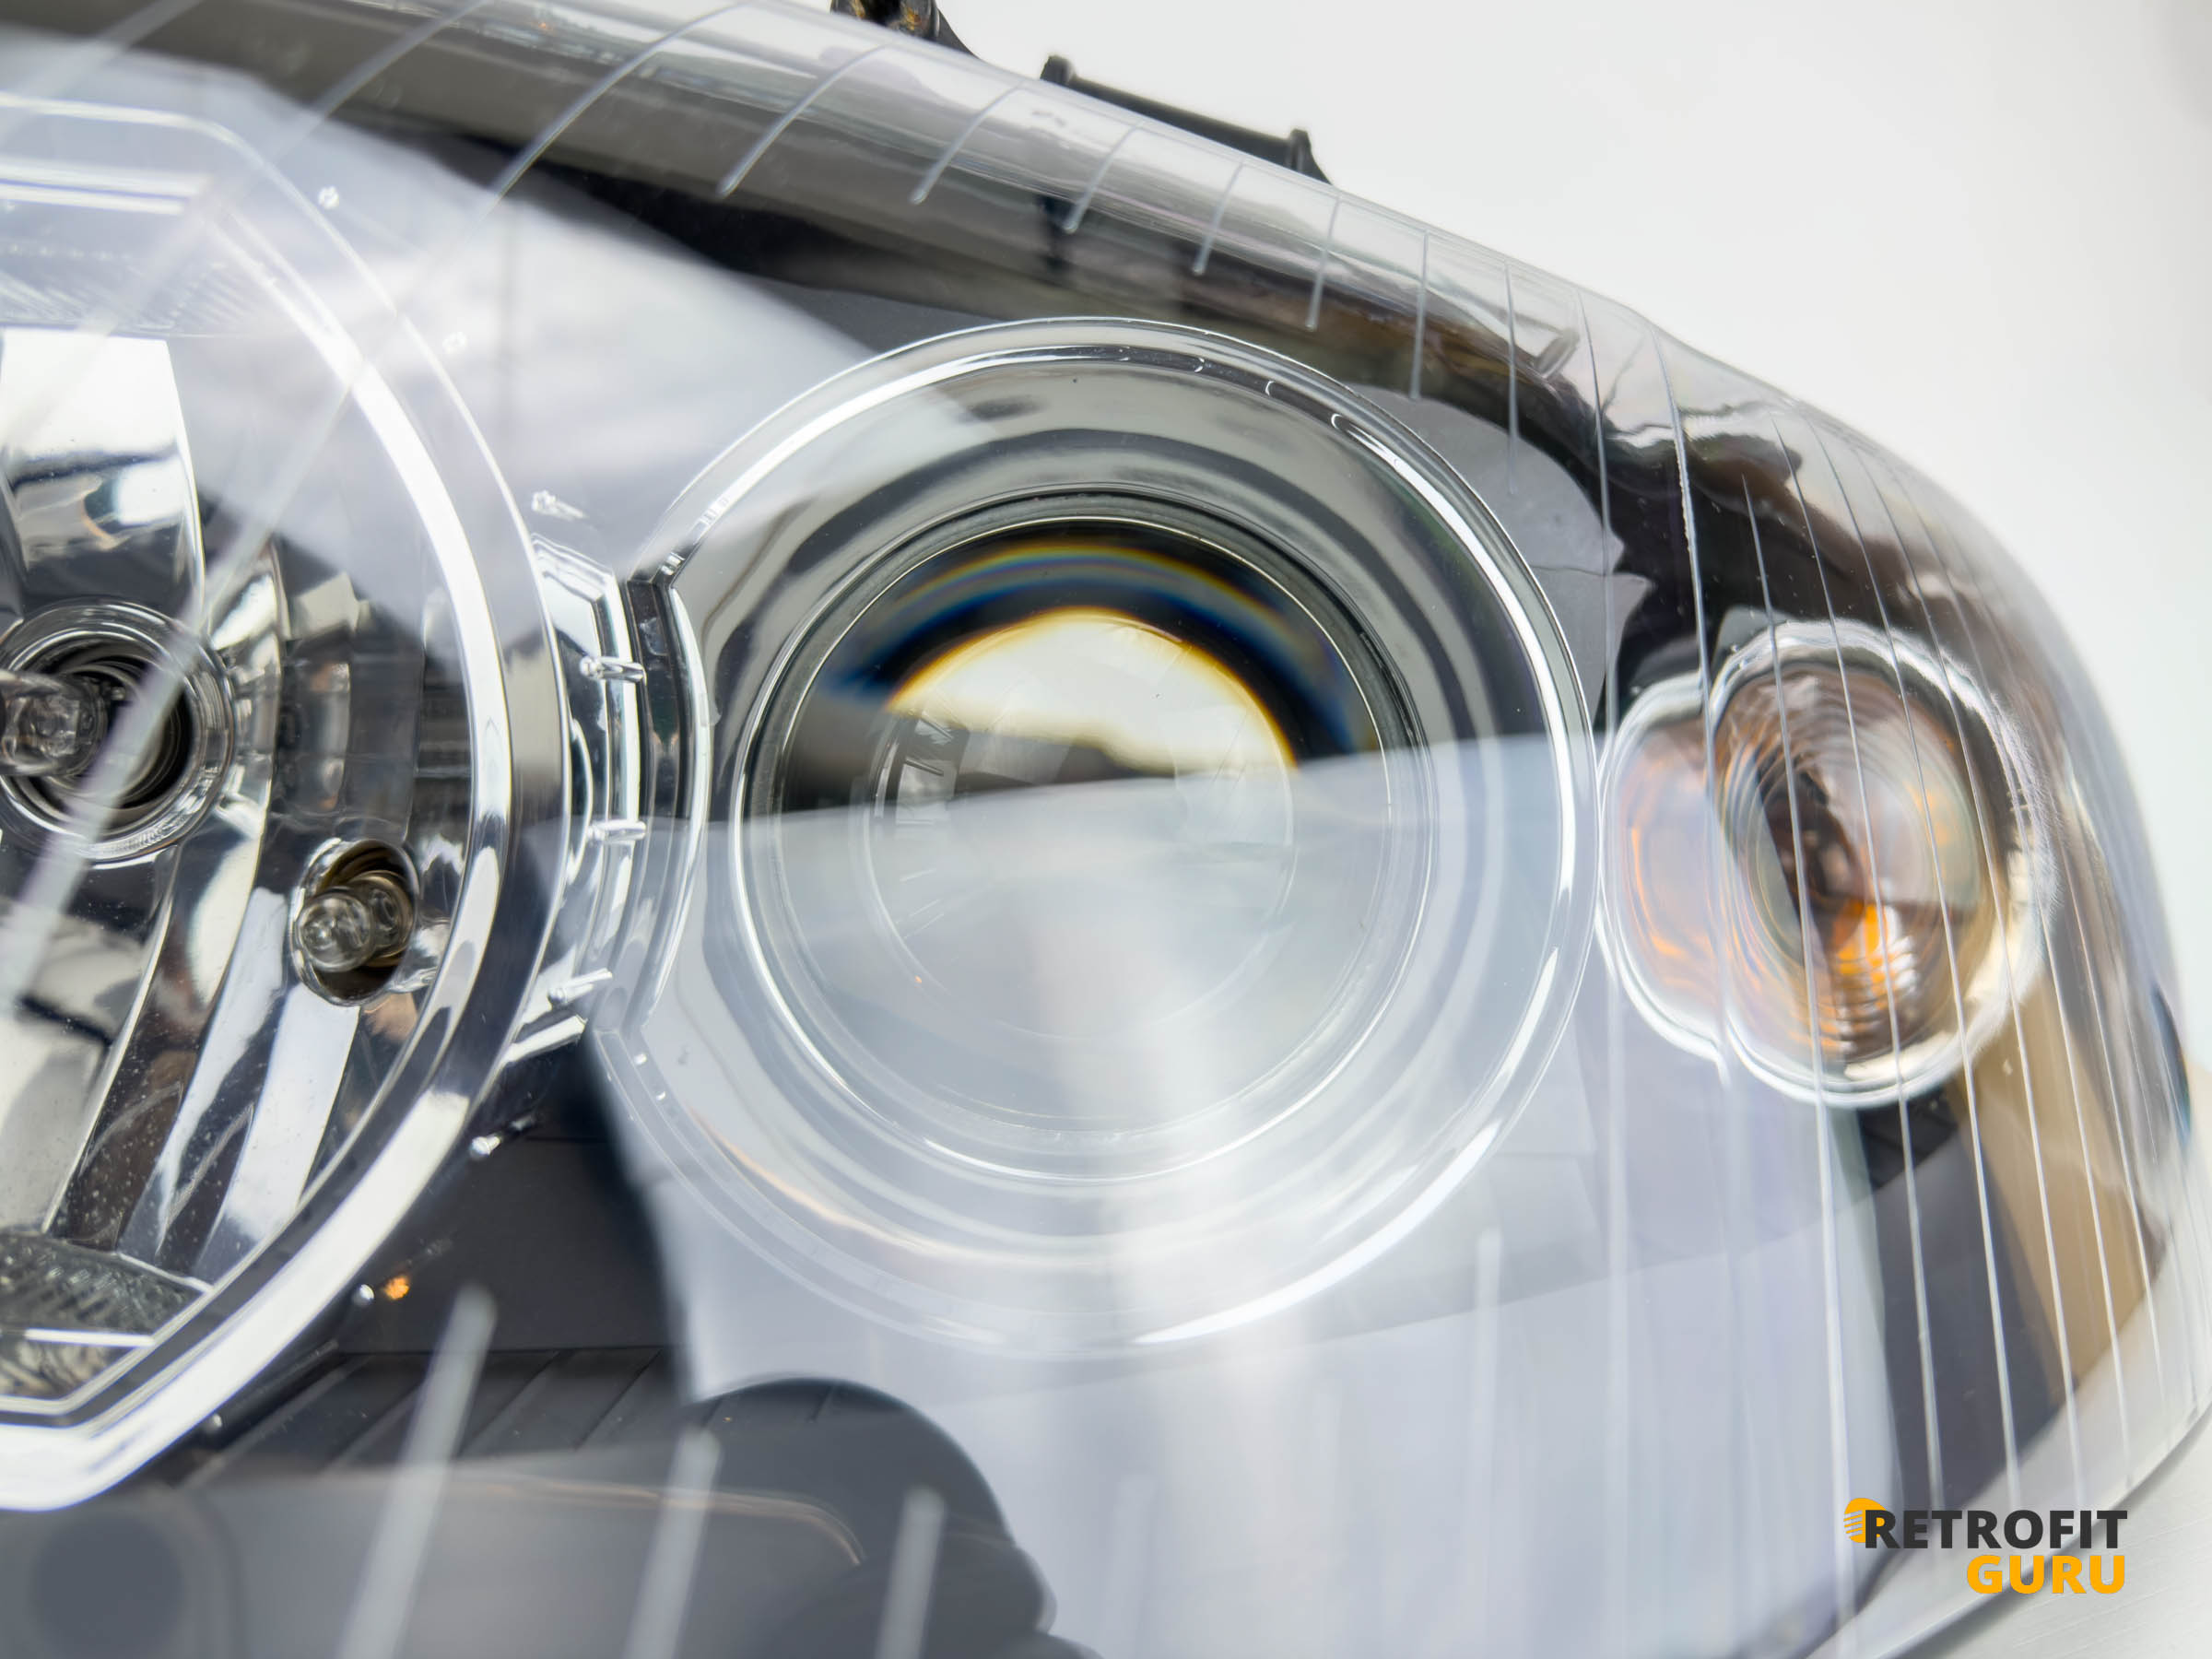
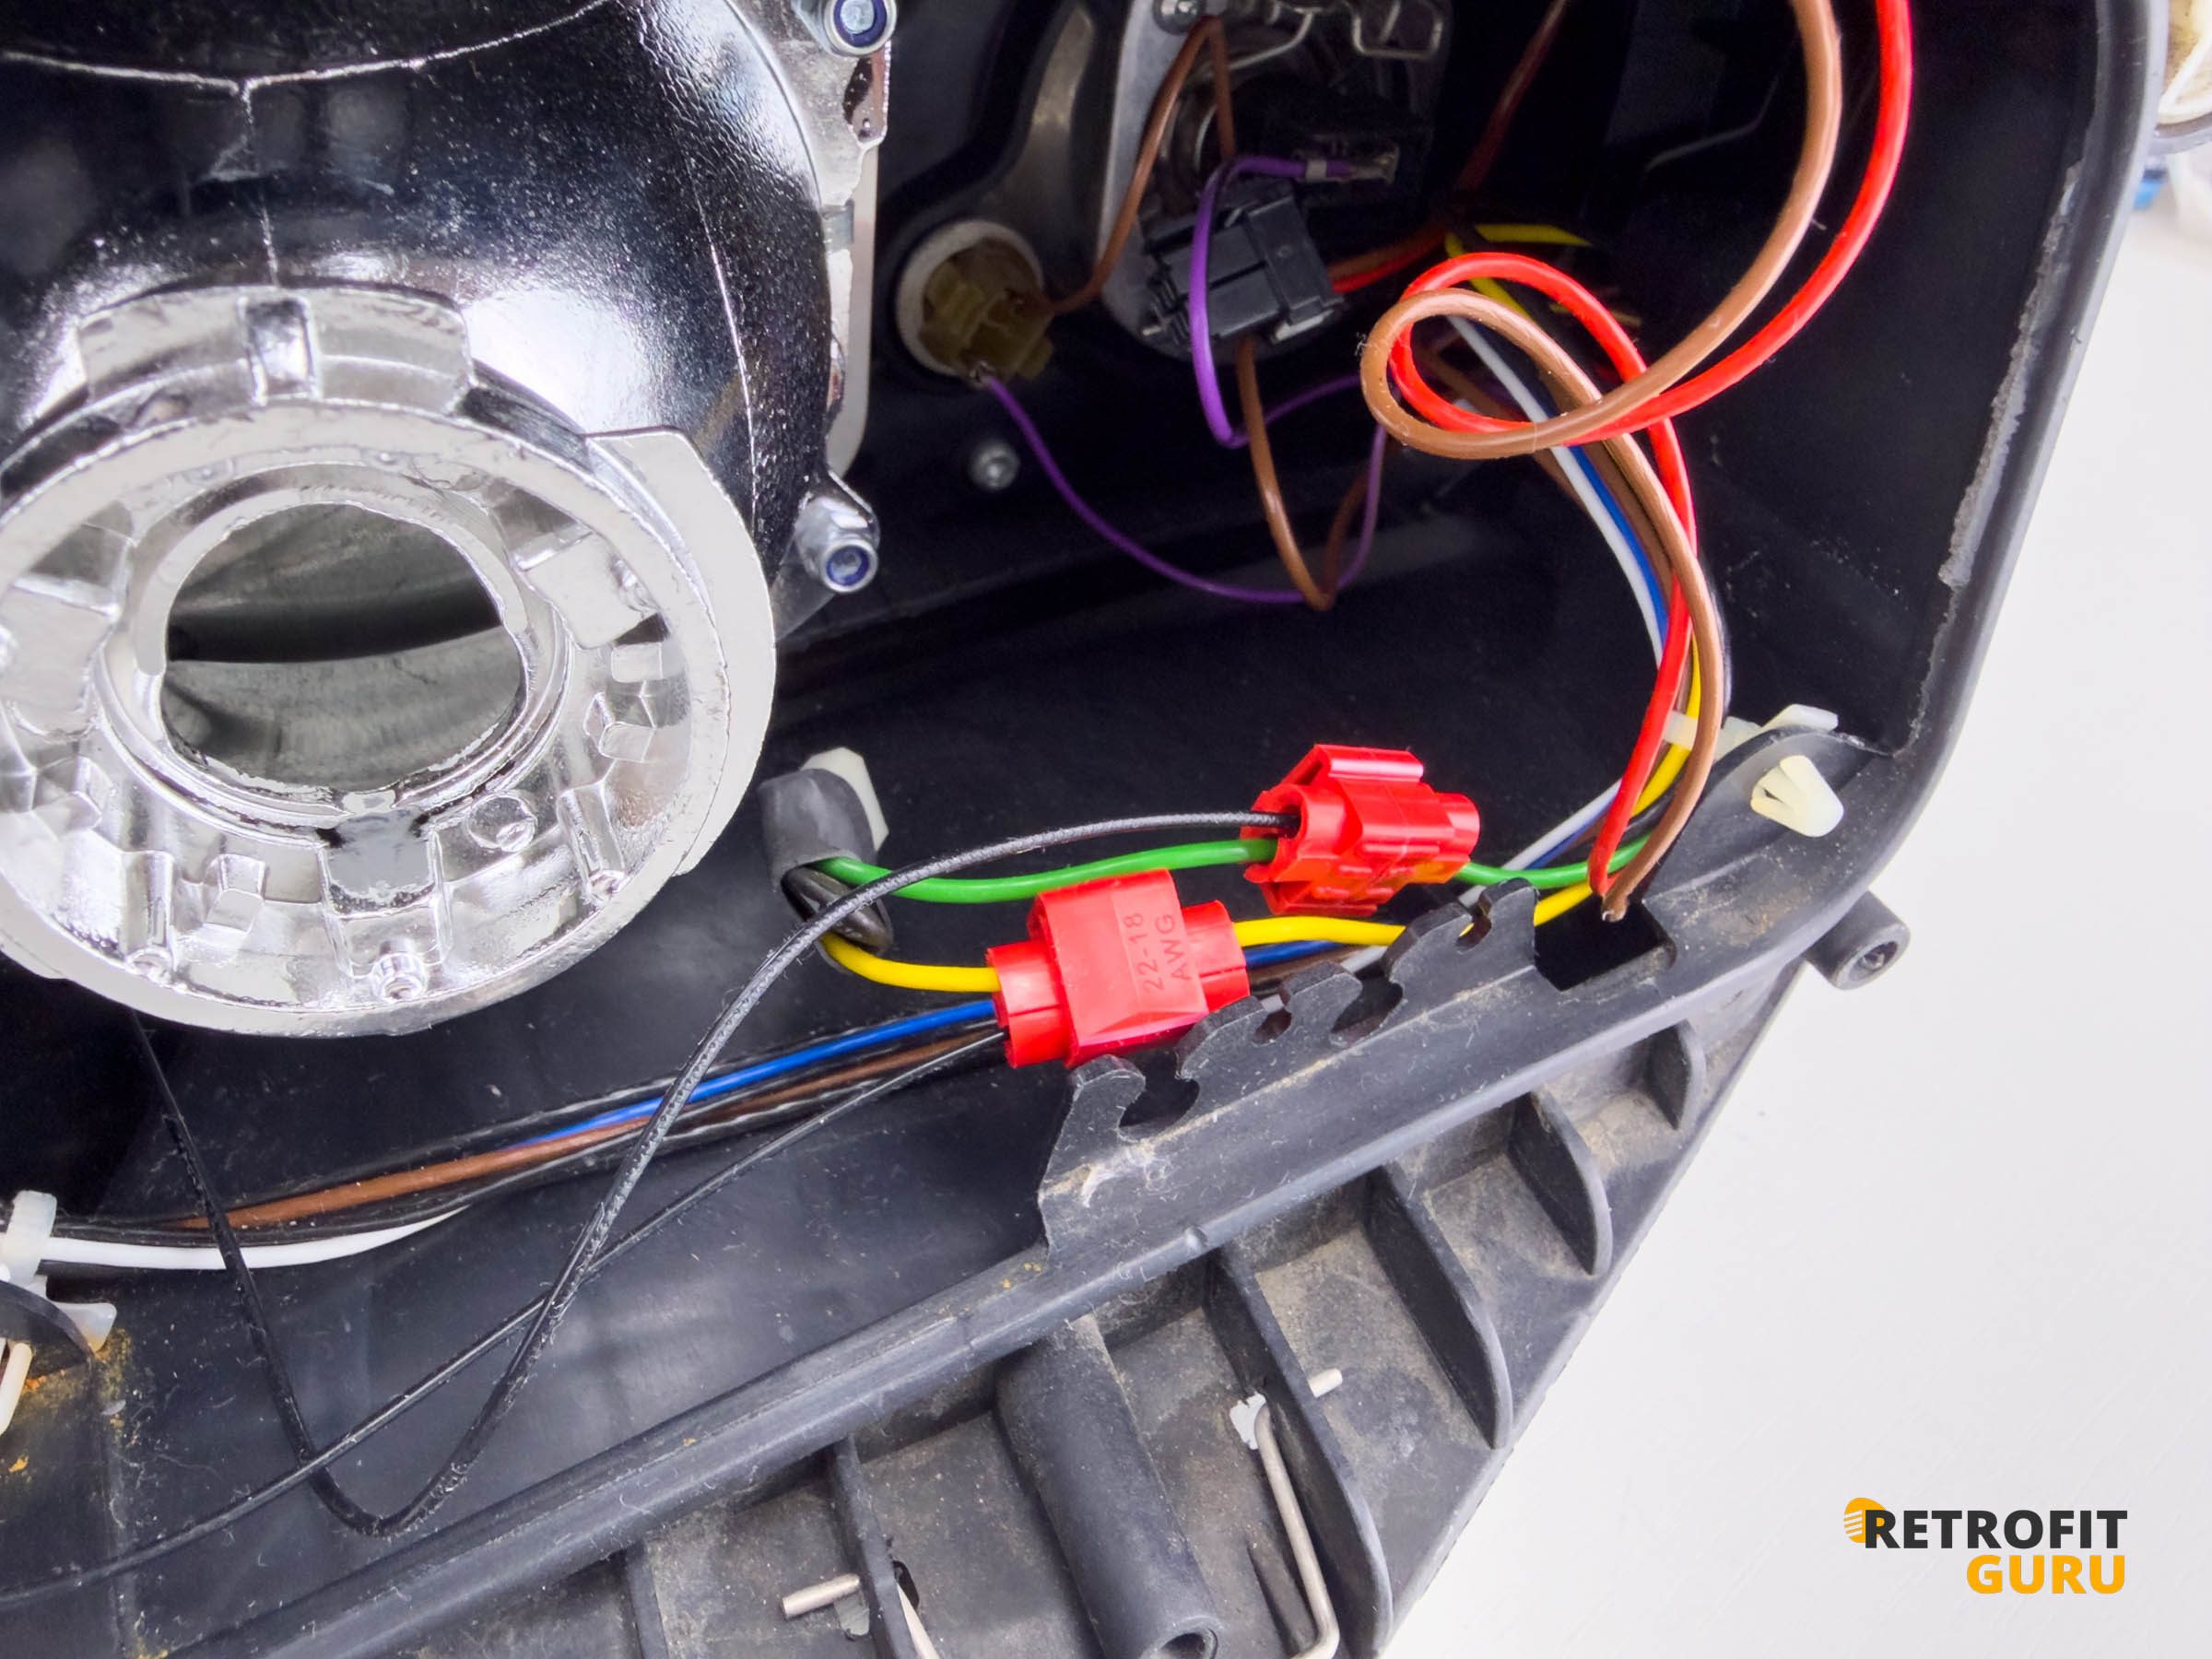
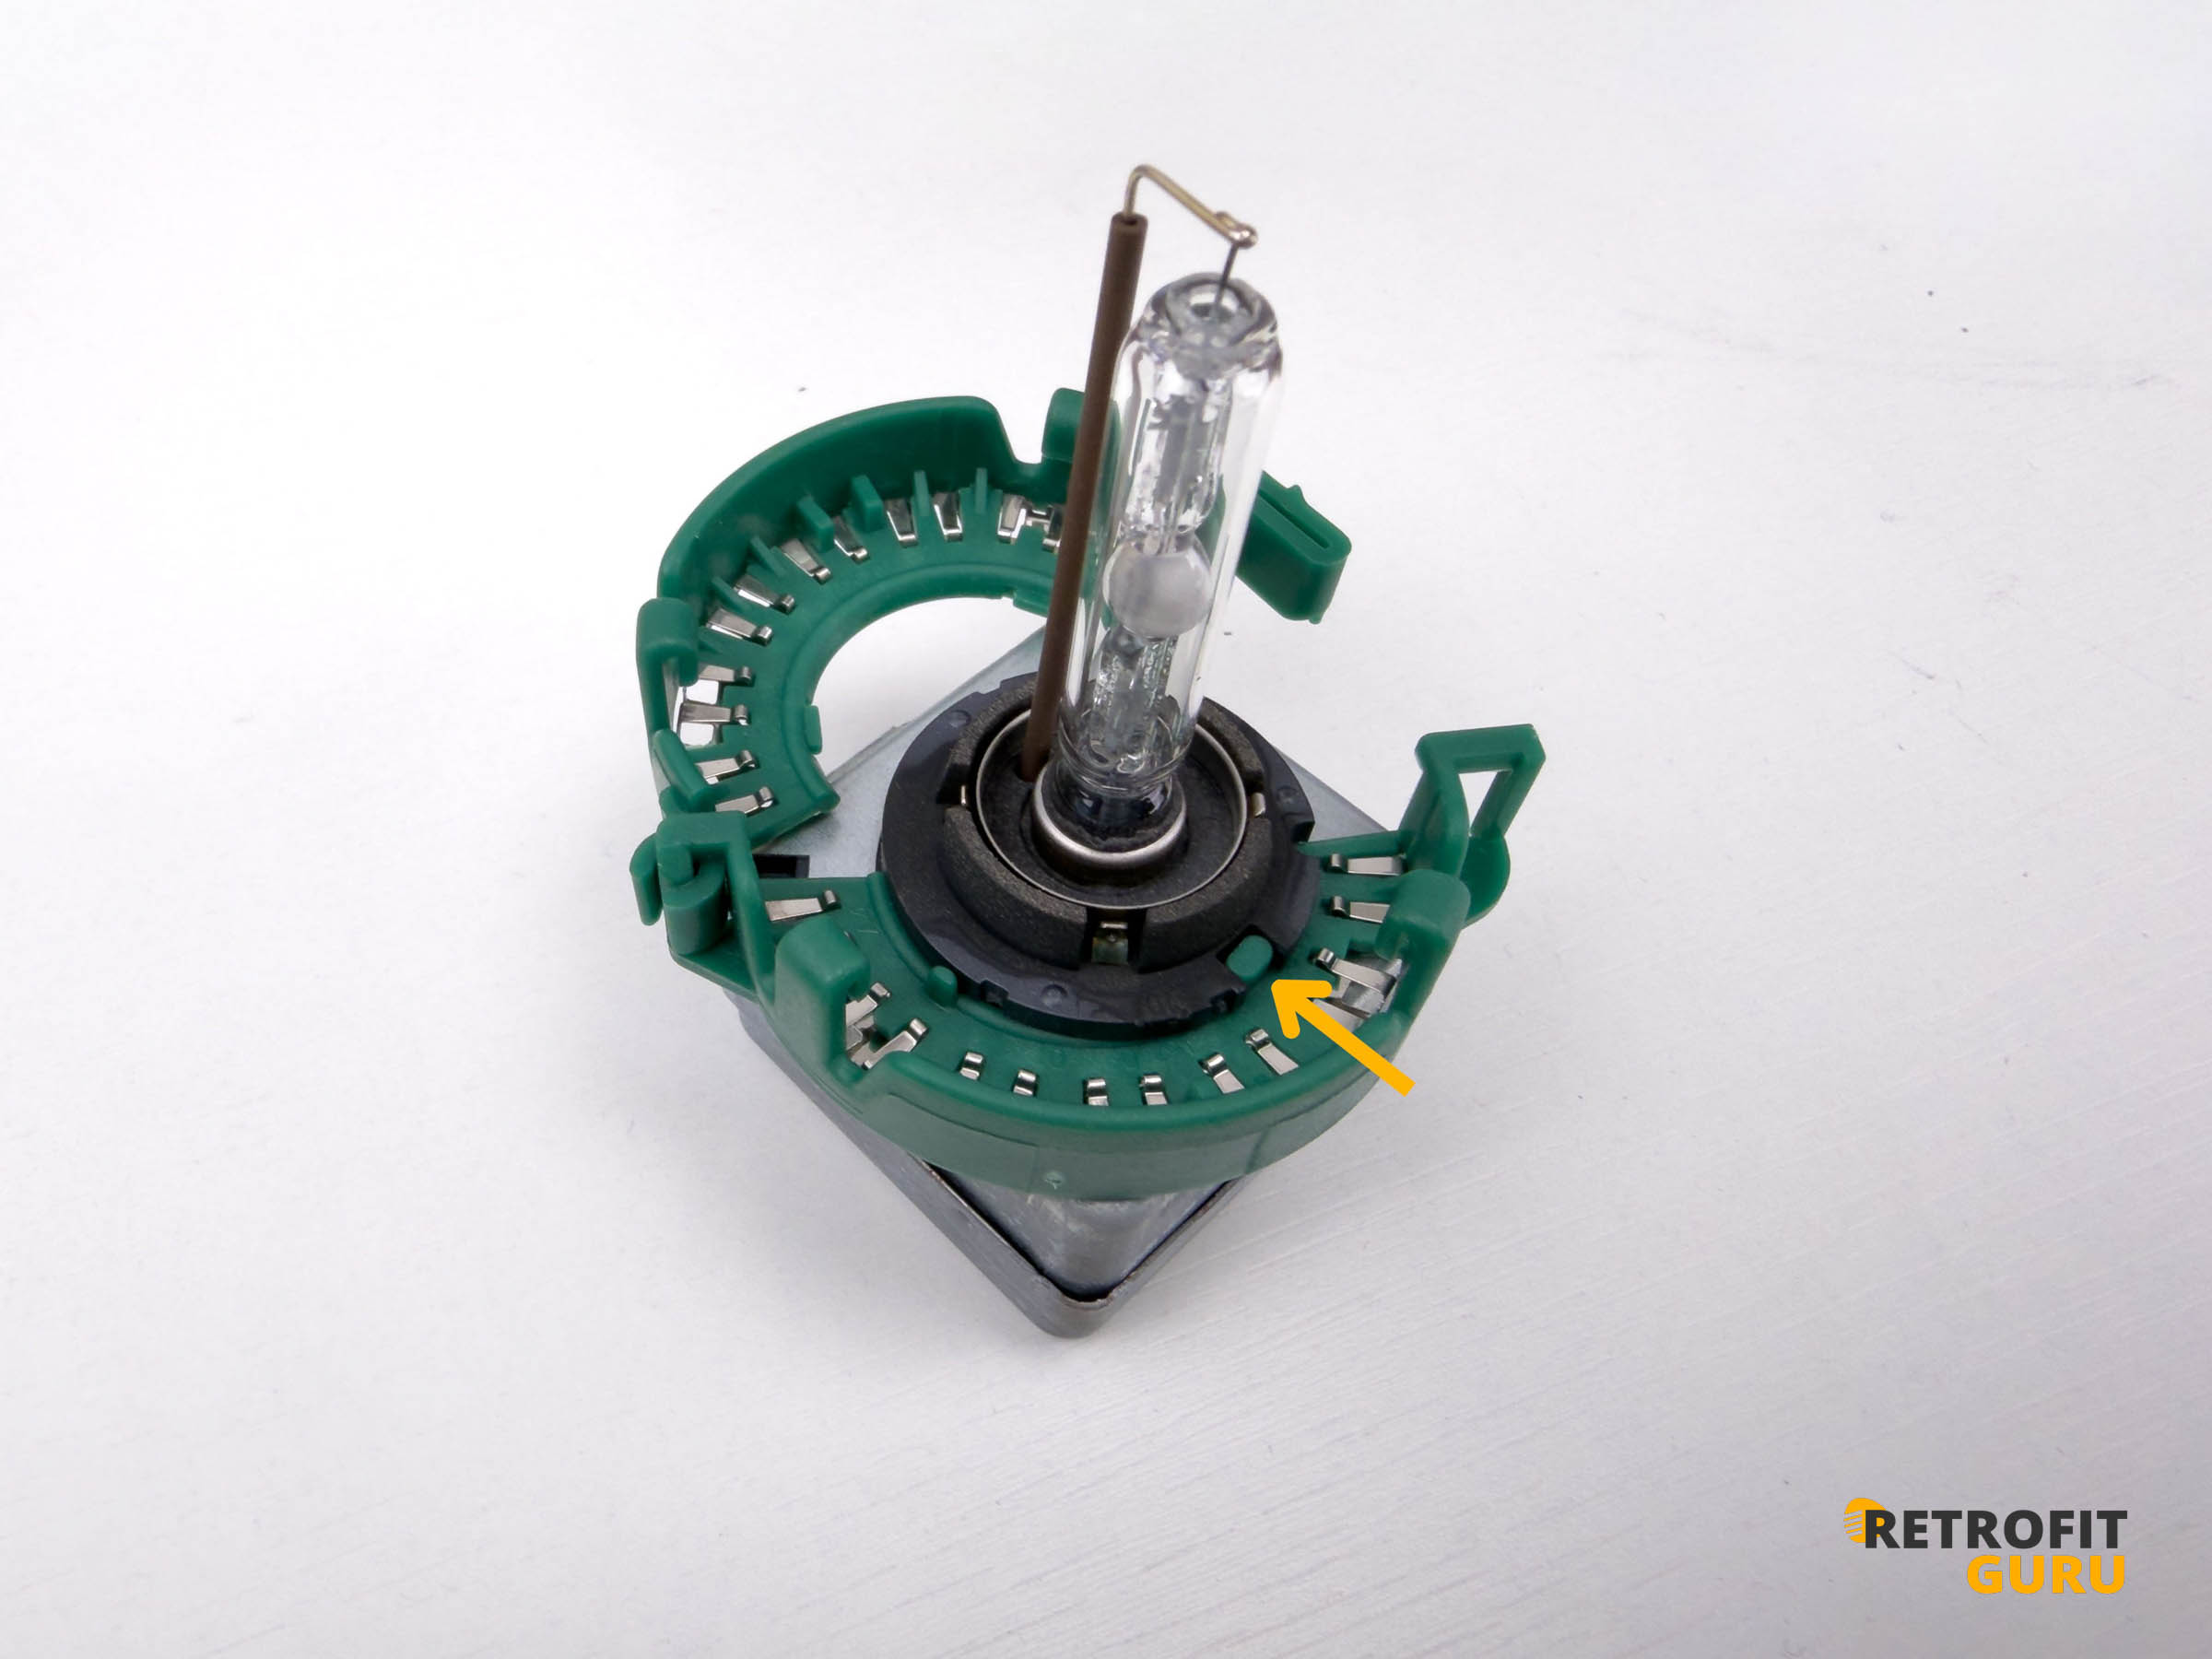
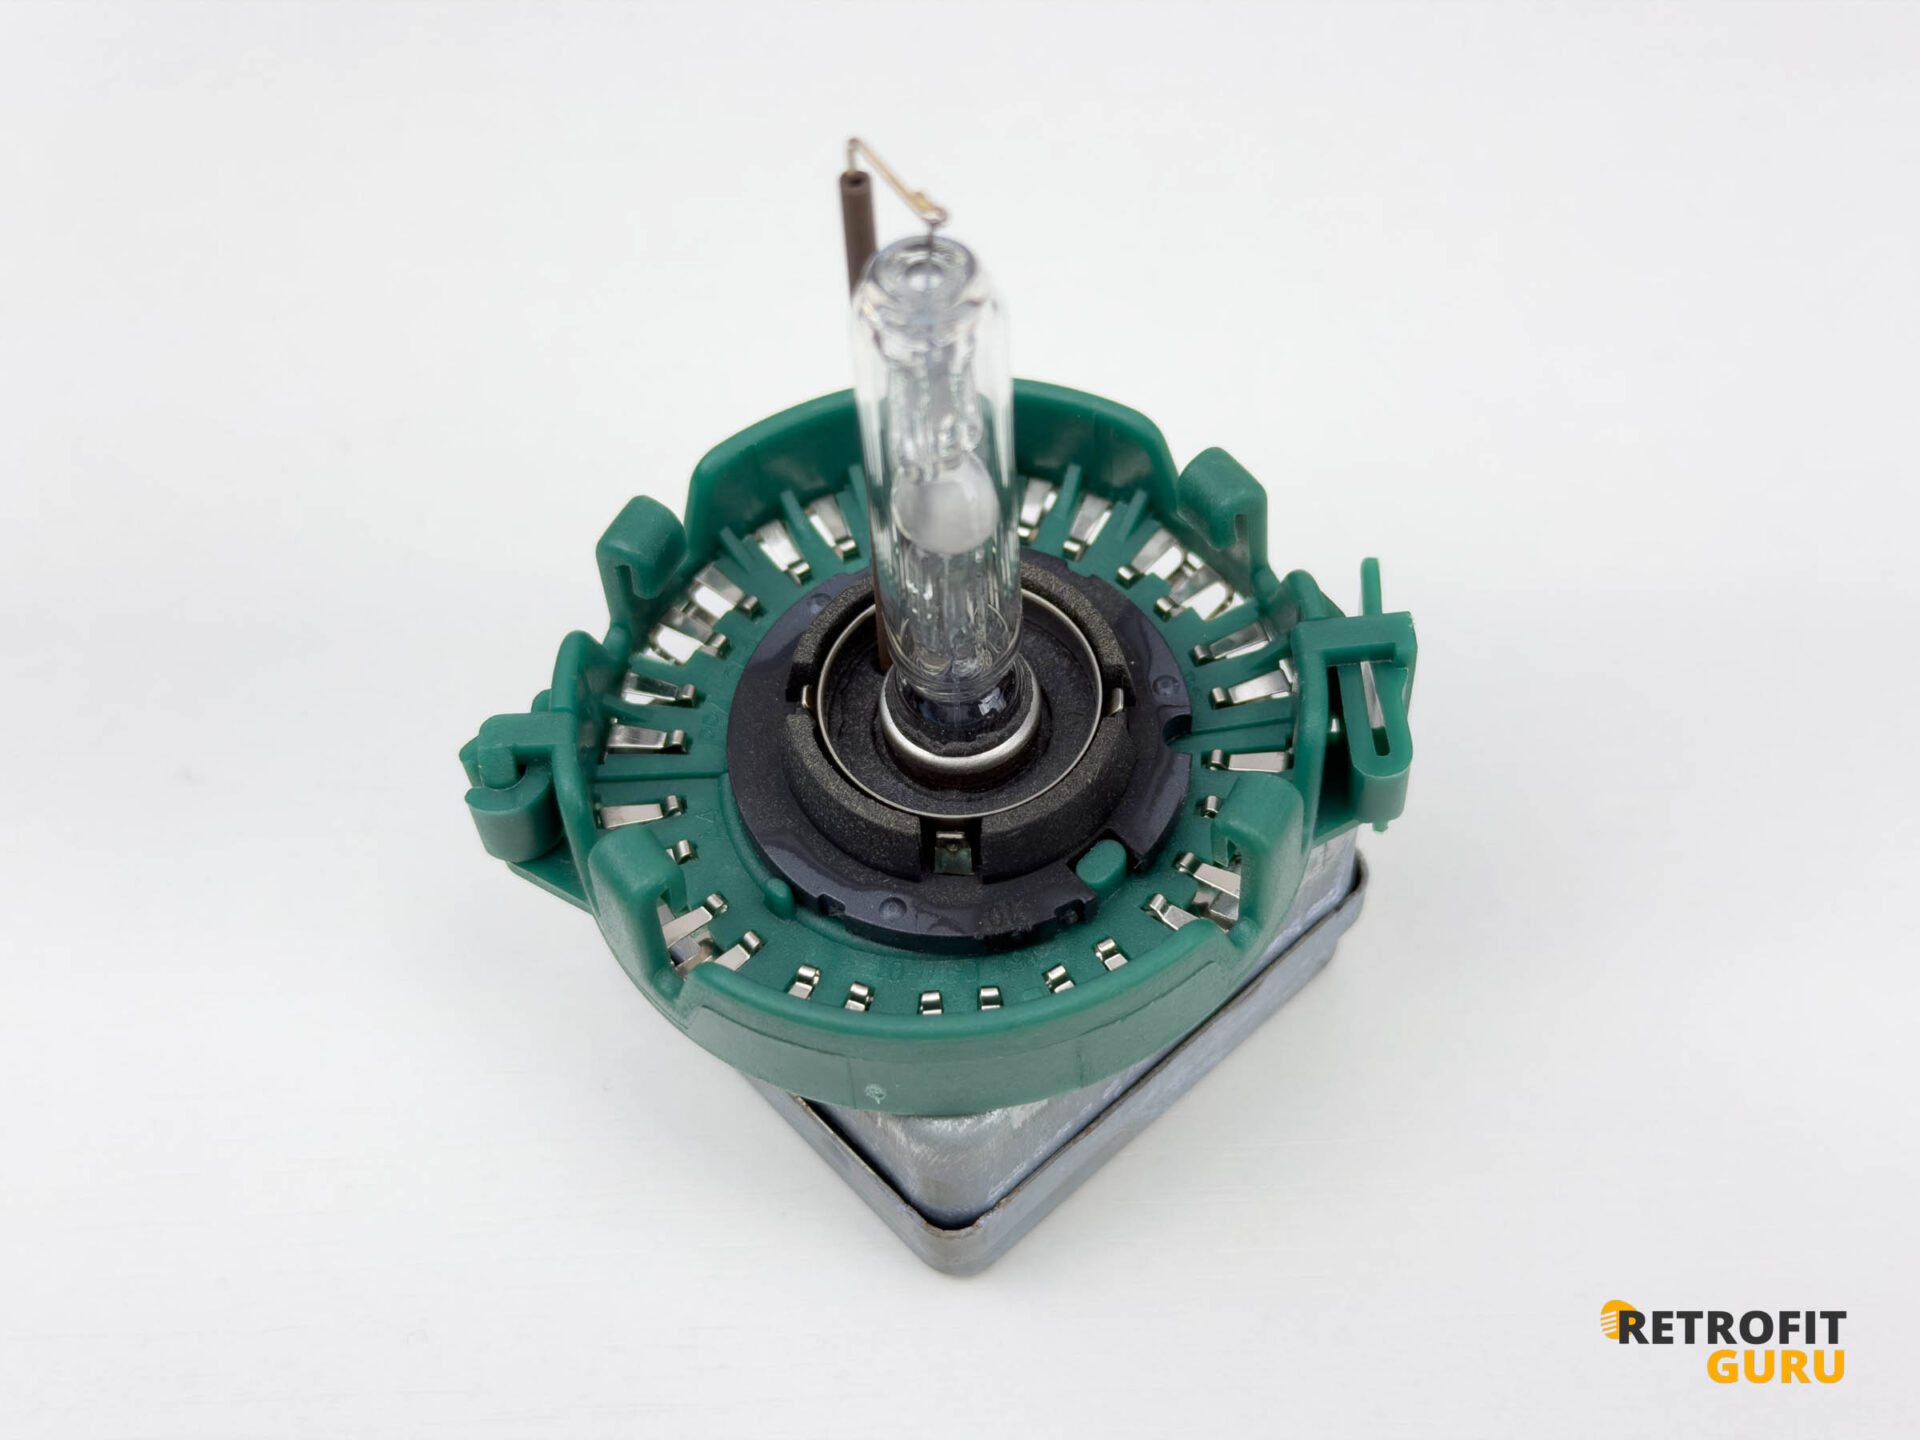
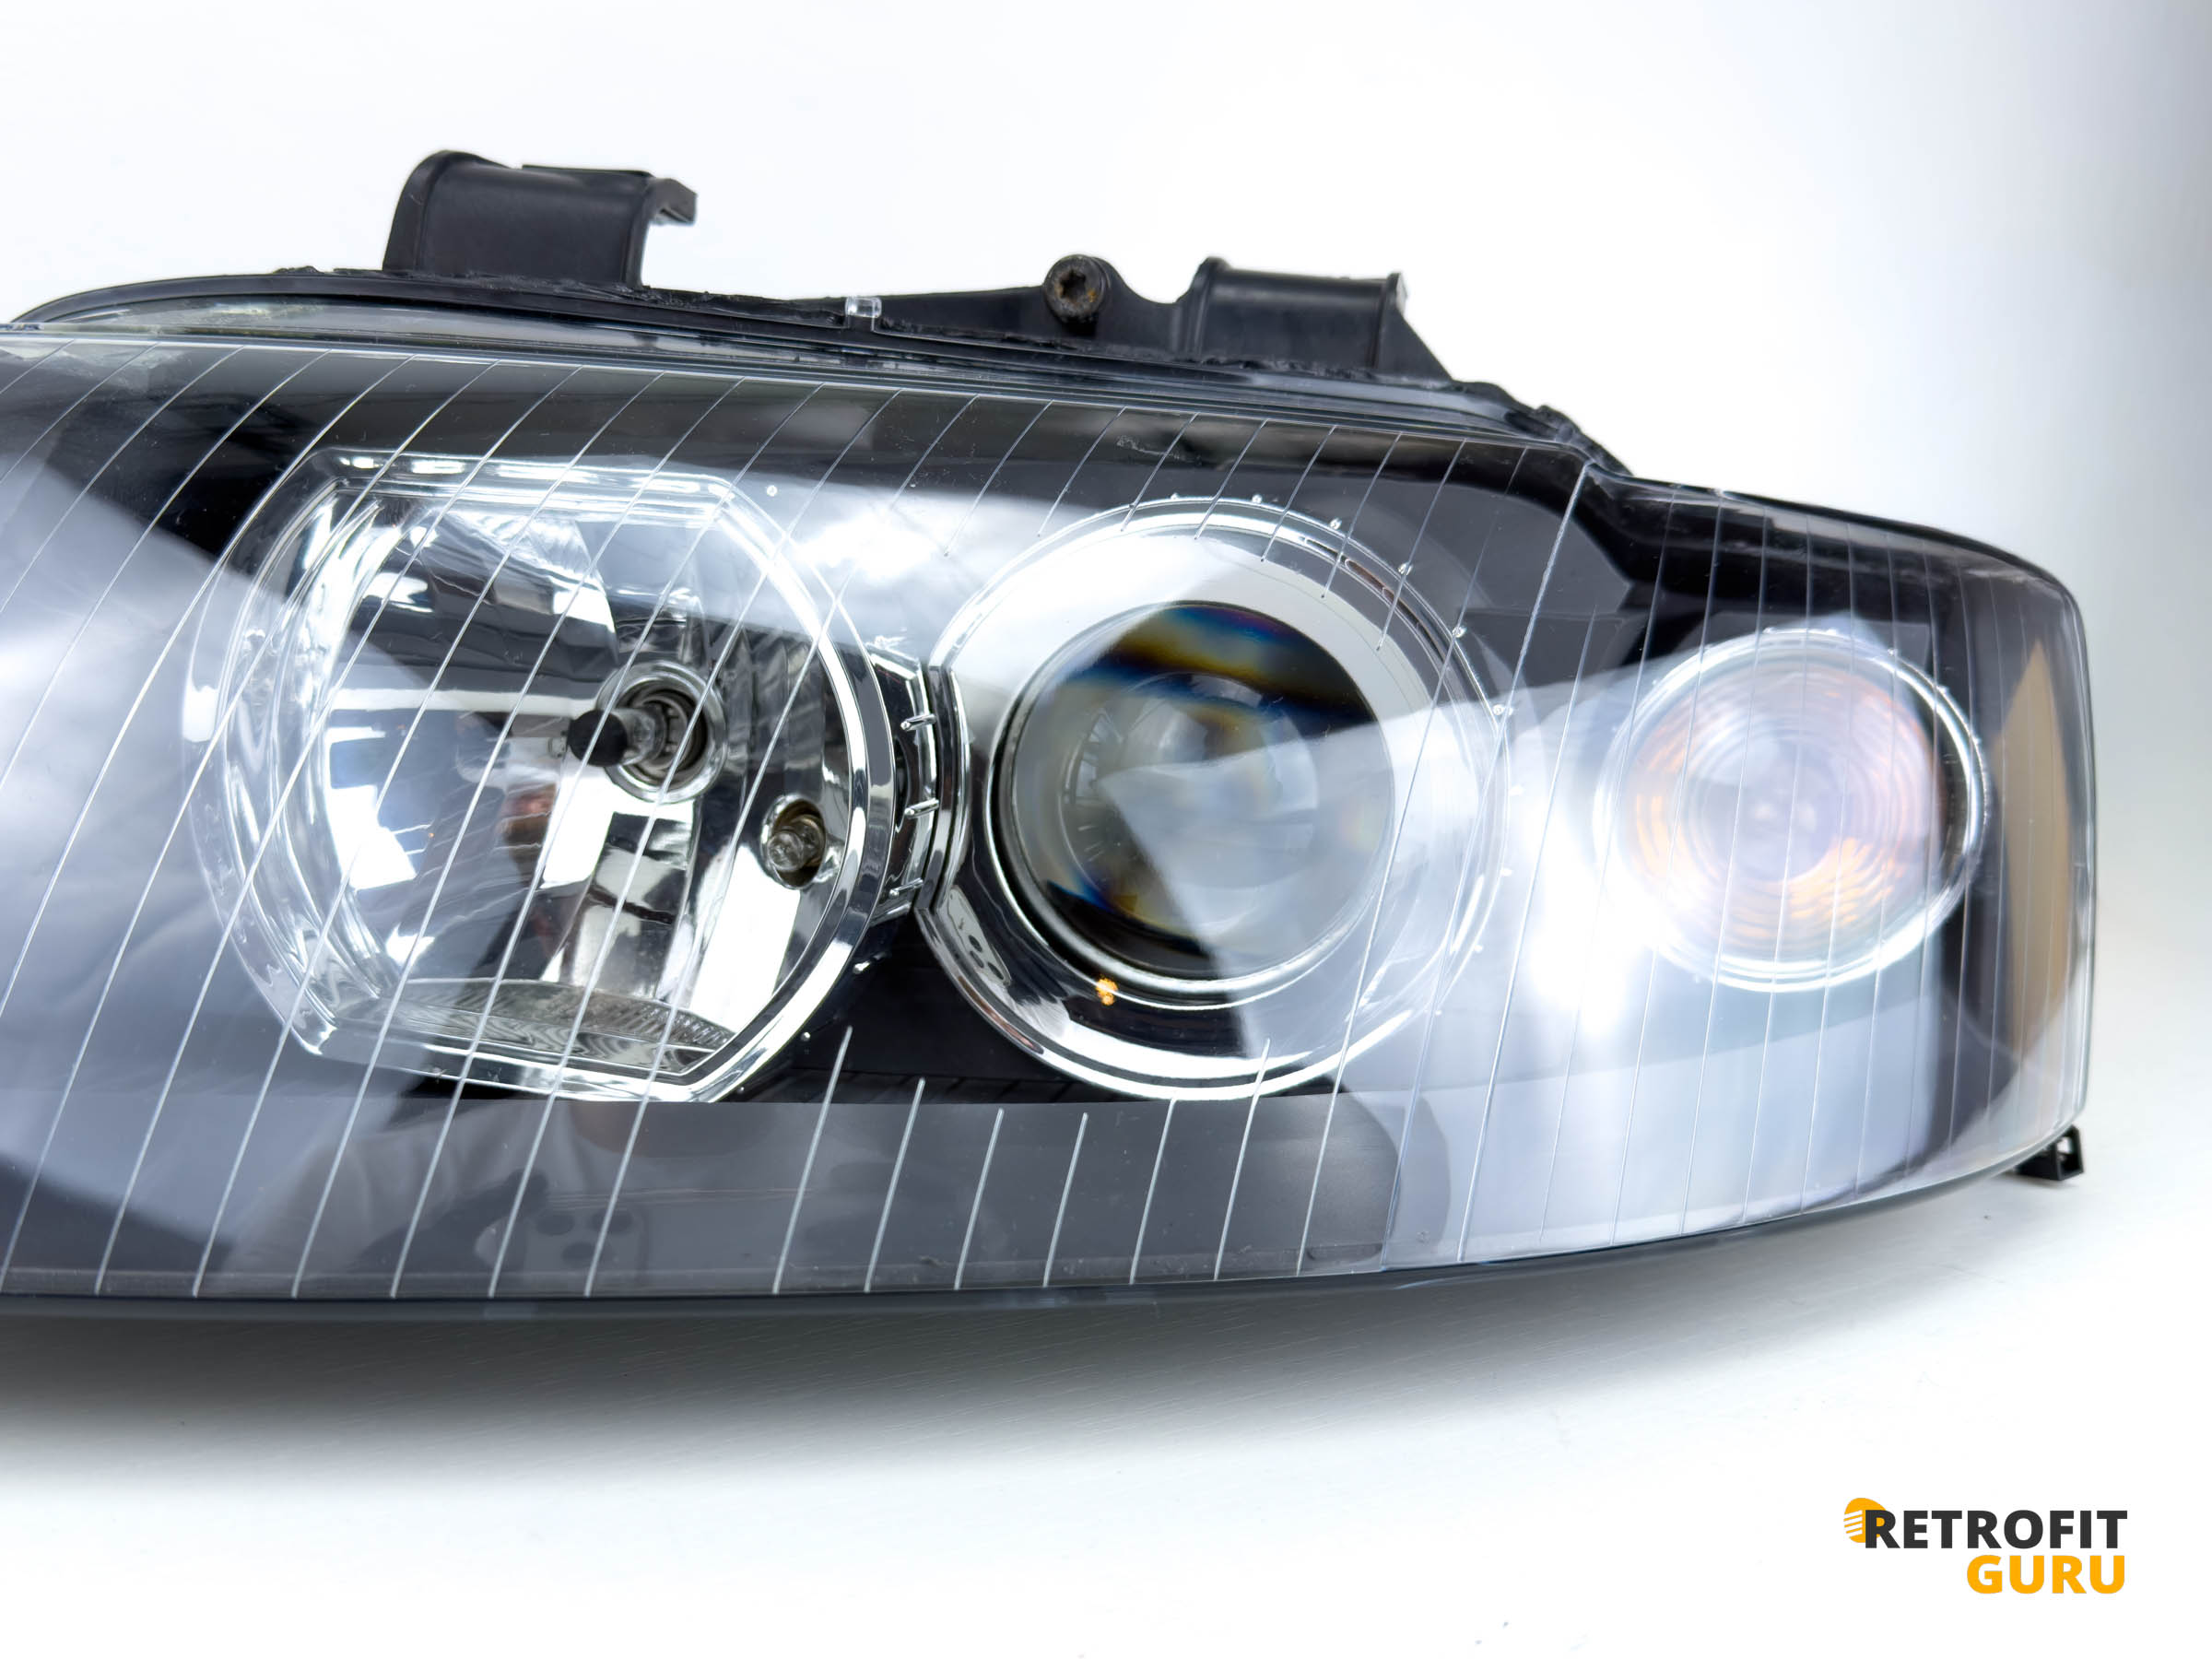
Done!
Now all that's left is to reinstall the headlights on the car and have them properly aligned — this is done using the original adjustment points on the headlight units.
The result is significantly improved visibility while driving, without dazzling other drivers.
If you want to do the retrofit yourself, you can find the complete Plug & Play kit here: Bi-xenon kit for Audi A4/S4 B6
For the best light output and an even beam, check the condition of the headlight lenses. If they are damaged or no longer clear, replace them. We also offer new headlight covers, which you can find here.
You don’t have to worry about the installation – each kit comes with a detailed guide and technical support. If you’re unsure about anything, we’ll be happy to help!
More articles
 Xenon Projector Replacement – Ford S-Max Mk1
We have prepared a detailed guide to converting the xenon headlights of the Ford S-Max mk1 to more powerful bi-xenon projectors with our Plug & Play repair kit. The whole process…
Read more →
 Headlight Conversion to Bi-Xenon – Audi TT Mk1
We have prepared a detailed guide to converting the xenon headlights of the Audi TT mk1 to more powerful bi-xenon projectors with our Plug & Play conversion kit. The whole process…
Read more →
 Čeština
 English (UK)